

Hey everyone! Imagine you are building an awesome application, with lots of cool features. Picture a backend server at its core that hosts a majority of the business logic and exposes functionality through APIs.
Once you have planned out your APIs, there's one crucial step you need to take care of: securing your APIs. You don't want your APIs exposed to anyone on the internet (unless you are building for open source).
Authentication ensures that your APIs can only be accessed by authenticated users of your application. A user can be authenticated with username and password, or via access token.
In this post, we are going to see how to secure your APIs using OAuth2 and access tokens. I am assuming you have a basic knowledge of Java and Spring Boot. If not, then you can check out this course on freeCodeCamp's YouTube channel.
Table of Contents
- What is OAuth2?
- How to Set Up the Spring Boot Application
- Web Security Configuration
- Public and Private APIs
- Testing APIs with and without Access Token
- How to Get the User's Details From the Access Token
What is OAuth2?
OAuth2 is a framework that lets third-party applications access your service on behalf of an end user. It is widely used for authentication and authorization in modern applications.
There are four components in the OAuth2 framework:
- Resource Owner: The end-user of your application.
- Authorization Server: The third-party application that authenticates the user and issues an access token after successful authentication.
- Client: The user interface through which the user wants to access your resources. The client could be a mobile app, web app, or a desktop app. The client requires an access token to access your APIs.
- Resource Server: The server hosting the protected resources. It validates the access token and grants access to the resources if authentication is successful.
The user, through the client, requests an access token from the authorization server. If authentication is successful, the client uses this token to access the protected APIs exposed by the resource server.
In this post, we are only going to focus on implementing the resource server.
How to Set Up the Spring Boot Application
To set up your application, navigate to Spring Initializr.

Choose Gradle or Maven for the project, the Spring Boot version, and the name of the project. Add the following dependencies: spring-boot-starter-web and oauth2-resource-server.
Click on Generate to download the Spring Boot application and once downloaded, extract the zip file. You should now have a running Spring Boot application with the dependencies fully loaded. Open IntelliJ (or any IDE of your choice) and select this project to start working.
You can find the complete code for this tutorial on GitHub.
Web Security Configuration
First, open application.properties and add the following property:
spring.security.oauth2.resourceserver.jwt.issuer-uri: ${JWT_ISSUER_URI}You can find the issuer-uri in the open-id configuration of the OAuth2 service that you are using. For instance, check out the Google OAuth2 config.
Next, let's configure Spring Security.
To implement the resource server, you need to have Spring Security as one of your dependencies. Here, we don't need to add it separately since the oauth2-resource-server uses Spring Security.
When you add Spring Security in your dependencies, Spring Boot enables authentication for each API you expose. The default one is username and password-based authentication.
This happens because Spring Security has its own SecurityAutoConfiguration class that contains the default security configuration. But, we haven't added Spring Security in our dependencies.
Since we do not want username and password-based authentication, we need to disable the auto configuration. Go to the main class and add the following exclusion:
@SpringBootApplication(exclude = { SecurityAutoConfiguration.class})
public class Oauth2ResourceServerTutorialApplication {
public static void main(String[] args) {
SpringApplication.run(Oauth2ResourceServerTutorialApplication.class, args);
}
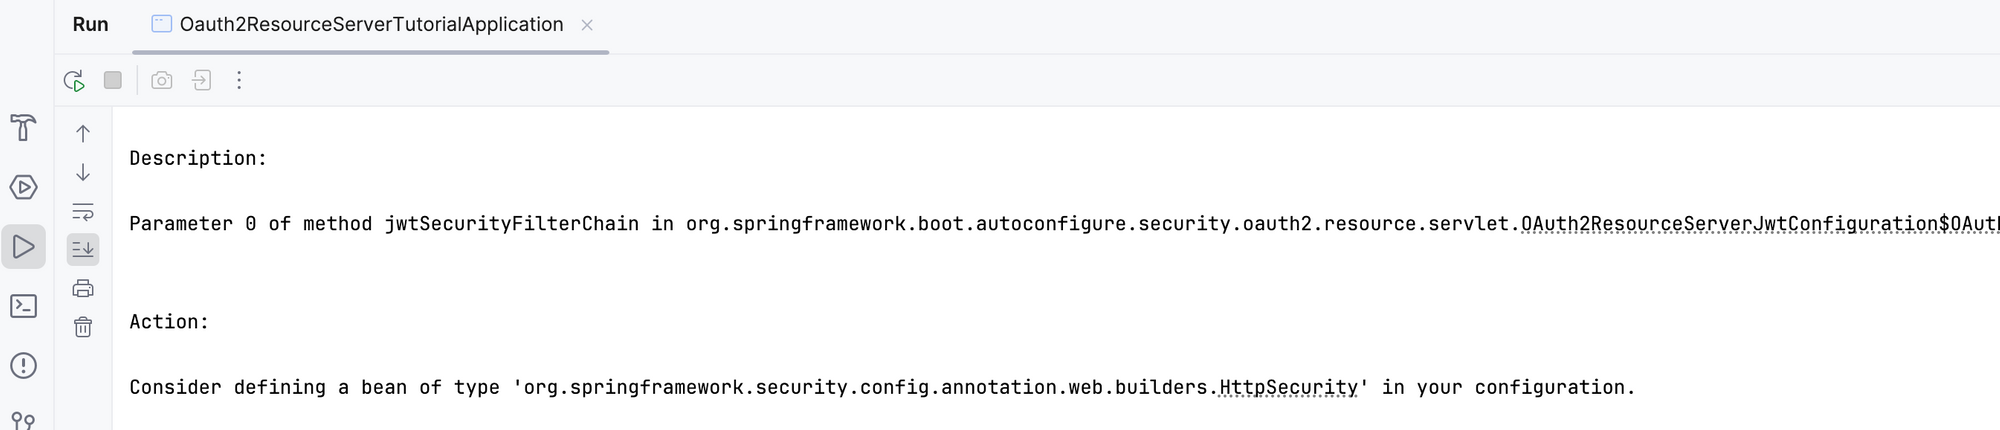
}If you run the application now, it throws an error.
Let's add our own configuration now. Create a new Java class SecurityConfig with the following annotations:
@Configuration
@EnableWebSecurity
public class SecurityConfig {
	// Beans here
}
@Configuration indicates that this is a configuration class that contains several Bean methods, that are responsible for creating beans. Beans are simply objects that form the building blocks of a Spring Boot application. @EnableWebSecurity tells Spring Boot to enable Web Security with your configurations.
Create a method that returns a bean of type SecurityFilterChain. The security filter chain bean intercepts incoming requests and applies custom filters to them. This is where you can apply different kinds of authorization to different requests.
@Bean
public SecurityFilterChain filterChain(HttpSecurity http) throws Exception {
        http
                .authorizeHttpRequests((authz) -> authz
                        .requestMatchers("/public/**").permitAll()
                        .anyRequest().authenticated()
                )
                .oauth2ResourceServer(oauth2 -> oauth2.jwt(Customizer.withDefaults()));
        return http.build();
    }
Let's understand the key parts of this code:
- The
filterChain()method takes anHttpSecurityobject as an argument. This class from Spring Security allows you to configure requests. - The method
authorizeHttpRequests()takes an object that we have represented as a lambda expression. - We have used the
requestMatchers()method to match a route that will be accessible without authentication. In our case, any route starting from/publicwill be accessible to anyone. Requests to any other route will need authentication. - The
oauth2ResourceServer()method sets up our application as an OAuth2 resource server. Here, we specify that JWT authentication will be used with default customizers. - Lastly,
http.build()builds theHttpSecurityobject and returns it.
In this project, we have configured web security in the above manner. But if you have any other requirements you may need a different configuration. For example, if you have privileged roles like admin in your application, you can specify which routes each role can access, and so on.
Visit the JWT resource server docs to understand different ways you can customize web security.
Write APIs in the Controller Class
Let's write two simple APIs. Create a class MainController that will expose these APIs:
@RestController
public class MainController {

    @GetMapping("/public")
    public String homePage() {
        return "Hello from Spring boot app";
    }

    @GetMapping("/private")
    public String privateRoute() {
        return "Private Route";
    }
}
The @RestController indicates that this class will handle HTTP requests and return the data to the client, typically in JSON format. We have written a public and a private API.
Save the file and run the application.
Testing the APIs
Let's test the above APIs using Postman, without an authorization header.
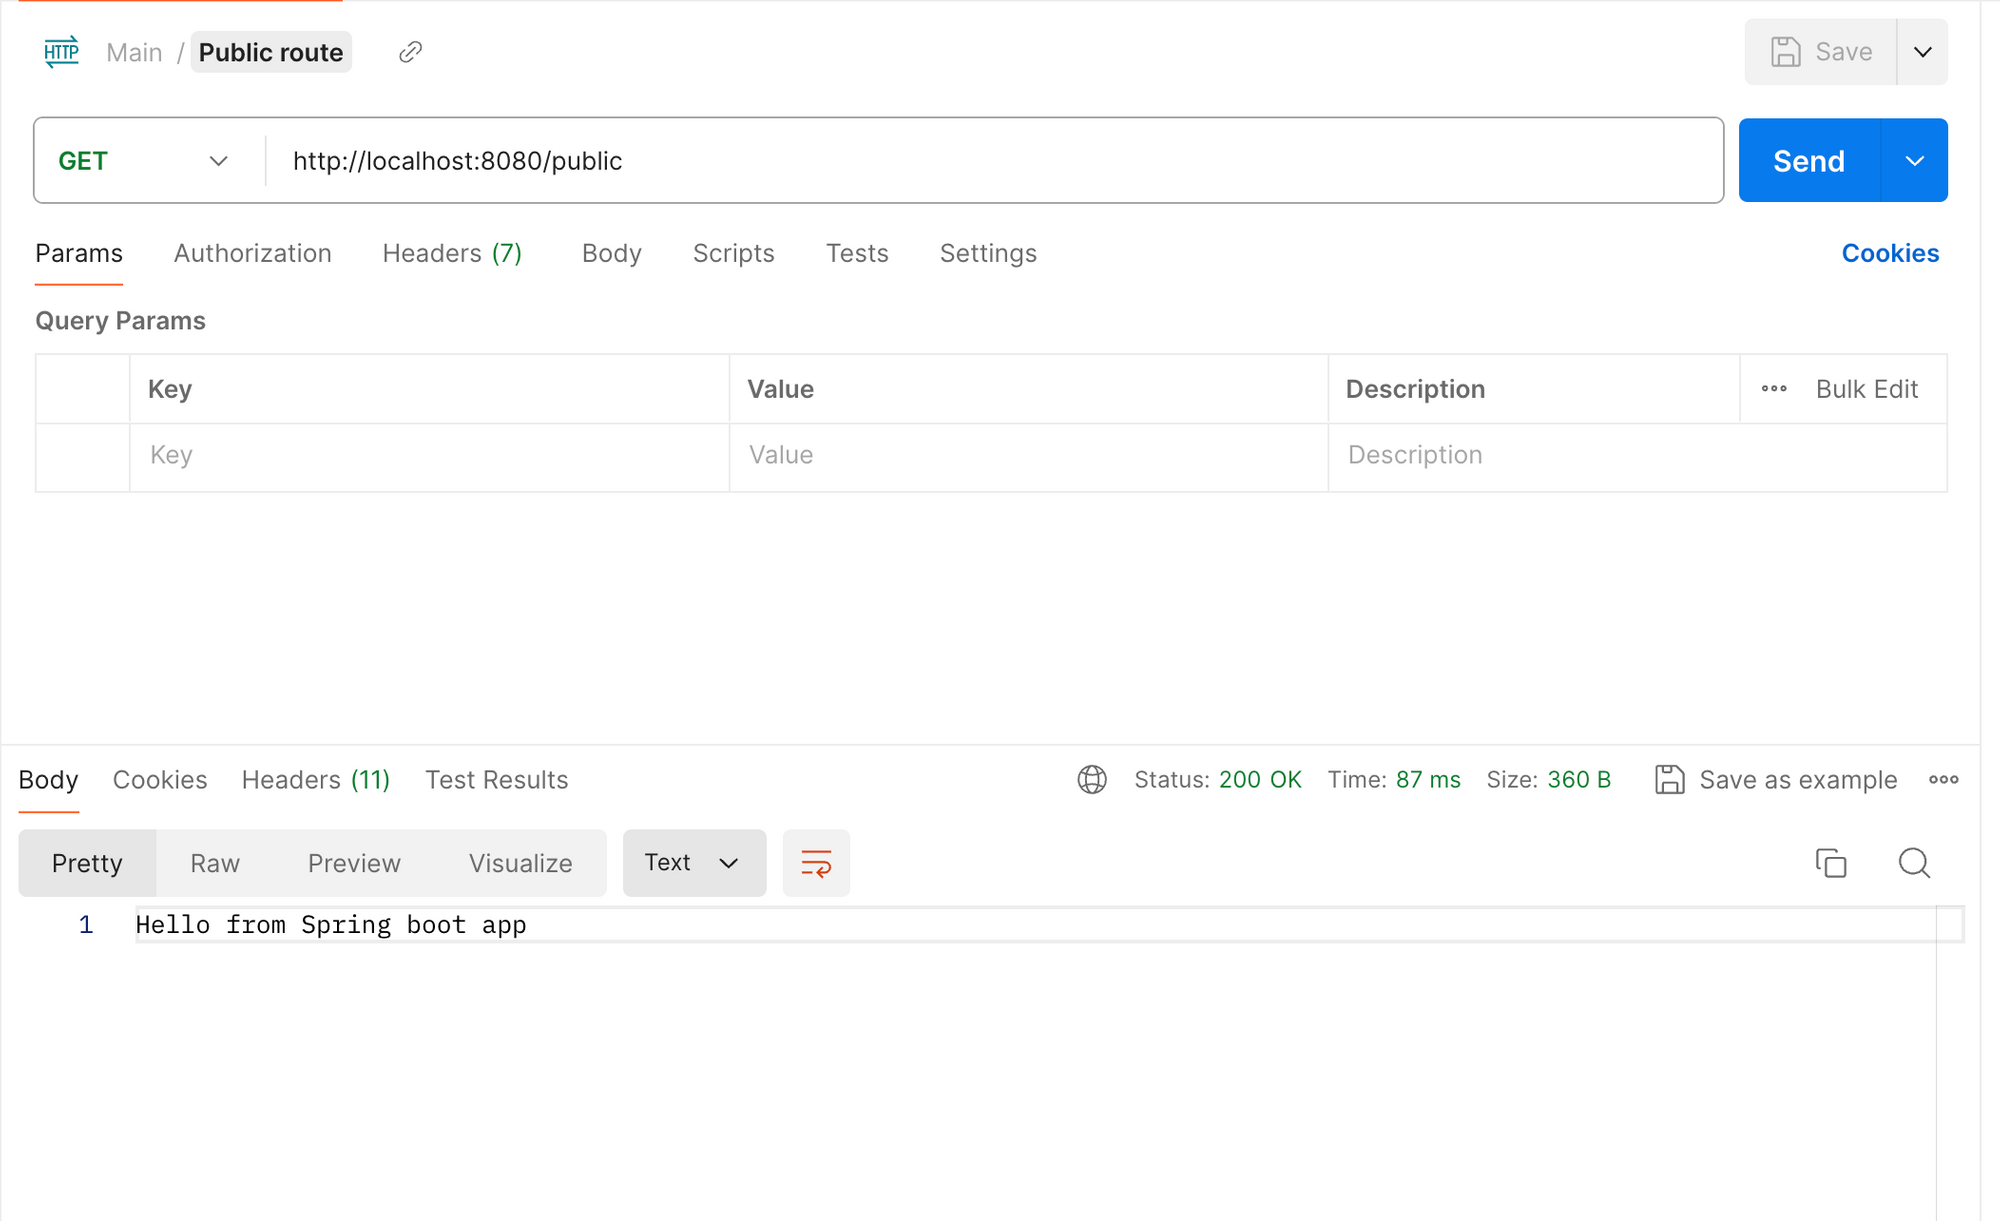
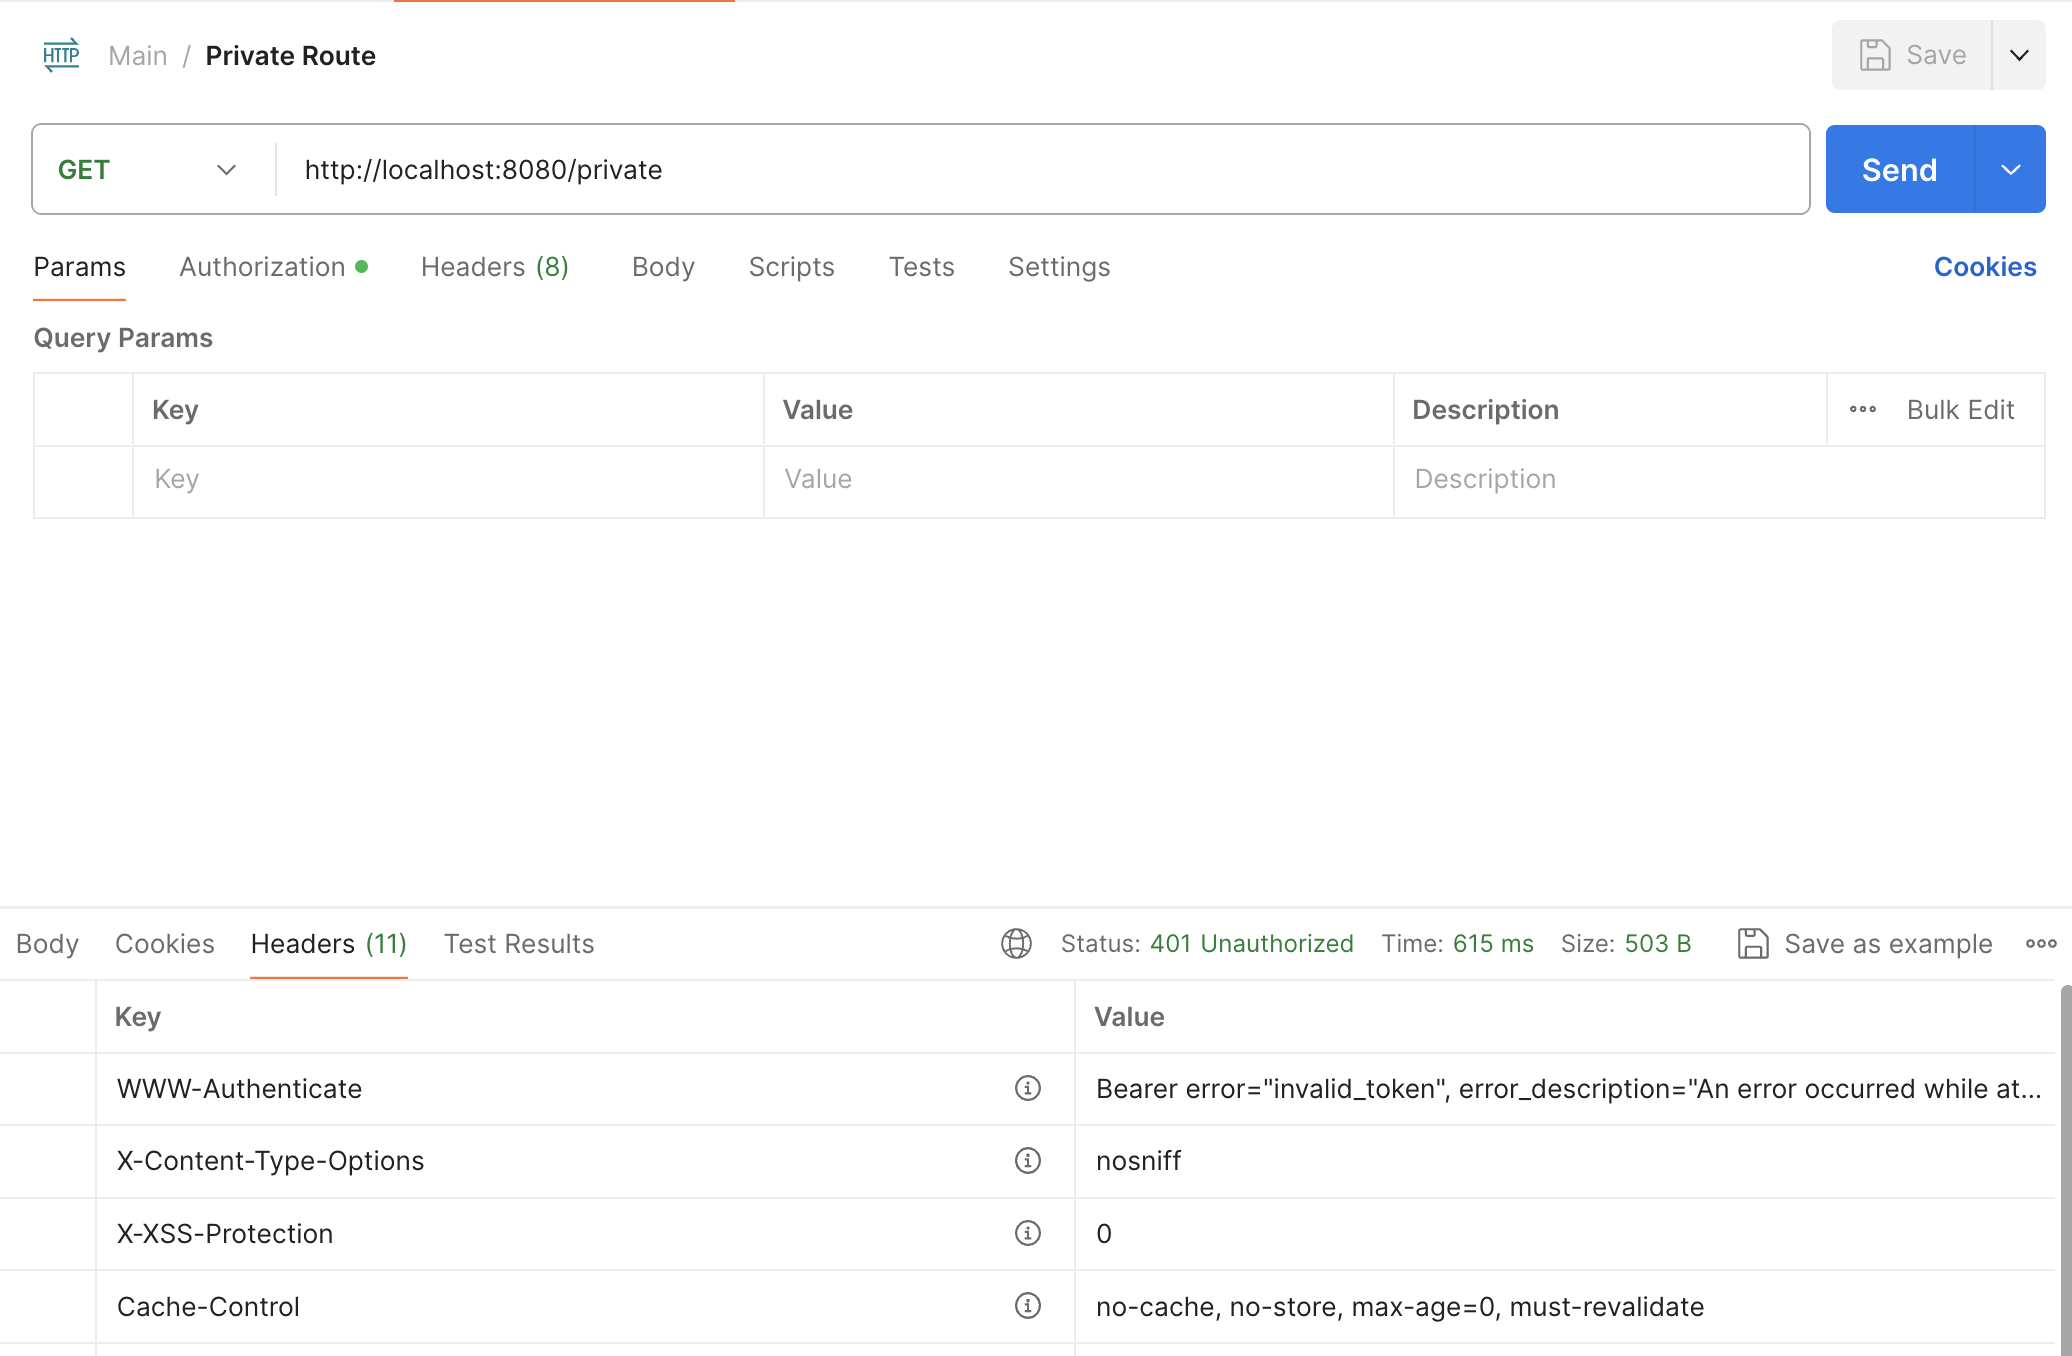
In the above two API calls, the /public route returned a response, while the /private route threw an error with a status of 401 Unauthorized.
This is because, in our configuration, we have made all routes starting with /public accessible without authentication. All the other routes would need some form of authentication. In our case, we need a Bearer Token to access the private route.
Let's include an authorization header in the request to the /private endpoint.
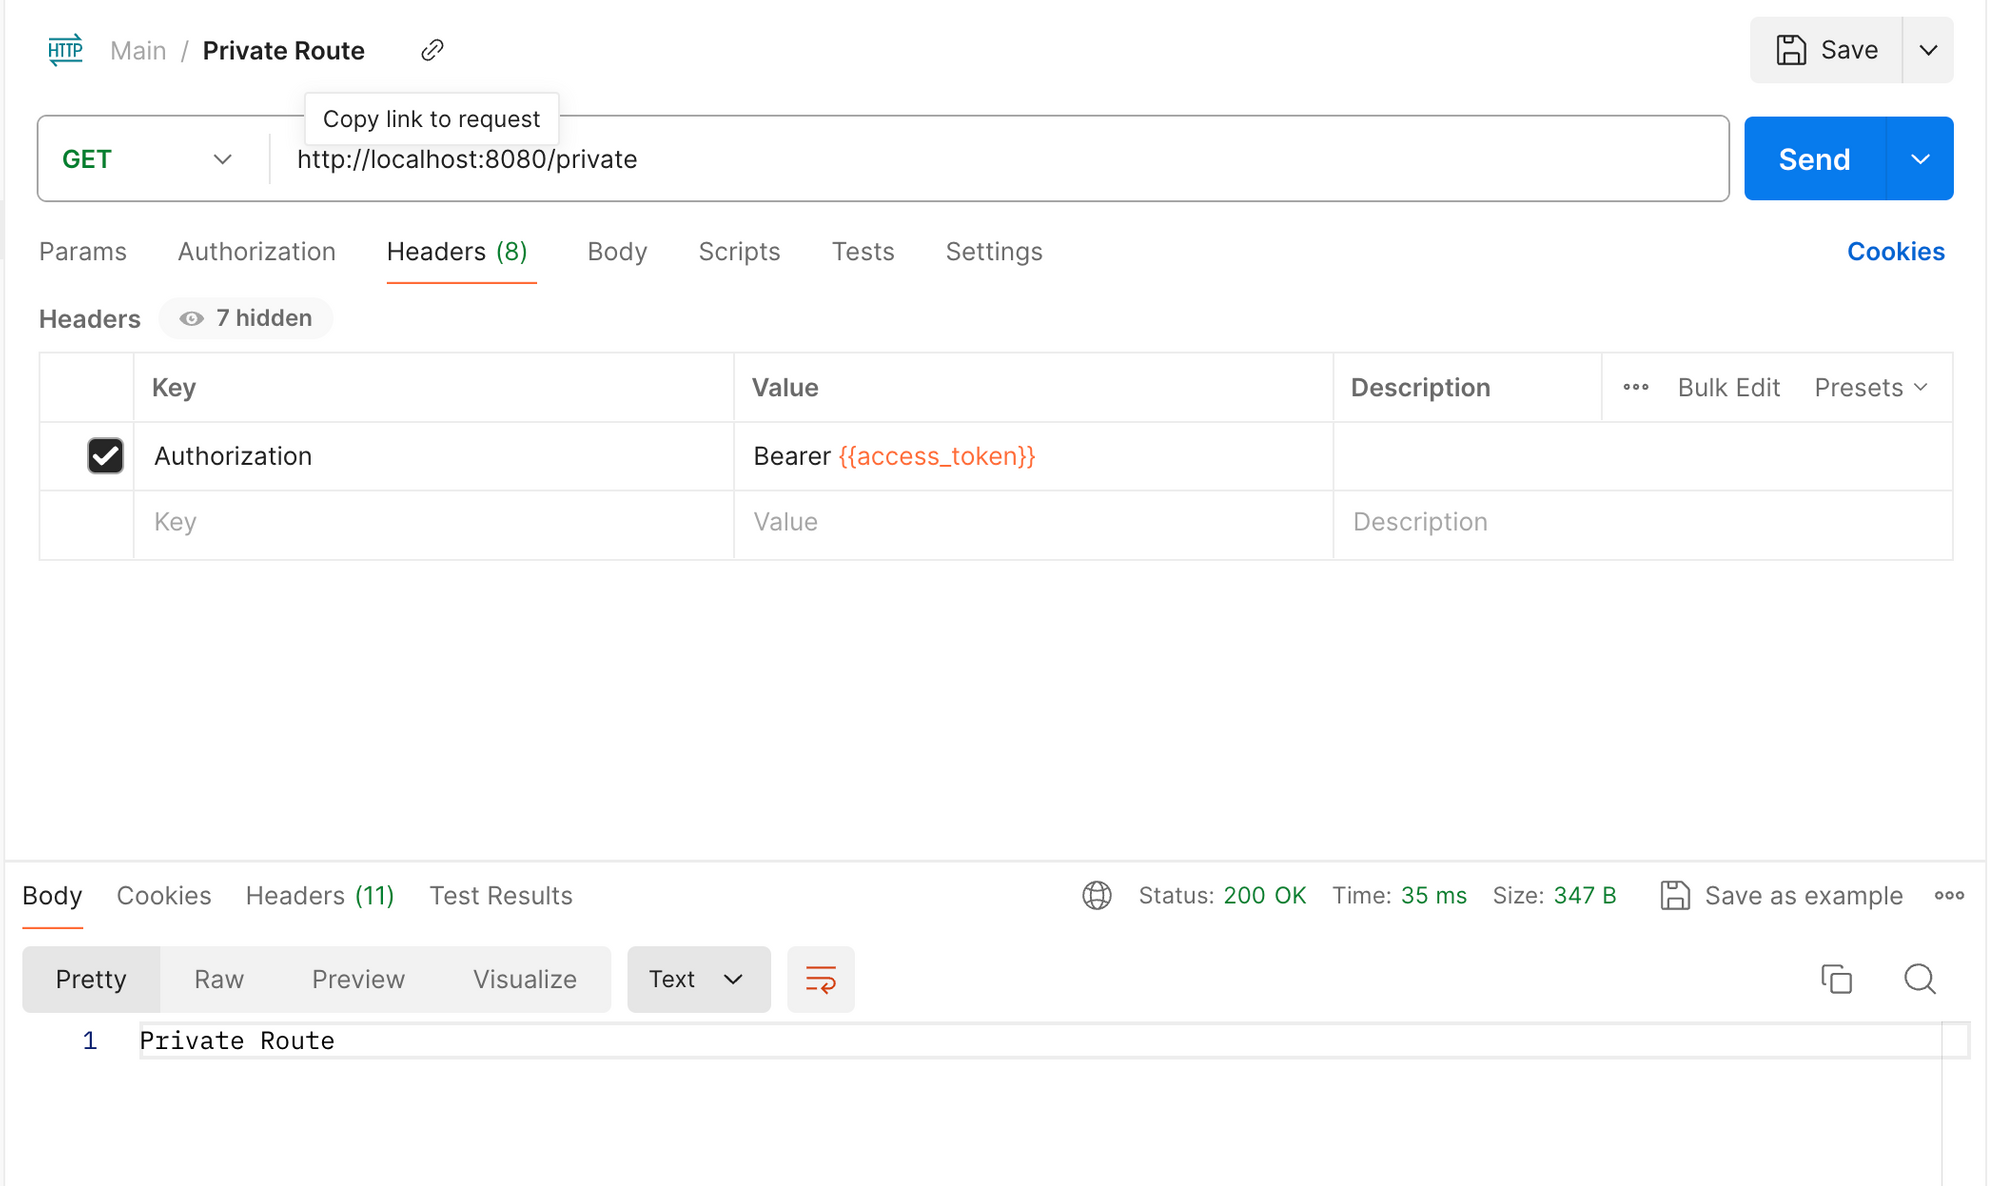
When we include an authorization header with the access token, the private route returns a response. For this, and any other routes not starting with /public, we need to pass an access token in the header.
We are not going to see how to obtain an access token, since we are only focussing on the resource server. The OAuth2 Client is responsible for obtaining an access token. I'll cover that in a future post.
How to Get the User's Details From the Access Token
When you make a request to a private route, the security filter intercepts this request and looks for a Bearer Token. If a token exists, it decodes the token and extracts the authentication information from the token. You can understand this whole process in detail from the OAuth2 Resource Server docs.
If the token is valid and authentication is successful, the authentication data is set on the SecurityContextHolder class. The SecurityContextHolder contains the details of the authenticated user. We use this class to extract the user's information such as name, email, and so on.
Let's see how we can get these user details. First, we get an Authentication object from the SecurityContextHolder:
Authentication authentication = SecurityContextHolder.getContext().getAuthentication();Then, we use the getPrincipal() that returns an object:
Object principal = authentication.getPrincipal();
Since we are using JWT Authentication, the above object can be type-casted into an object of type Jwt. The object contains the following fields:
{
    "tokenValue": token_value,
    "issuedAt": "",
    "expiresAt": "",
    "headers": {...},
    "claims": {
        "name": full_name,
        "email": user_email,
        "given_name": first_name,
        "family_name": last_name,
        "picture": picture_link,
        ...other fields
    },
    "subject": "",
    "id": null,
    "issuer": issuer_link,
    "audience": [...],
    "notBefore": null
}
Here, we can get the user data from the claims field:
Map<String, Object> claims = ((Jwt) principal).getClaims();
Using the above map, we can get the user's information using the corresponding key value. Let's write this logic in a separate class CurrentAuthContext:
public class CurrentAuthContext {
    private static Map<String, Object> extractClaim() {
        Authentication authentication = SecurityContextHolder.getContext().getAuthentication();
        Object principal = authentication.getPrincipal();
        Map<String, Object> claims = ((Jwt) principal).getClaims();
        return claims;
    }

    public static String getUserEmail() {
        return (String) extractClaim().get("email");
    }
}
You can add more methods to get the details you need. To get the user email anywhere in the application, just call CurrentAuthContext.getUserEmail() or any other method returning the value you need.
I haven't implemented custom error handling here. You can reach out to me with different ways to implement custom error handling.
Conclusion
OAuth2 provides a robust framework for securing your APIs while providing access to authorized users. In this post, we started with understanding OAuth2 and its components.
Spring Security is a fundamental part of the Spring OAuth2 Resource Server. We learned how to implement security configurations as per our requirements. Then, we defined public and private APIs and tested them with and without an access token.
A private API can only be accessed with an access token passed through the authorization header. We also implemented some logic to extract the user's information from the access token with the SecurityContextHolder class.
I attached reference links to docs at various places for further understanding of these concepts. That's all for today. I hope this helps in your future projects.
If you are unable to understand the content or find the explanation unsatisfactory, reach out to me. New ideas are always appreciated! Feel free to connect with me on Twitter. Till then, Goodbye!!