
Star detection is a crucial step in many of the processing and analysis routines that we perform on astronomical images. It is extremely important for a process called plate-solving, which is the process of figuring out which part of the sky an image shows, or which part of the sky your telescope is pointed at.
All modern telescope mounts can make use of plate solving software to automatically figure out where they're pointed at, and in which direction they need to move to point at the correct location.
Star detection, sometimes, is also used in correcting the effect of atmosphere on the sharpness of targets such as galaxies. It is also crucial for combining astronomical images from multiple nights, telescopes, locations and so on into a single output image that has a very high signal-to-noise ratio.
With this tutorial, I'd like to introduce a very naïve technique for detecting stars in an image.
A quick note:
Star detection is a very complex topic, and I've only scratched the surface both in my own understanding and in this article.
The steps I use and describe in this article are derived from public documentation on existing real world applications (both for star detection and for edge detection), as well as some blog posts from incredibly knowledgeable people (which I link to at the end of the article, be sure to check them out).
As such, this implementation is intended for learning purposes only.
Before You Read
Prerequisites for the first part of the tutorial
The process described builds upon the concept of multi-scale processing of images using a trous wavelet transform. If you're not aware of what that is, I encourage you to learn more about it using my previous article that I just linked to, and then come back to this one.
This article also assumes that you have a basic understanding of Centroids. Just knowing what they mean is enough, as you don't have to calculate them yourself. Since the article focuses on image processing and analysis, a basic understanding of how pixels work in digital format is helpful, but not mandatory.
Prerequisites for the second part of this tutorial
Here, we focus on implementing the algorithm using the Rust programming language, without going much into the details of the language itself. So being comfortable writing Rust programs, and comfortable reading crate documentations is required.
If this is not you, you can still read Part 1 and learn the technique, and then maybe you'll want to then try it out in a language of your choice.
If you're not familiar with Rust, I highly encourage you to learn the basics. Here's an interactive Rust course that can get you started.
Table of contents
- How Star Detection Works
- How to Implement it in Rust
- Prerequisites
- How to read and decompose the input image
- Noise reduction
- How to optimize the threshold and binarization
- How to construct polygons around stars
- How to detect star size and location using contours
- How to encapsulate the process
- How to test the implementation on astronomical images
- How to optimize minimum star count
- But there is one more thing...
- Further Reading
- Wrapping Up
How Star Detection Works
Since this process involves a lot of steps, let's see how it works, with an increasing level of detail about what actually happens as we go along. With each increasing level, we'll be unwrapping the black box bit by bit.
What is Star Detection?
Star detection, at it's simplest form, involves isolating the stars from the rest of the image, and then performing edge detection on it.

How Star Detection Works
First, you try to extract away the pixels that you think might be stars from the rest of the pixels in the image. This new image, that only contains the extracted pixels, is then analysed using edge detection techniques to find the star positions in 2D space.


An Intermediary Look At The Process
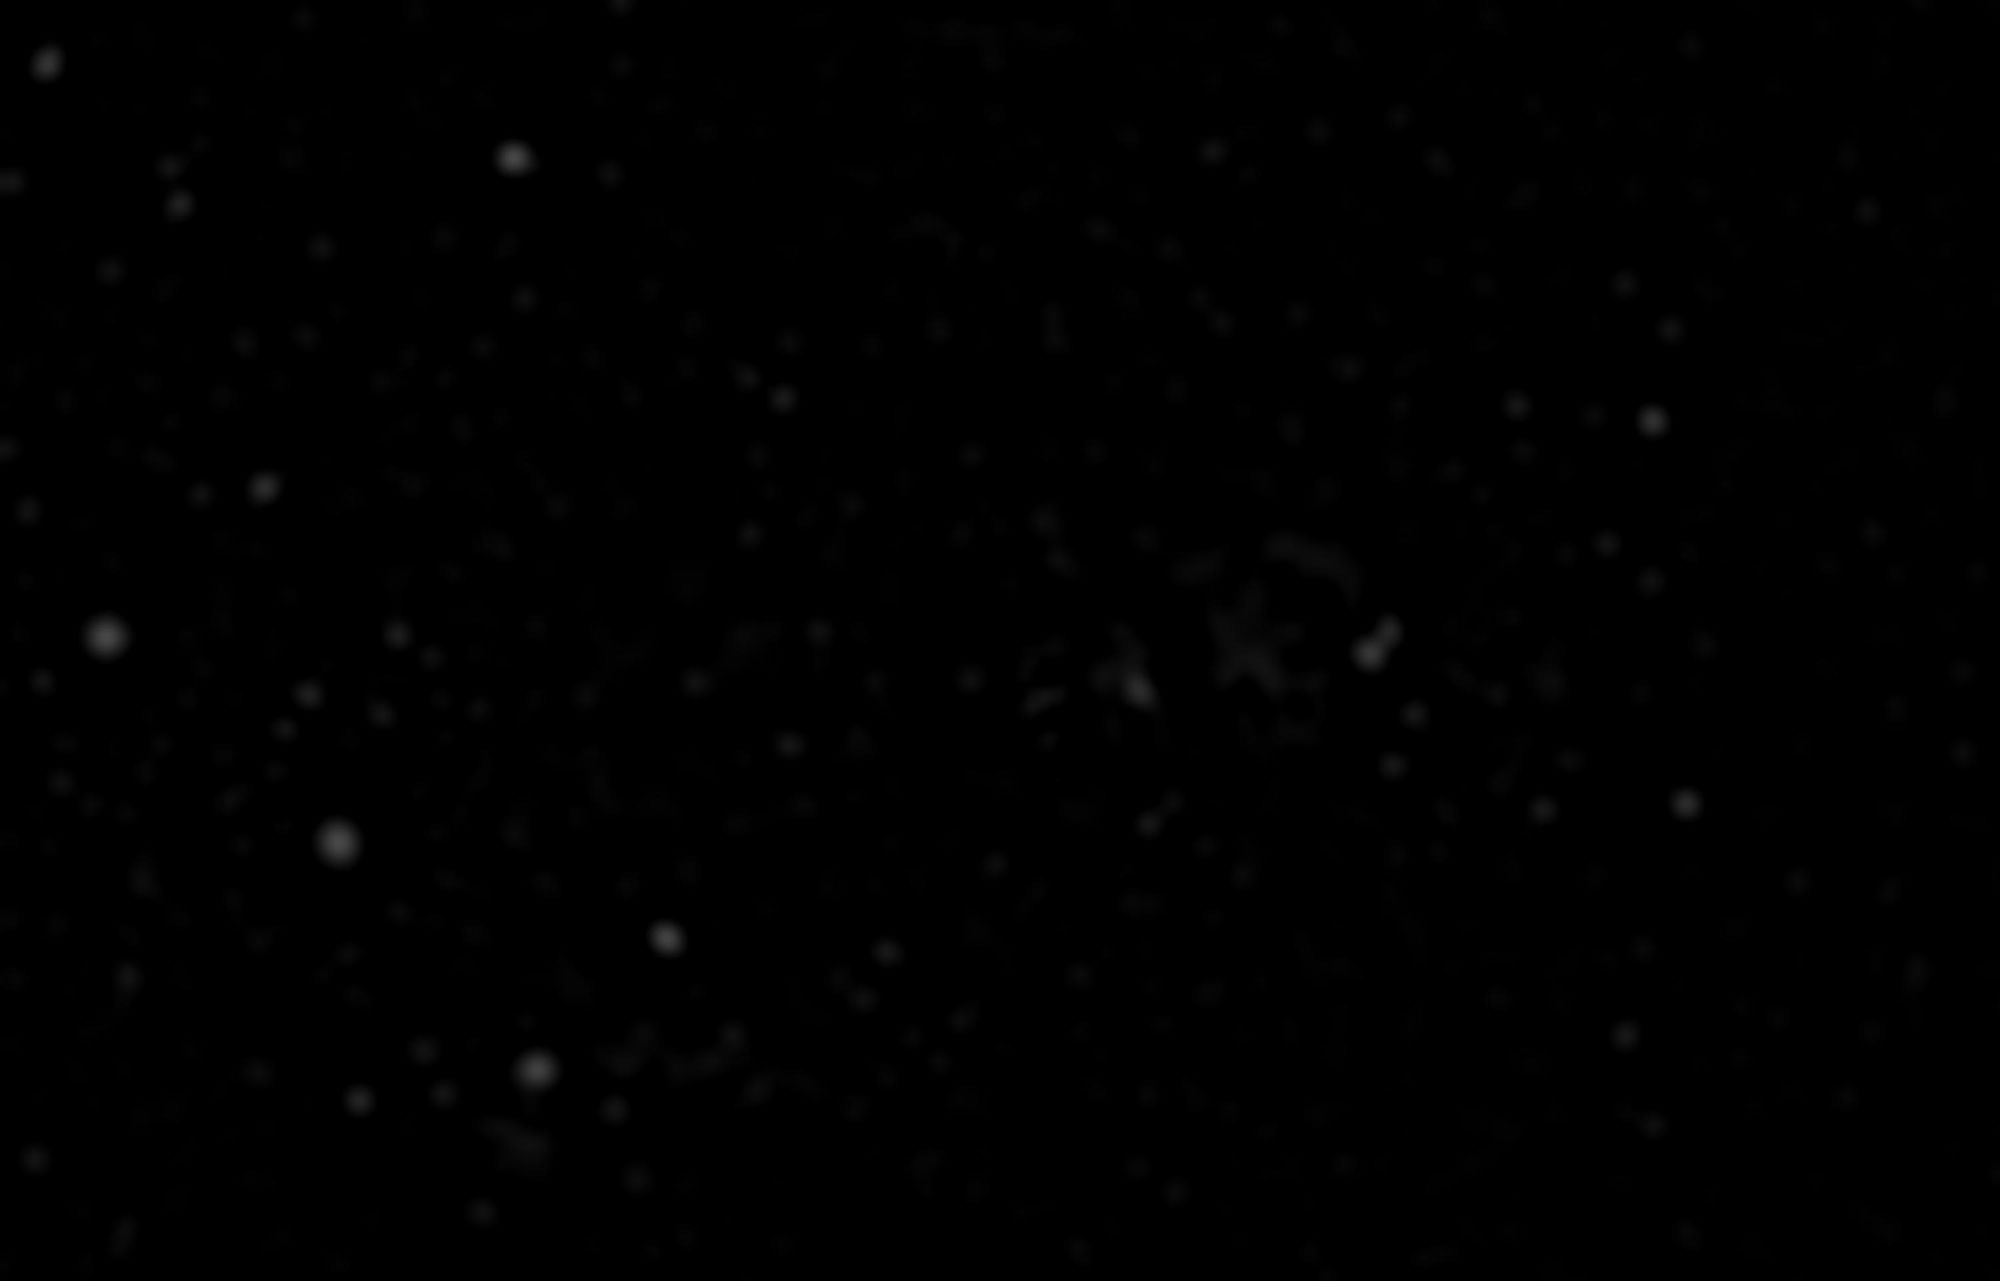
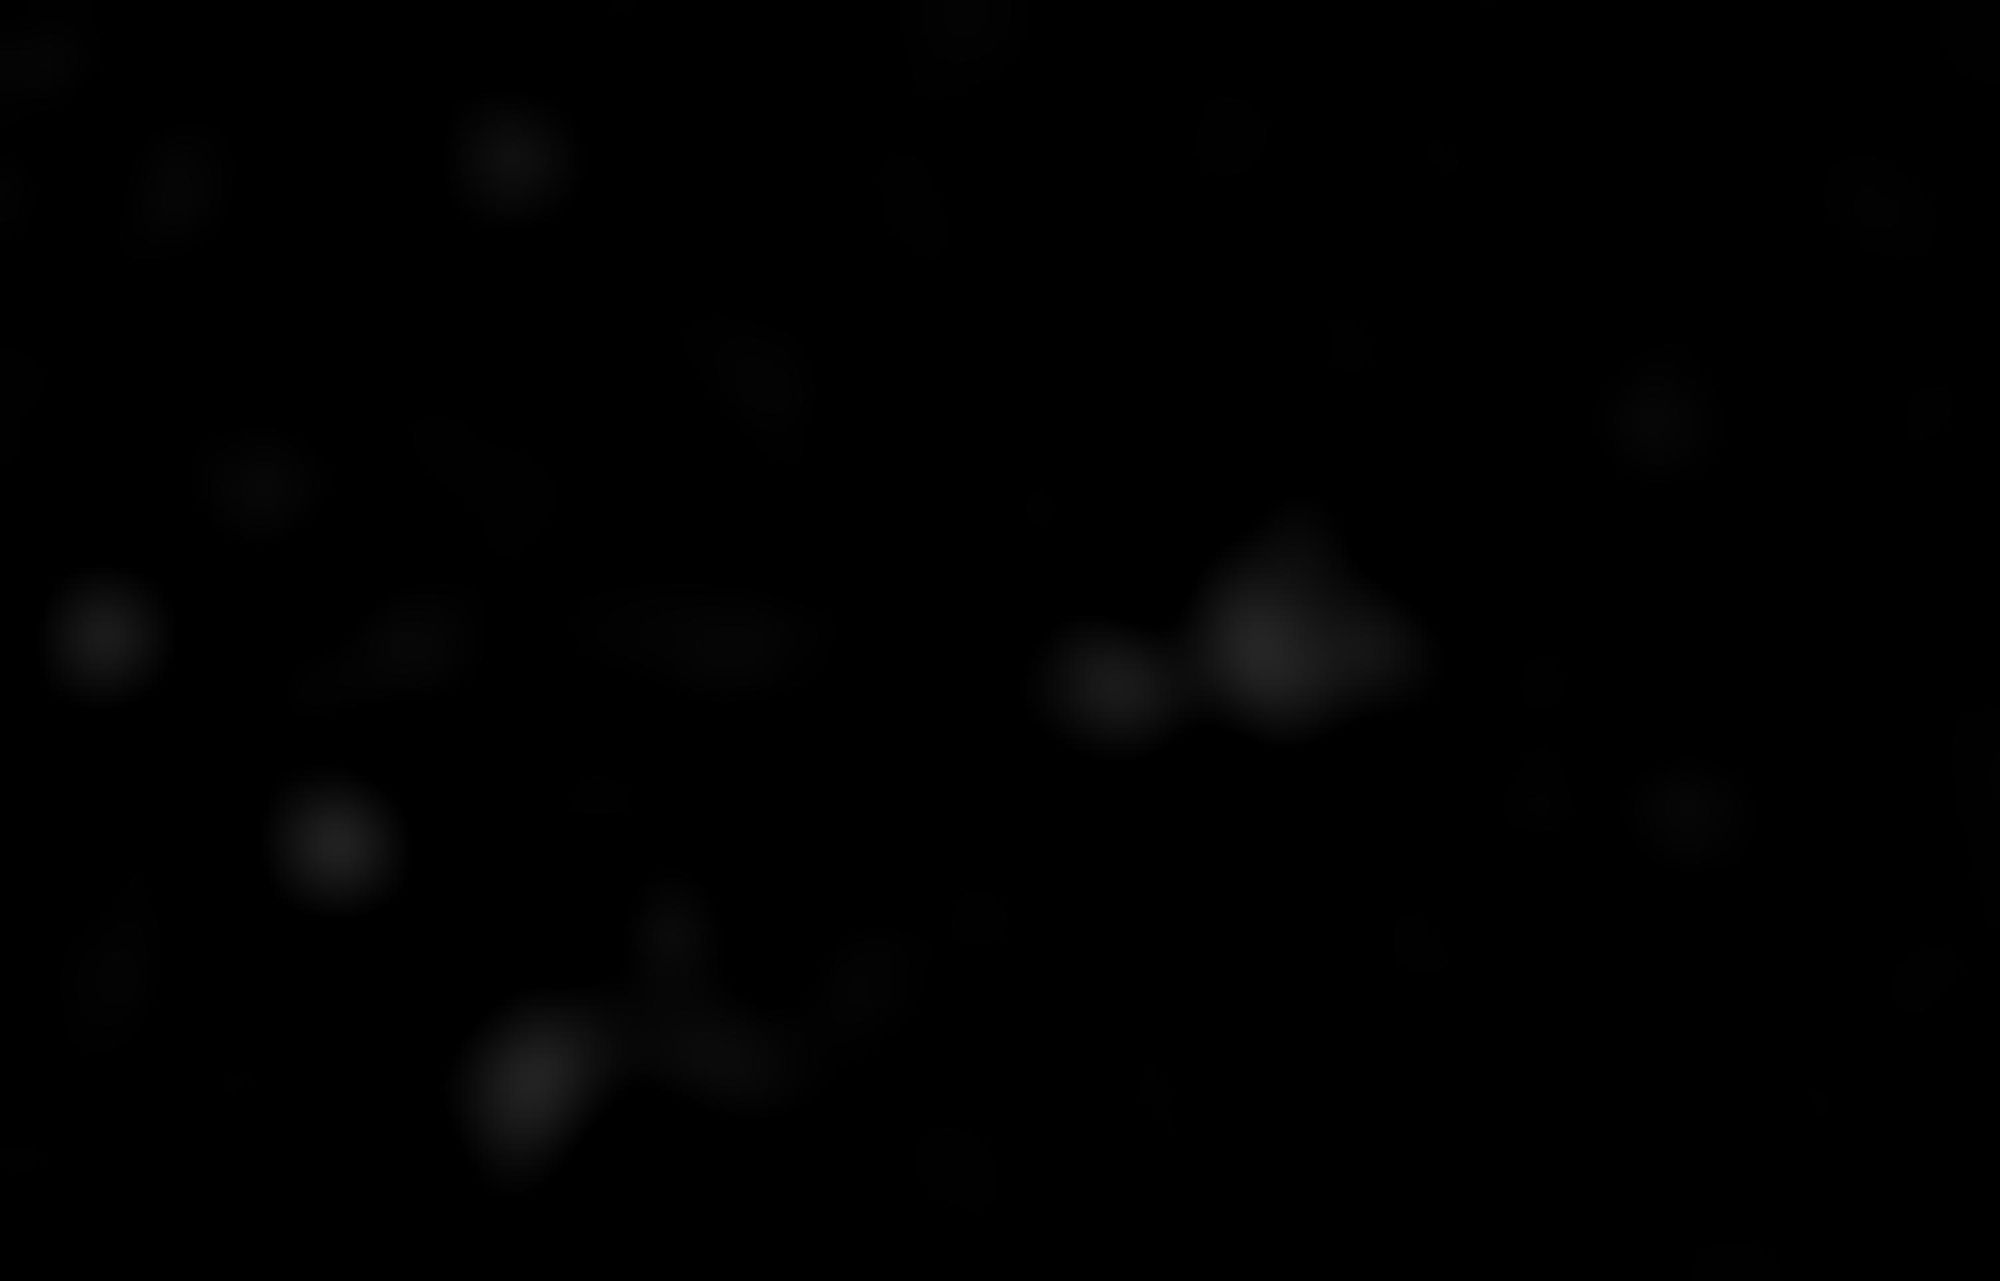
Then, you decompose your input image into multiple layers, each layer containing a part of the original data such that adding all layers gives us back the original data.
You then isolate the layers that would only contain small sized structures, such as noise and stars, and throw away the rest of the data.

With this filtered data, you find the edges in the image using the contouring technique (which is explained in the next section). Each contour gives us multiple "points" in the 2D space. You then try to draw a closed shape using the points you have.
Once you've done this, all you need is to find the center of this shape and you have the location of the stars.


Picking It Apart
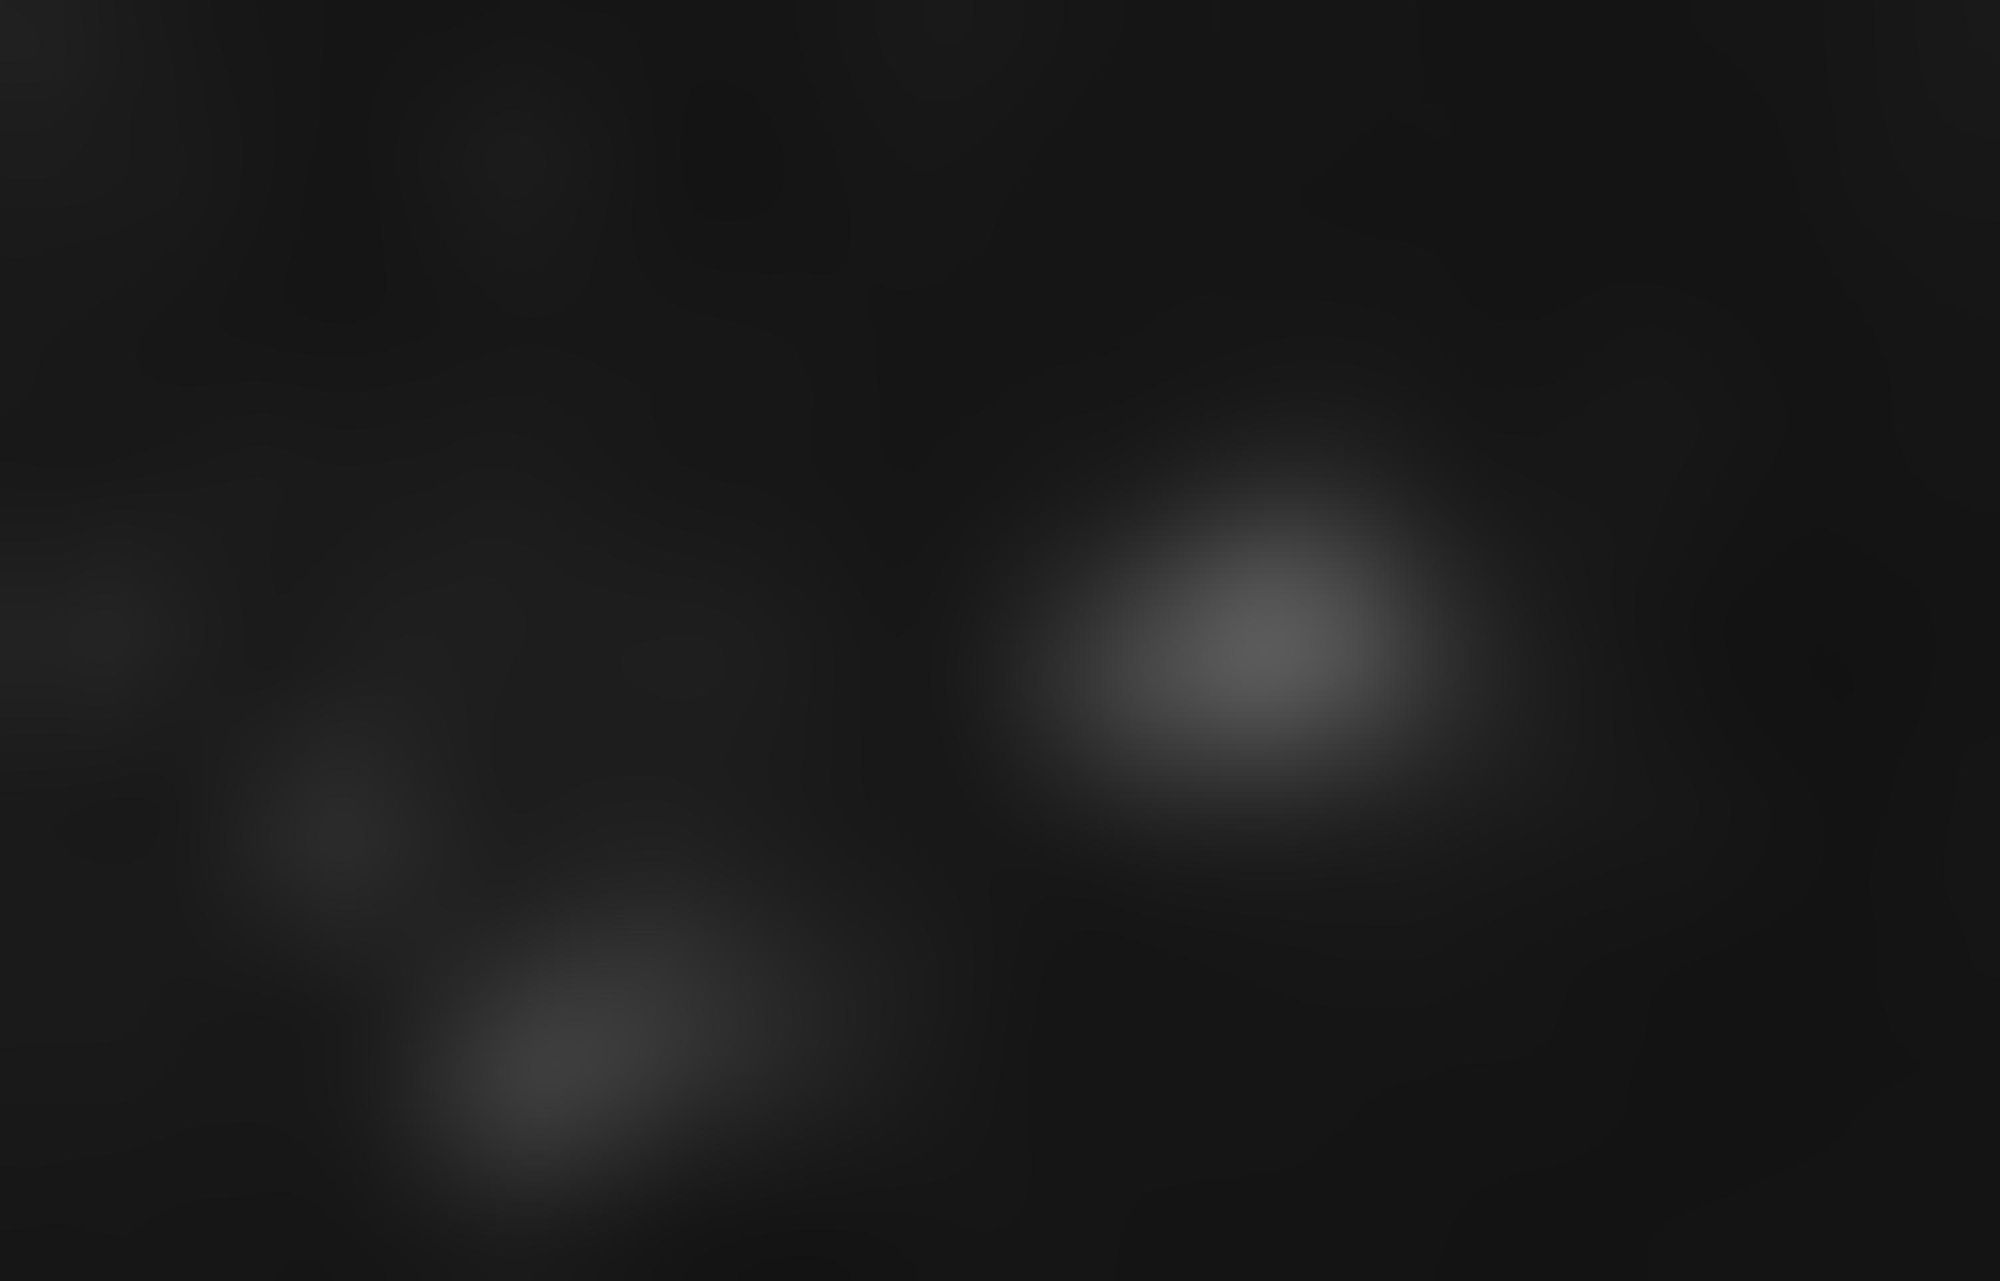
Using a multi-scale analysis technique facilitated by the à trous transform algorithm, you break down the image into multiple layers, each containing different scaled structures from the original image. You take the layers containing smaller scale structures and throw away the rest.
To these layers, you apply a bilateral denoising filter to reduce noise so that you can ensure that you're only left with stars and not noise that the algorithm might pick up as stars later on.

Once you've filtered out the noise, you binarize your image using thresholding. Thresholding and binarization is the process of converting all of the pixels to either pure black or pure white, so that they're easier to work with. You can do this by selecting a certain intensity value, and all pixels with intensity less than this become black and all pixels with intensity more than this become white.
To find the optimum intensity value to binarize the image with, you define a minimum number of stars that you expect to find in the image, which is usually determined based on what you actually need to do with your star locations.
In our example, we'll start with a minimum of 500 and slowly push it to the limit of the sample image to see what happens.

This makes the process of edge detection (which is the next step in our process) using contouring much more reliable.
Contouring is a term that describes the process of figuring out where the structures are in your image, and drawing a border along those structures – these are known as contours.
It is similar to edge-detection, but edge-detection helps you differentiate between individual neighbouring pixels, whereas contours are designed to work with a complete boundary of any structures in an image.
The library we'll be using finds the contours in an image using the algorithm proposed by Suzuki and Abe: Topological Structural Analysis of Digitized Binary Images by Border Following. Contouring in this manner will give you a collection of points that lie on the border of each contour.
For each contour it finds, you create a polygon by joining all of the border points within that contour. If this shape is an open shape, then you just extrapolate the final border to create a polygon, which needs to be a closed shape. You then use the centroid formulae on this polygon to find the center of mass of your shape, which gives you the center of your star (in most cases).
You also need to find the euclidean distances between the center of mass and each border point, the longest of which becomes the size of the star.
Once you have your star size, you reject any stars that are either smaller than 1 pixel or larger than 24 pixels. These are educated guesses that I use, and they seem to give me the best results for sample images (but this is definitely a potential point of improvement).
After all of this, you should have the x and y coordinates of the star, as well as its size in pixels.

We're going to stop there, but there's a lot more that you can do after this step to remove false-positives and fix the centroid/size of stars.
How to Implement it in Rust
Let's create a new library project:
cargo new --lib stardetect-rs && cd stardetect-rs Prerequisites
You need a couple of dependencies to get started. Let's add them and I'll explain why you need them:
cargo add image imageproc image-dwt geoimageis a Rust library we'll use to work with images of all of the standard formats and encodings. It also helps us convert between various formats, and provides easy access to pixel data as buffers.imageprocis another library by the people who created theimagelibrary. It's an extension for the same as it implements image processing functions and algorithms for theimagelib.image-dwtis my own library (shameless plug) that implements the à trous wavelet decomposition algorithm forimagecrate. This is needed to break down our image into multiple scales that I mentioned previously.geois a Rust library that allows us to easily work with geometric types (like points in 2d space), shapes (such as polygons), and algorithms implemented for them. We use this library to build our polygon based on contour data, and to also find the centroid of the polygon that I described above. It also helps us compute euclidean distances between points, which we use for determining star size.
How to read and decompose the input image
You start by reading the input image and decomposing it so that you're only left with stars (and noise).
You need to define a new struct that will act as a wrapper for your input image, and add a constructor for it to create an instance of this struct based on input:
// lib.rs
use image::{DynamicImage, GrayImage};

pub struct StarDetect {
    source: GrayImage,
}

impl From<DynamicImage> for StarDetect {
    fn from(source: DynamicImage) -> Self {
        Self {
            source: source.to_luma8(),
        }
    }
}
You then need to add the ability to extract the first n layers from wavelet decomposition of your image:
// lib.rs

use image_dwt::kernels::LinearInterpolationKernel;
use image_dwt::recompose::{OutputLayer, RecomposableWaveletLayers};
use image_dwt::transform::ATrousTransform;

impl StarDetect {
    fn extract_small_scale_structures(&mut self) {
        let (width, height) = self.source.dimensions();

        // Decompose the image into 8 layers
        let filtered_image = ATrousTransform::new(
            &DynamicImage::ImageLuma8(self.source.clone()),
            8,
            LinearInterpolationKernel,
        )
        // Filter out the residue image and keep the rest
        .filter(|item| item.pixel_scale.is_some())
        // Recompose the first 3 layers into a grayscale image.
        .recompose_into_image(width as usize, height as usize, OutputLayer::Grayscale);

        // Update the source image that we will work with
        // going forward.
        self.source = filtered_image.to_luma8();
    }
}
Noise reduction
Now that you have the input image (which should only contain noise and stars), let's get rid of the noise:
// lib.rs

impl StarDetect {
    fn apply_noise_reduction(&mut self) {
        self.source = imageproc::filter::bilateral_filter(&self.source, 10, 10., 3.);
    }
}
Next, you need to determine the optimum threshold value for a given minimum star count. You find it by picking a value and iteratively optimising it until you hit a star count that's more than the minimum.
How to optimize the threshold and binarization
Start by creating a new file threshold.rs and defining a trait with necessary methods. You need a method to optimise your threshold value and another for performing the binarization operation:
// threshold.rs

pub(crate) trait ThresholdingExtensions {
    fn optimize_threshold_for_star_count(&self, min_star_count: usize) -> u8;
    fn binarize(&mut self, threshold: u8);
}
Let's implement both of these:
// threshold.rs

use crate::centroid::find_star_centres_and_size;
use crate::StarDetect;

impl ThresholdingExtensions for StarDetect {
    fn optimize_threshold_for_star_count(&self, min_star_count: usize) -> u8 {
        // Current star count
        let mut star_count = 0;

        // Starting threshold value
        let mut threshold = u8::MAX;

        // Iterate until you've found the best threshold
        while star_count < min_star_count {
            // Panic if we reach the 0 intensity value while iterating.
            // This means that there are fewer stars than we hoped for.
            if threshold == 0 {
                panic!("Maximum iteration count reached");
            }

            // Reduce threshold to 95% of its previous value.
            // Using this, we check finer and finer differences
            // in threshold for each iteration.
            threshold = (0.95 * threshold as f32) as u8;

            // Clone the source data since we need to modify it
            // without affecting original data.
            let mut source = self.clone();

            // Binarize the source data image using current threshold
            ThresholdingExtensions::binarize(&mut source, threshold);

            // Find the number of stars detected with the current threshold
            star_count = find_star_centres_and_size(&source.source).len();
        }

        threshold
    }

    fn binarize(&mut self, threshold: u8) {
        // Iterate over every pixel in source image
        for pixel in self.source.iter_mut() {
            if *pixel > threshold {
                // If pixel intensity is greater than threshold
                // set it to maximum intensity instead.
                *pixel = u8::MAX;
            } else {
                // Otherwise, set it to 0 intensity.
                *pixel = 0;
            }
        }
    }
}
You might notice that we use the find_star_centres_and_size function when trying to find the optimised threshold value. We'll get to that shortly, as we need to declare some types that will hold the state of our computation before we implement the function.
Create a new file centroid.rs.
Define a new struct that will hold the coordinates and size of the star:
// centroid.rs

use imageproc::point::Point;

#[derive(Eq, PartialEq, Copy, Clone, Debug)]
pub struct StarCenter {
    coord: Point<u32>,
    radius: u32,
}

impl StarCenter {
    pub fn coord(&self) -> &Point<u32> {
        &self.coord
    }
    pub fn radius(&self) -> u32 {
        self.radius
    }
}
We've also defined methods to retrieve these fields. Point is a type provided to you by imageproc crate to store coordinates in an image.
How to construct polygons around stars
We're going to implement this function inside out. We first need a way to construct our polygon from contours. Let's implement that:
// centroid.rs

use geo::LineString;
use imageproc::contours::Contour;

pub(crate) fn construct_closed_polygon(contour: &Contour<u32>) -> LineString<f32> {
    // Create a new line string that connects all points
    // in the contour. This can create either an open
    // or a closed shape.
    let mut line_string = LineString::from_iter(contour.points.iter().map(|point| Coord {
        x: point.x as f32,
        y: point.y as f32,
    }));

    // If it is an open shape, close the shape to create a
    // polygon. This does nothing otherwise.
    line_string.close();

    line_string
}
Contour is a type provided by the imageproc crate, which is what it returns as the result of contouring operation on an image. It contains a list of points that lie on the border of the contour.
LineString is a type provided by geo and is defined by them as "An ordered collection of two or more Coords, representing a path between locations.". In this case, we use this type to construct the polygon shape.
How to detect star size and location using contours
Next, you need a way to compute the StarCenter type we declared previously from contour data:
// centroid.rs
use geo::{Centroid, Coord, EuclideanDistance};
pub(crate) fn filter_map_contour_to_star_centers(contour: &Contour<u32>) -> Option<StarCenter> {
// If there are no points in the contour
// it is not a star.
if contour.points.is_empty() {
return None;
}
if contour.points.len() == 1 {
// If there's only 1 point in the contour
// consider it to be the center of the star
// of size 1px.
let center = contour.points.first().unwrap();
let radius = 1_u32;
return Some(StarCenter {
coord: *center,
radius,
});
}
// Otherwise, construct a polygon around the star based on
// contour information.
let polygon = construct_closed_polygon(contour);
// Find the centre of gravity of this polygon (centroid)
let center = polygon.centroid().unwrap();
// Find the radius of the star based on maximum distance between
// the centroid and any of the points in contour.
let radius = polygon.points().fold(0., |distance, point| {
point.euclidean_distance(¢er).max(distance)
});
// If the radius is less than 1px or more than 24px
// we reject it as a non-star.
if !(1. ..=24.).contains(&radius) {
return None;
}
// Construct star center based on previously computed information
Some(StarCenter {
coord: Point {
x: center.x() as u32,
y: center.y() as u32,
},
radius: radius as u32,
})
}This function utilises the construct_closed_polygon function you defined previously to compute the final star centers and sizes. Now for the easy part: let's implement the missing find_star_centres_and_size:
// centroid.rs

use image::GrayImage;

pub(crate) fn find_star_centres_and_size(image: &GrayImage) -> Vec<StarCenter> {
    // Compute the contours in source image
    let contours = imageproc::contours::find_contours::<u32>(image);

    contours
        .iter()
        // Iterate over all contours and create a list
        // of star center and size data.
        .filter_map(filter_map_contour_to_star_centers)
        .collect()
}
How to encapsulate the process
All you need now is to implement one last method on the StarDetect struct that encapsulates the entire process:
// lib.rs

use crate::centroid::{find_star_centres_and_size, StarCenter};
use crate::threshold::ThresholdingExtensions;

impl StarDetect {
	pub fn find_stars(&mut self, min_stars: usize) -> Vec<StarCenter> {
        self.extract_small_scale_structures();
        self.apply_noise_reduction();

        let threshold = self.optimize_threshold_for_star_count(min_stars);
        self.binarize(threshold);

        find_star_centres_and_size(&self.source)
    }
}
This method only calls the functions we've written so far. The user of your library will only need to call this function and nothing else.
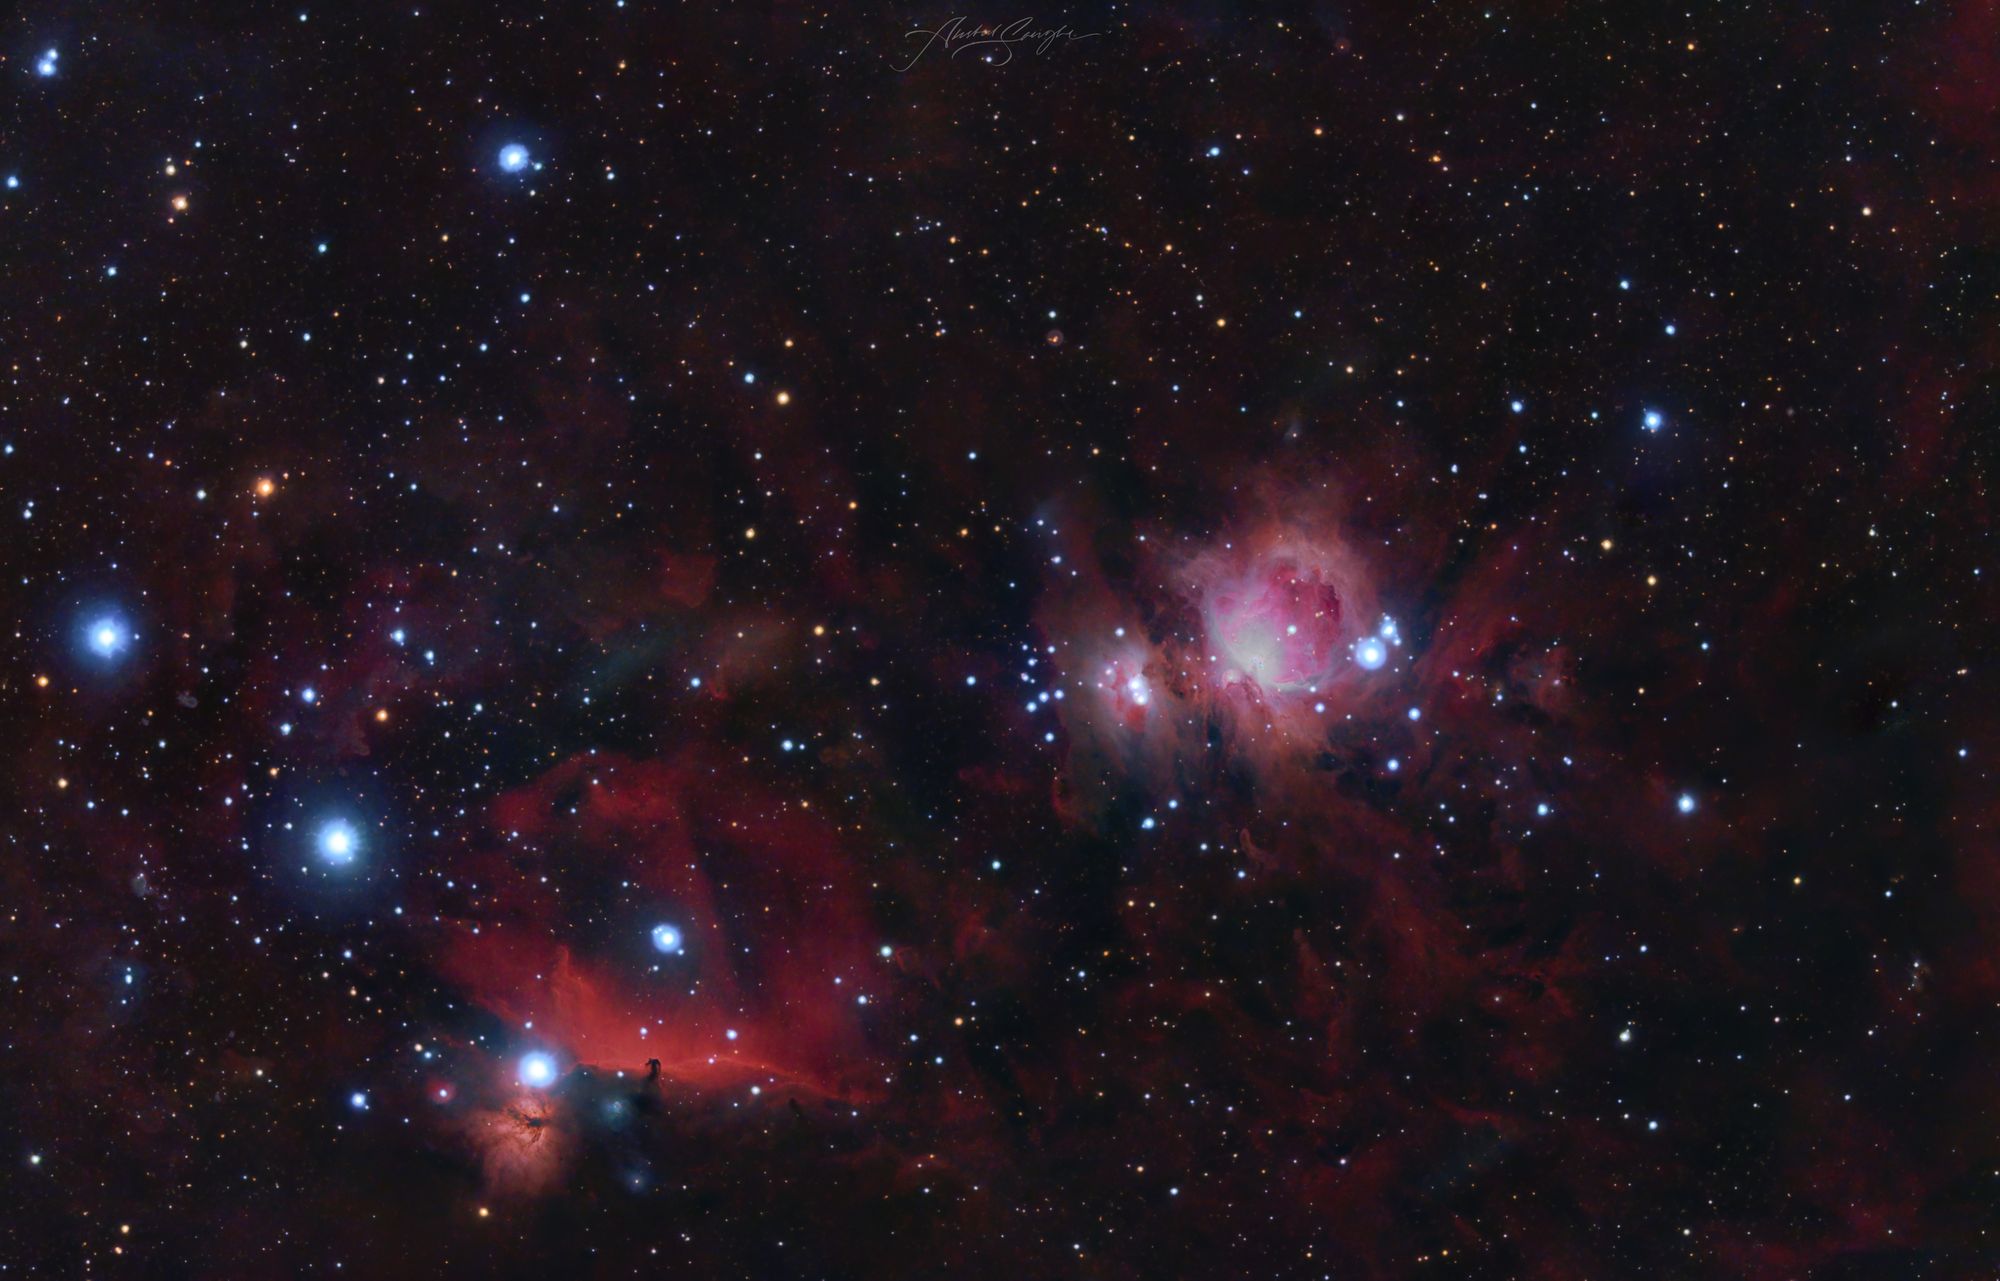
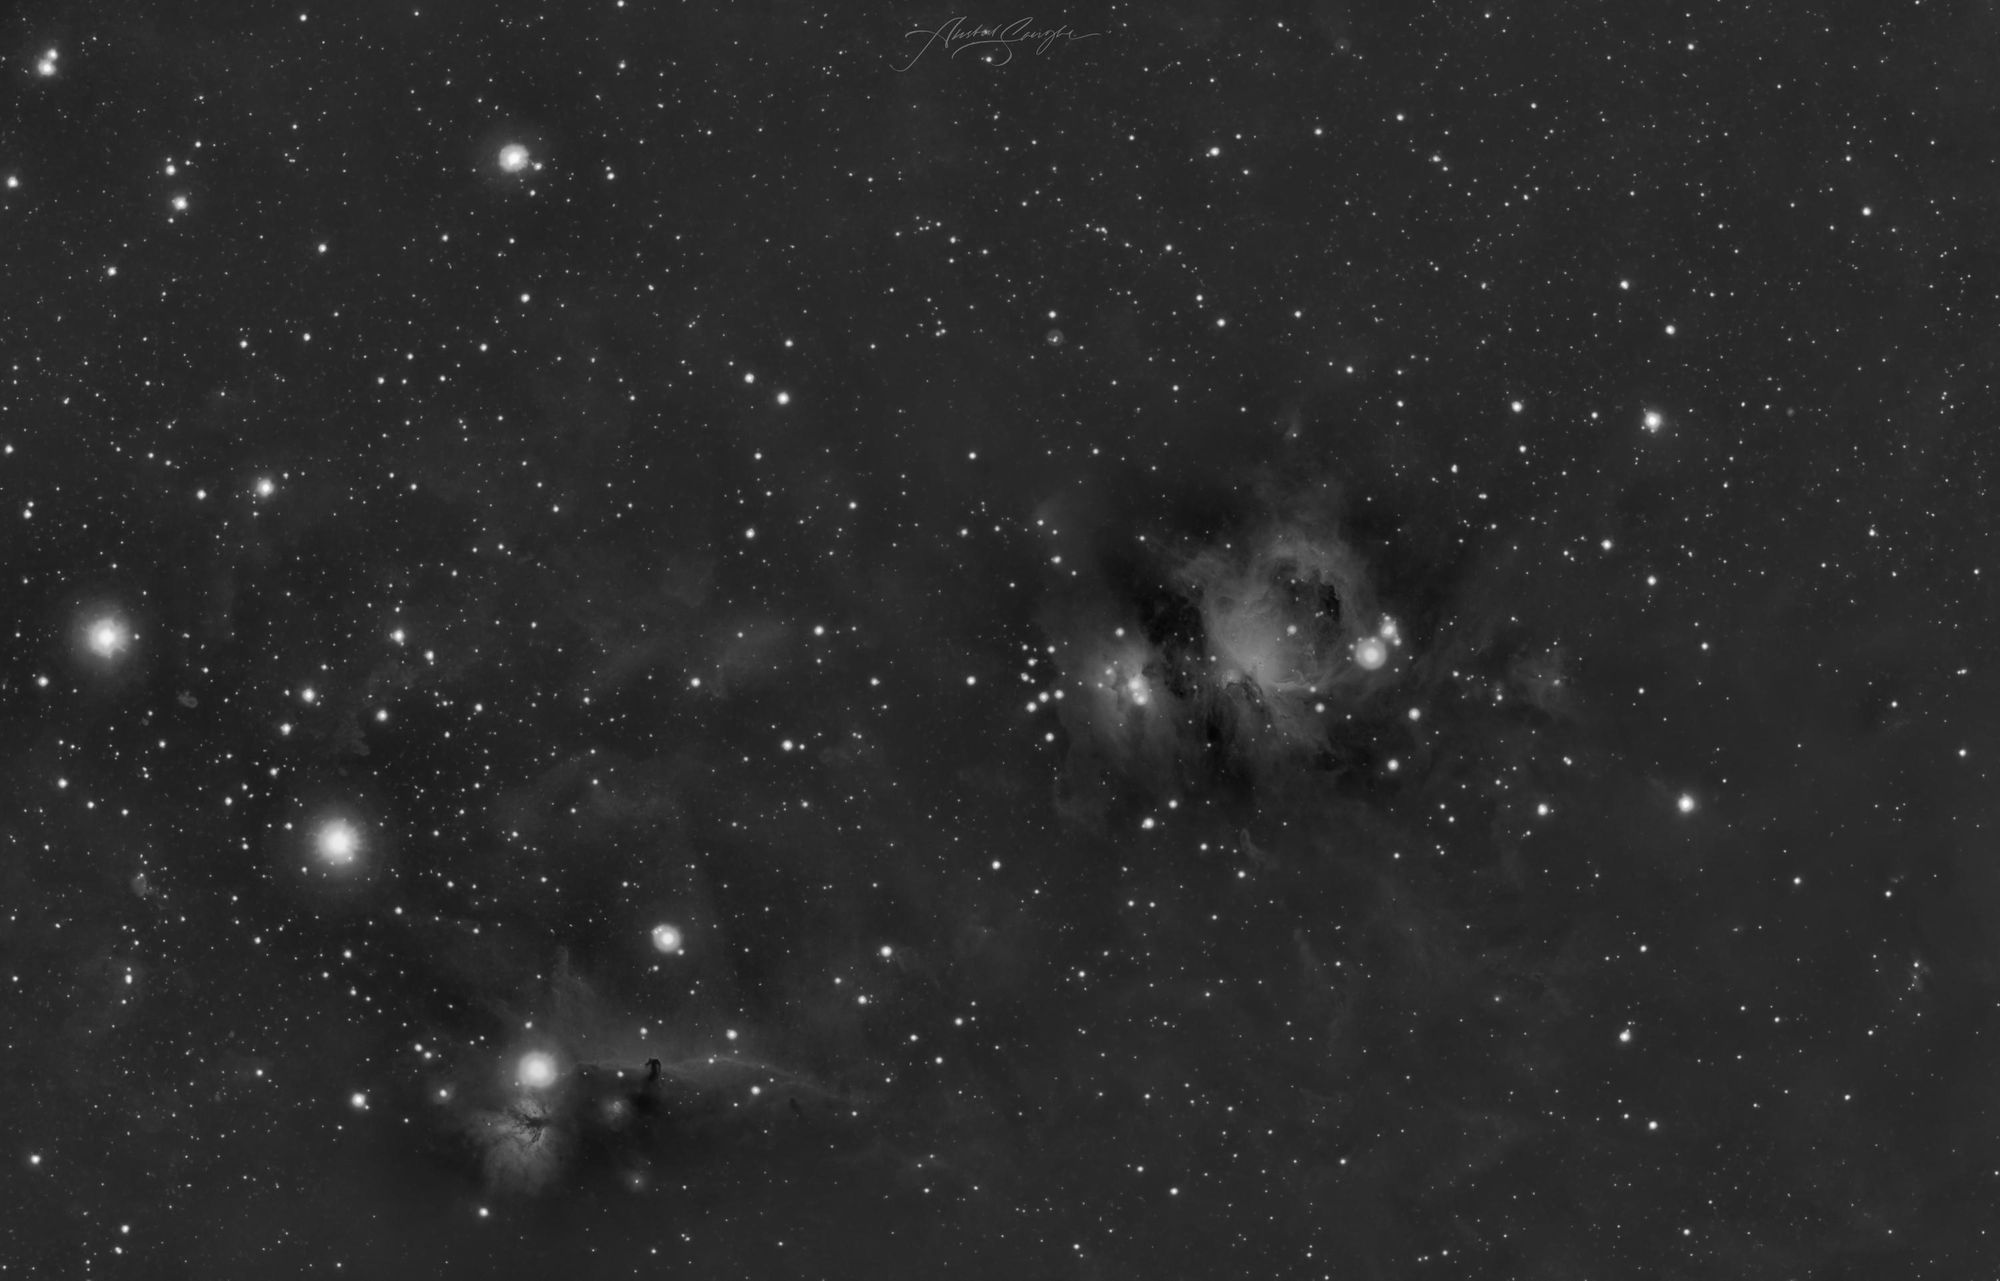
You can now use what you've created to find stars in an image. For this article going forward, the image I'll be using to demonstrate is shown below. If you'd like to follow along, you can download the image I'll be using from here.

As you might notice, we have a wide range of star shapes, sizes and colors in this image, but the same goes for noise and other large-scale nebulae structures too.
How to test the implementation on astronomical images
Create a new file main.rs and declare it as a binary target in the Cargo.toml file. It should look like this:
[package]
name = "stardetector"
version = "0.1.0"
edition = "2021"

[[bin]]
name = "stardetector"
path = "src/main.rs"

# See more keys and their definitions at https://doc.rust-lang.org/cargo/reference/manifest.html

[dependencies]
geo = "0.28.0"
image = "0.25.1"
image-dwt = "0.3.2"
imageproc = "0.24.0"
You can finally use the lib we created to process the sample image. The final code in main.rs should look like this:
use image::Rgba;
use stardetector::StarDetect;

fn main() {
    // Load the image as mutable. You need mutability so that
    // you can draw on this image.
    let mut image = image::open("m42-star-detection.jpg").unwrap();

    // Create a new star detector instance. You clone the image
    // here because you need to also draw on the image for
    // visualisation purposes in this example.
    let mut star_detector = StarDetect::from(image.clone());

    // Run the star finder function with a minimum star count of
    // 500
    let stars = star_detector.find_stars(500);

    // Iterate over all stars you've found
    for star in stars {
        // Draw a hollow circle on the image so that you
        // can see what the algorithm found
        imageproc::drawing::draw_hollow_circle_mut(
            &mut image,
            (star.coord().x as i32, star.coord().y as i32),
            // Extend the radius by 4px so that it's easier to see
            // in the visualisation.
            star.radius() as i32 + 4,
            // Draw the circle with a pure green color
            Rgba([0, u8::MAX, 0, 1]),
        );
    }

    // Save the image with star positions annotated with
    // green circles.
    image.save("annotated.jpg").unwrap();
}
Ensure that the downloaded image is present at the root of this project folder.
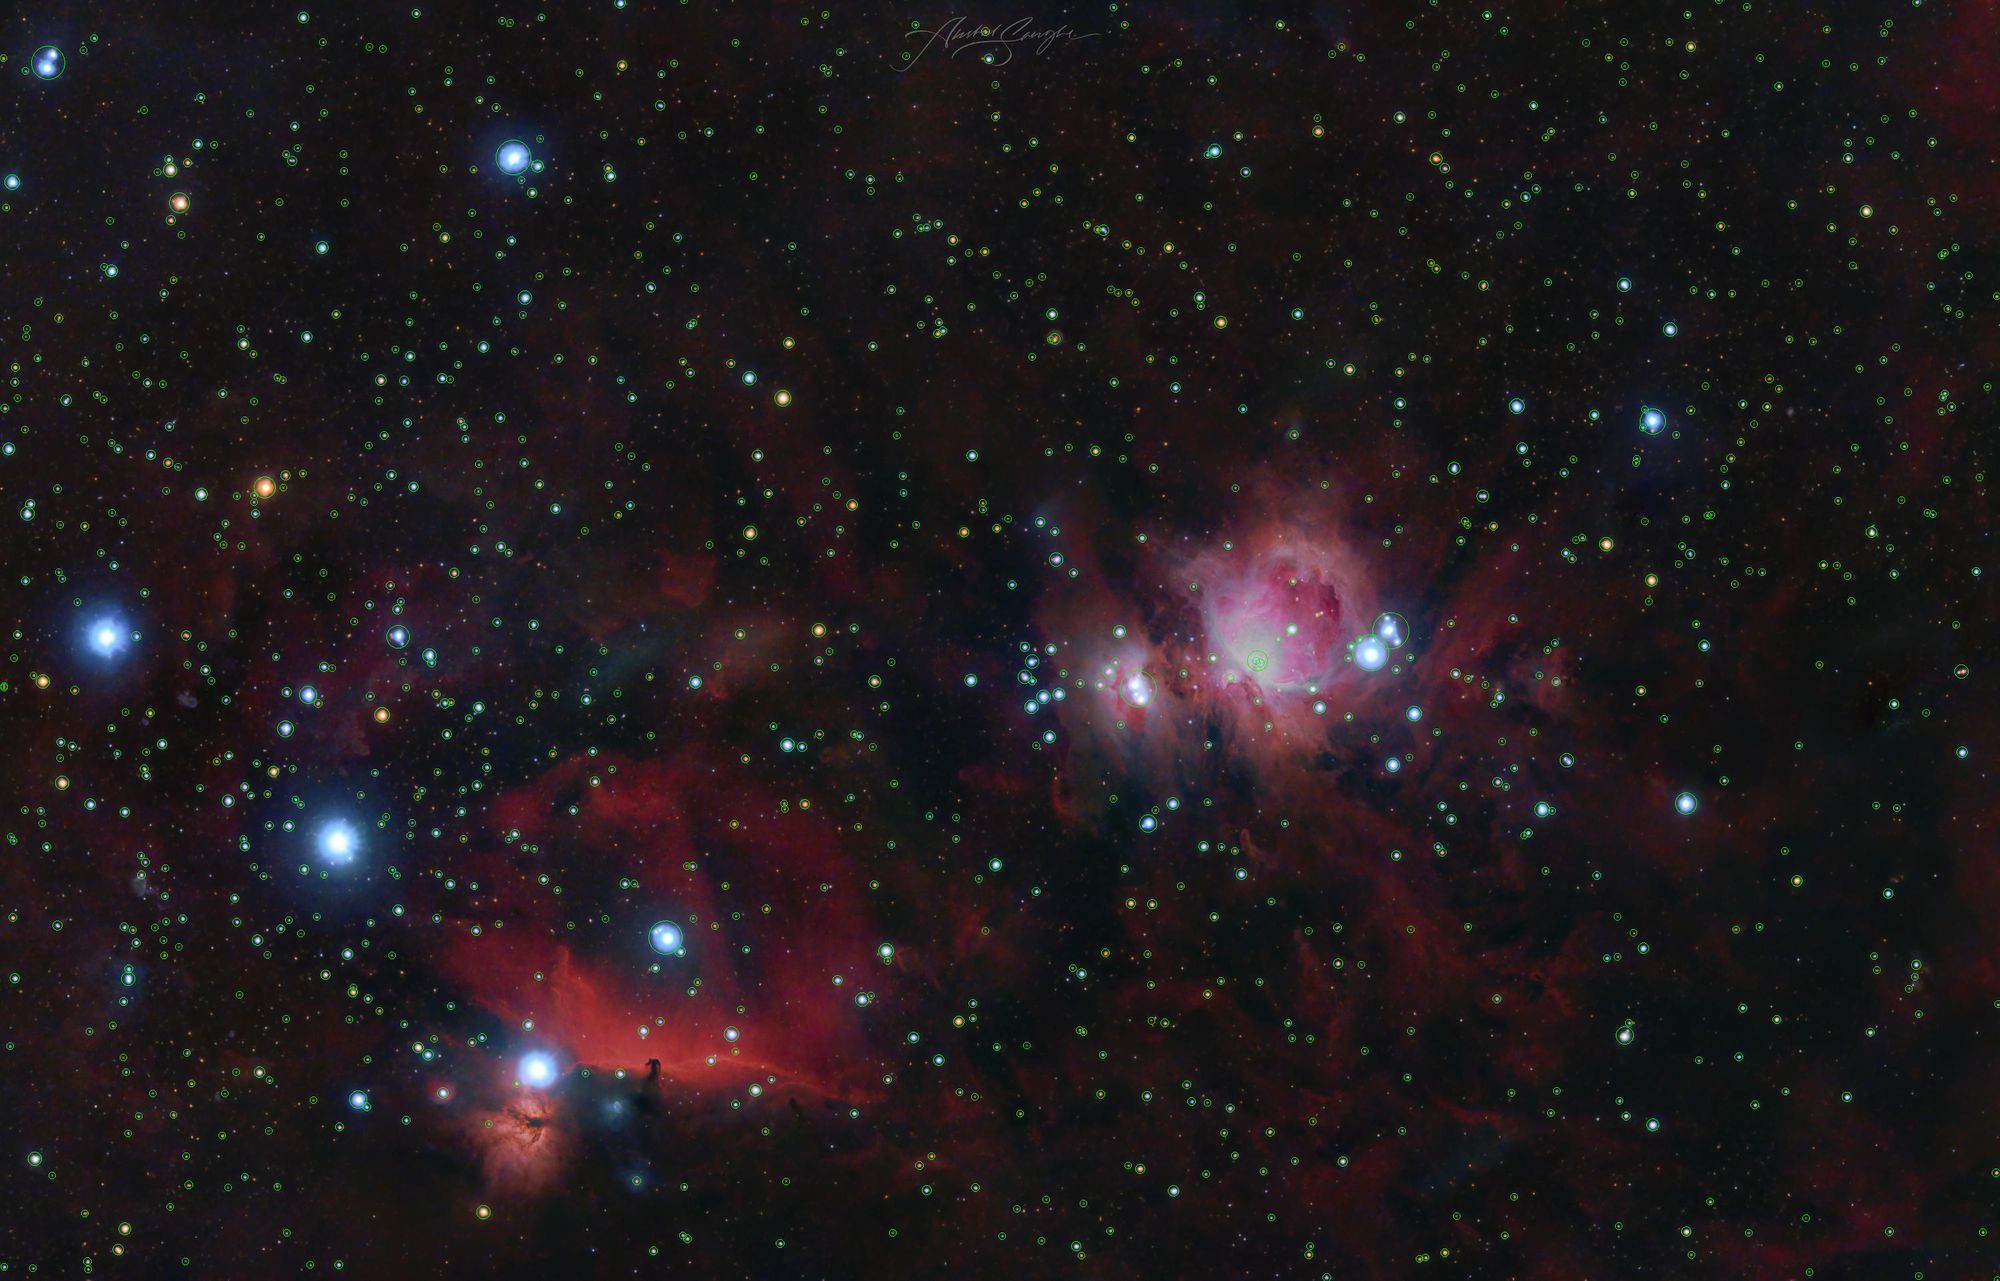
We can finally run the program and see what it gives us:
cargo run --release
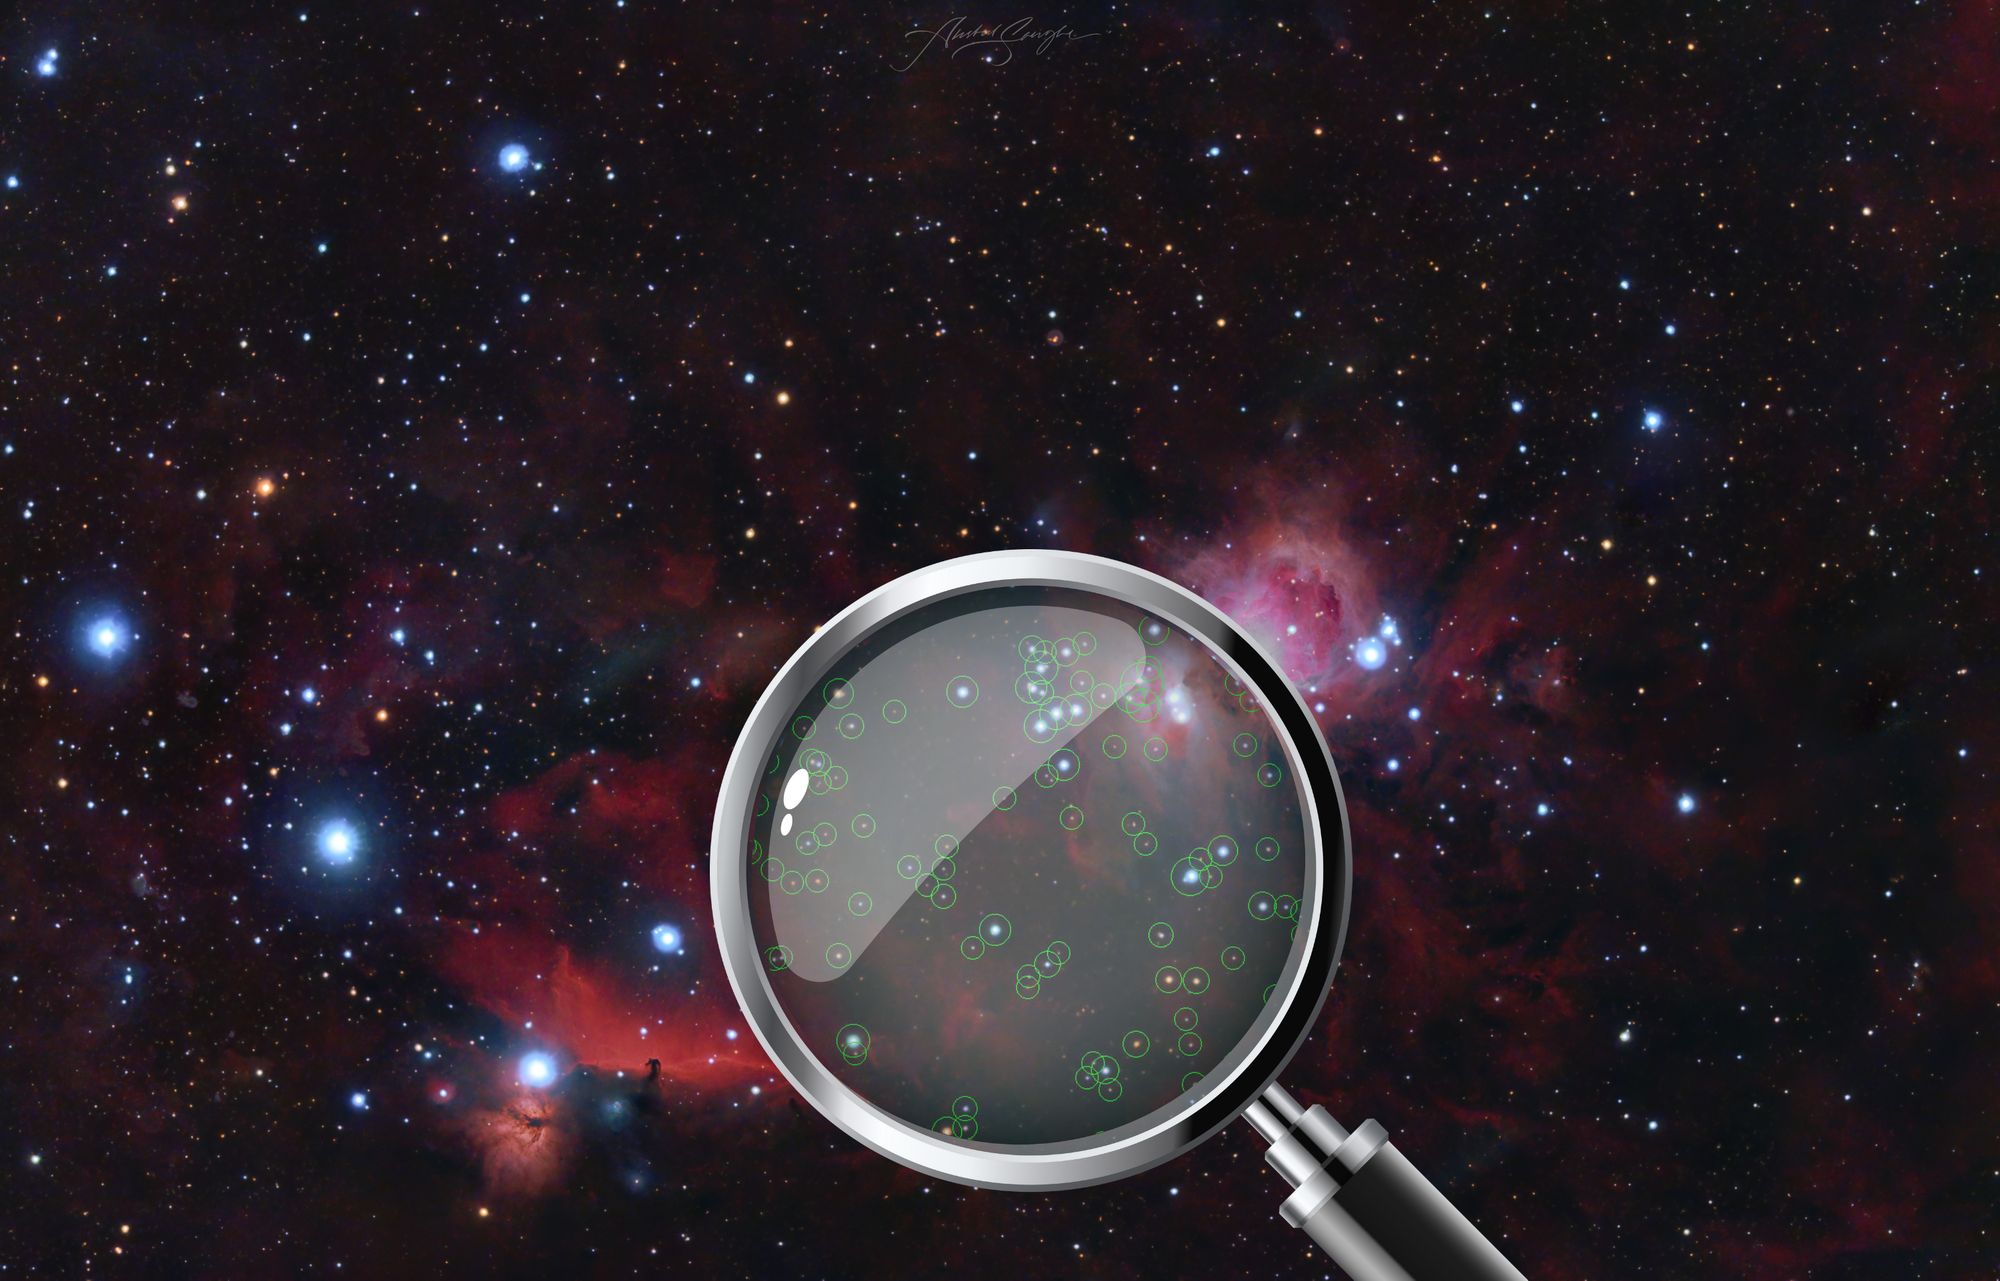
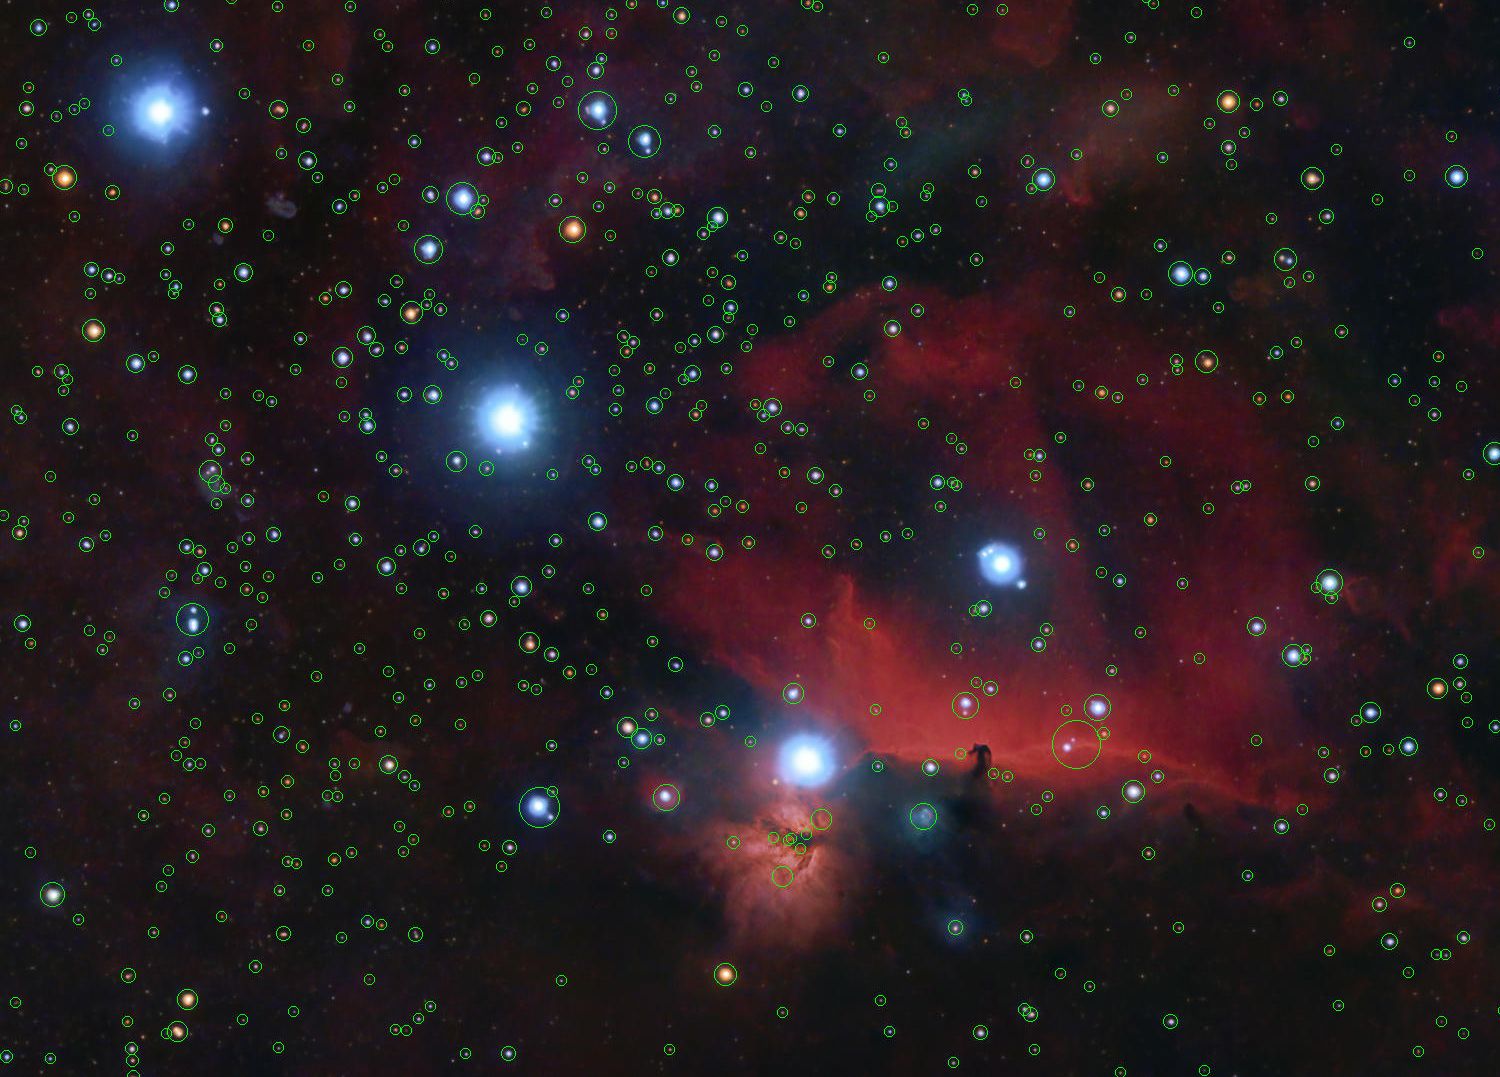
That looks pretty good! If we zoom in to a small part of the image:
We can see that there are some minor issues with the algorithm, such as stars that are very close to each other and have an overlap of their halos are considered as a single star. The problem is quite an interesting one.
There are various techniques to solve this issue, but they're out of the scope of this article.
How to optimize minimum star count
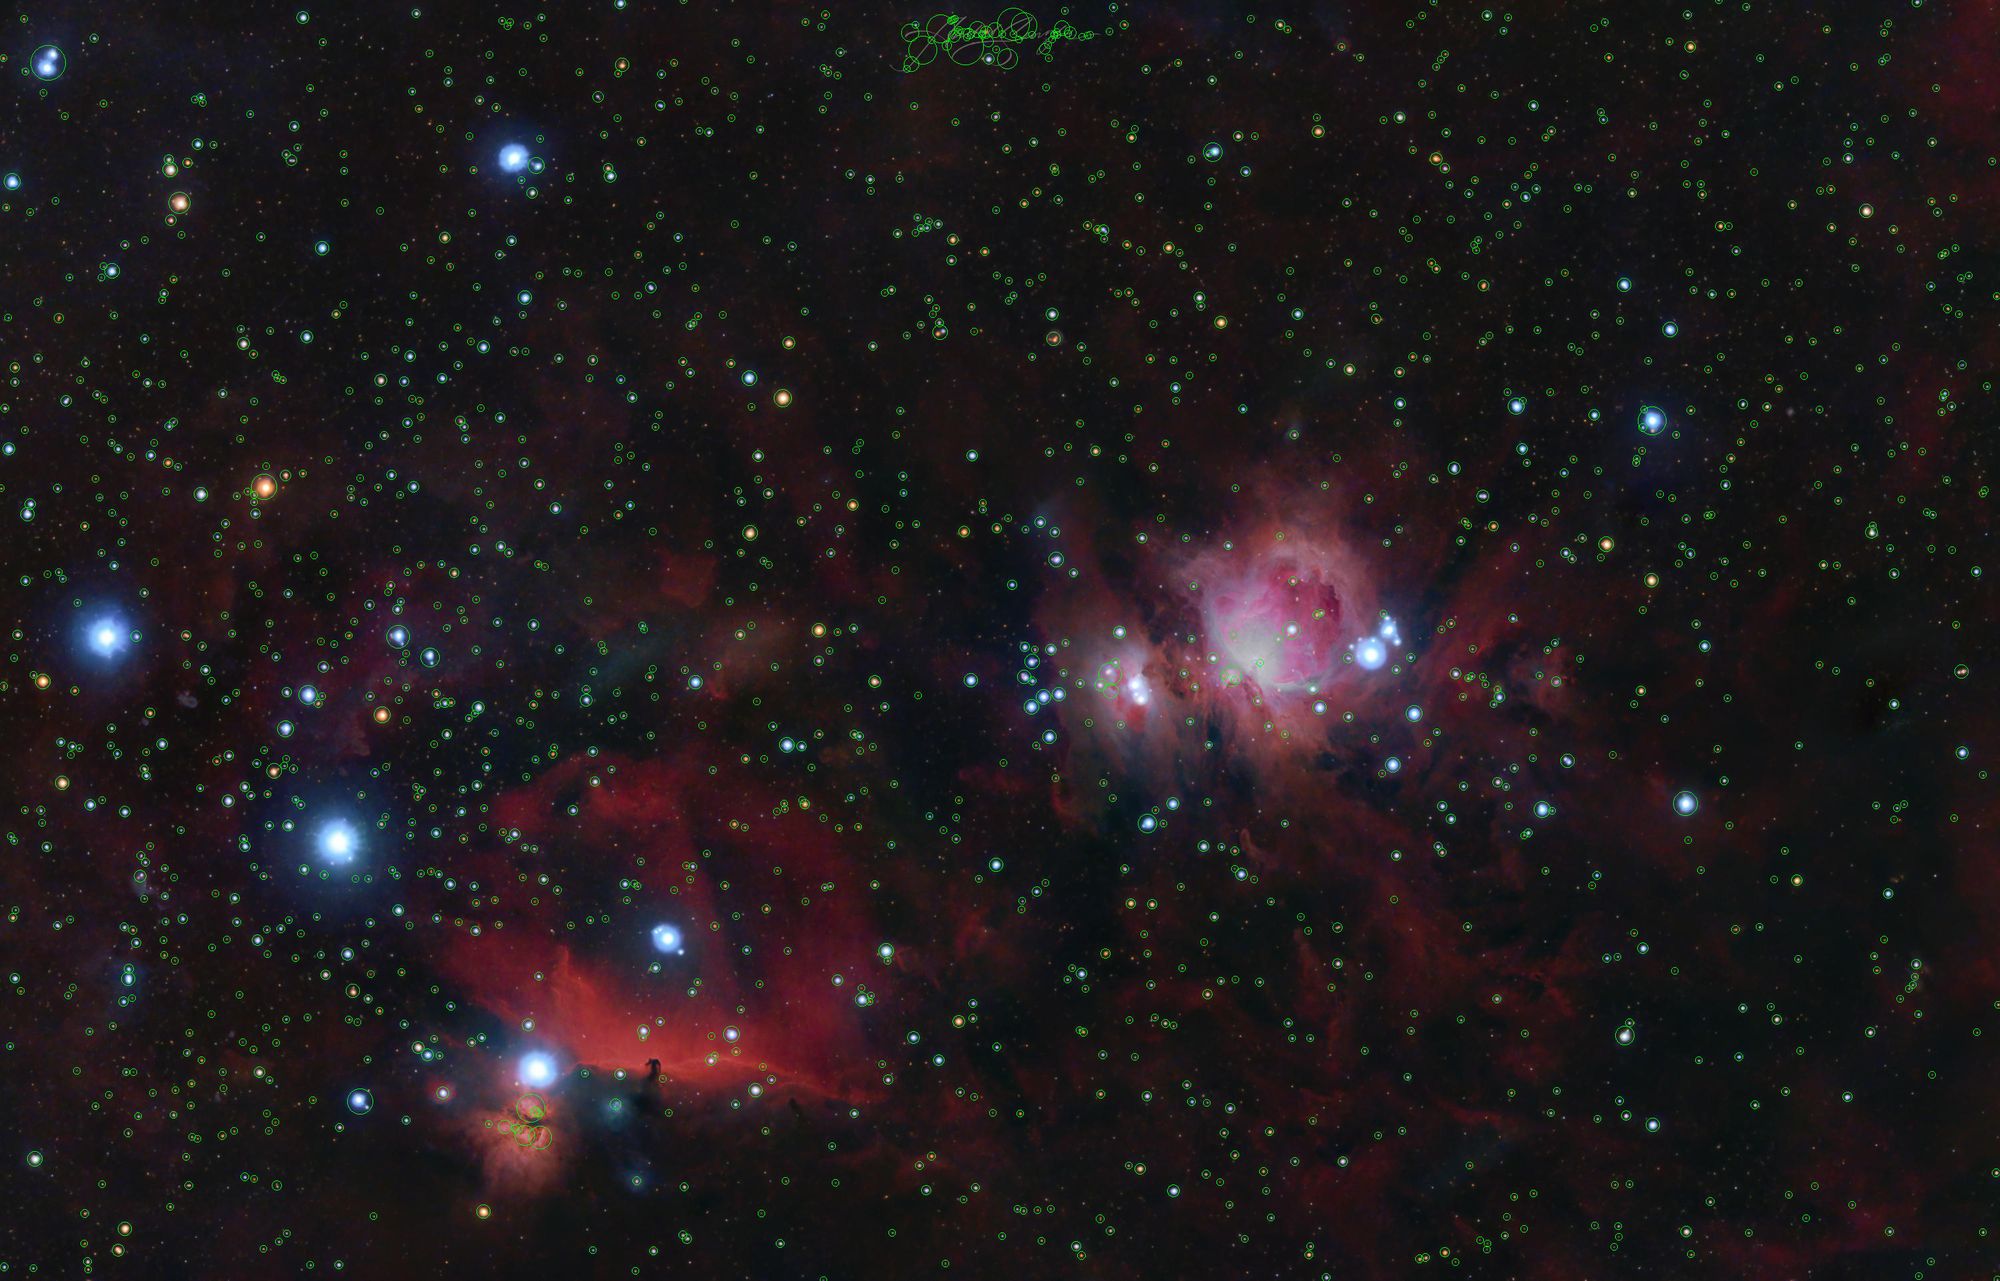
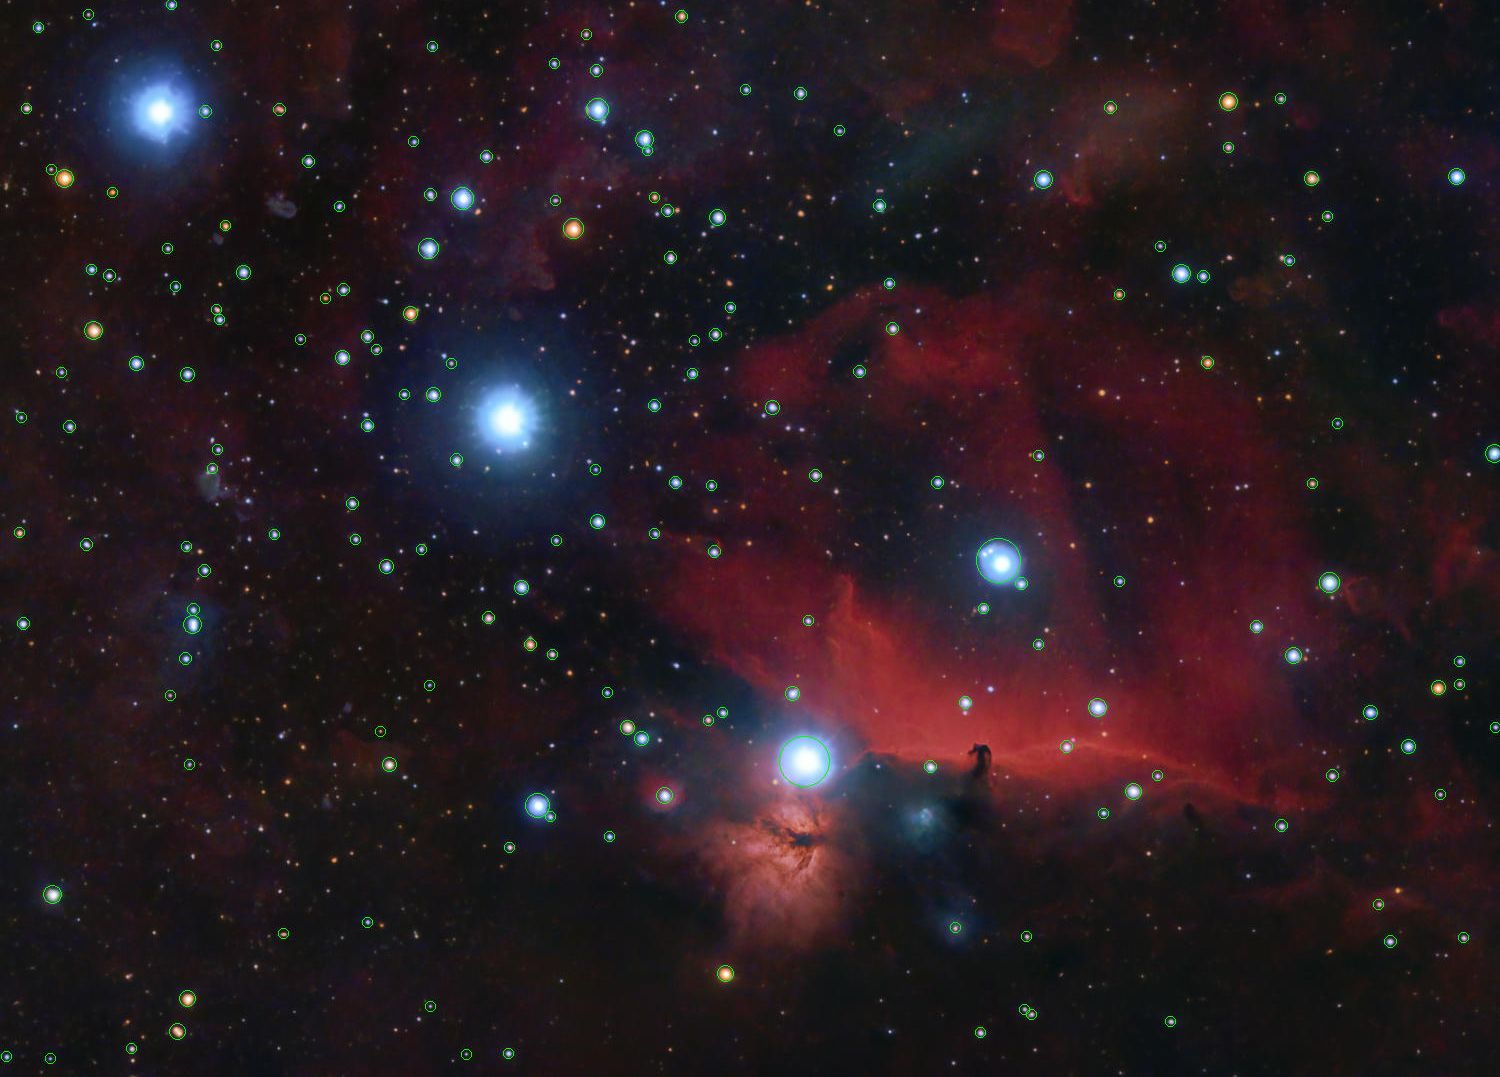
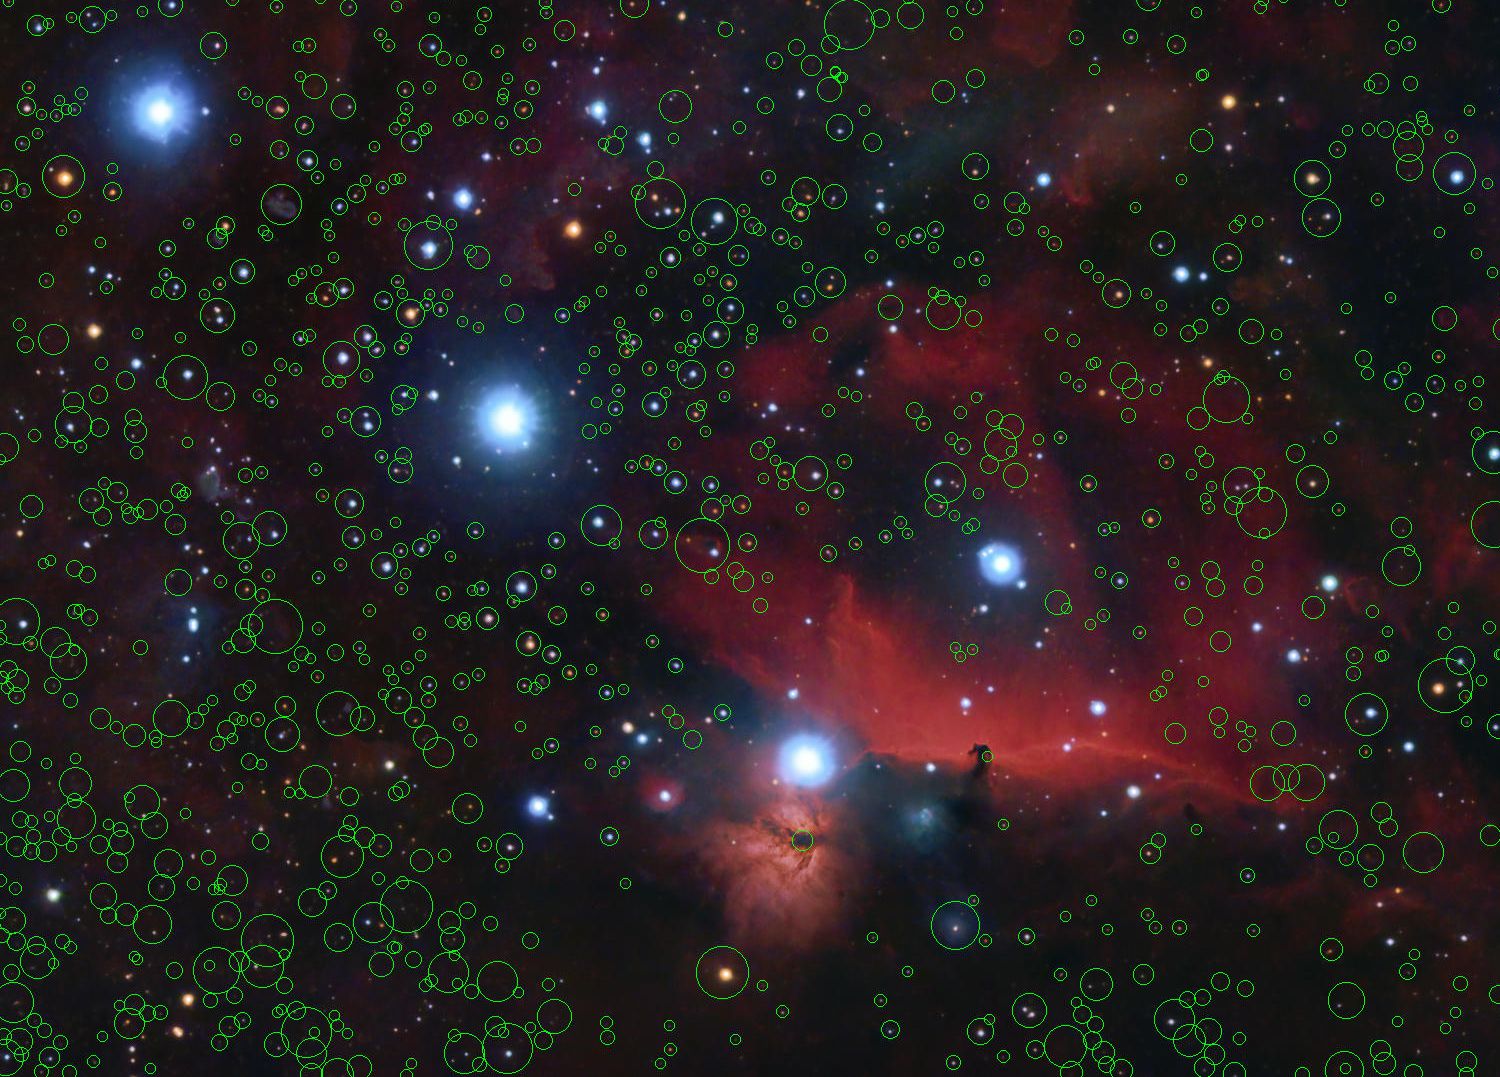
Let's crank up the minimum star count to 1000 and see what happens:

This time, it picked up many of the fainter stars since the threshold had to be lower to accommodate for the higher minimum star count.
It's time to crank it up further! Let's try 2000.

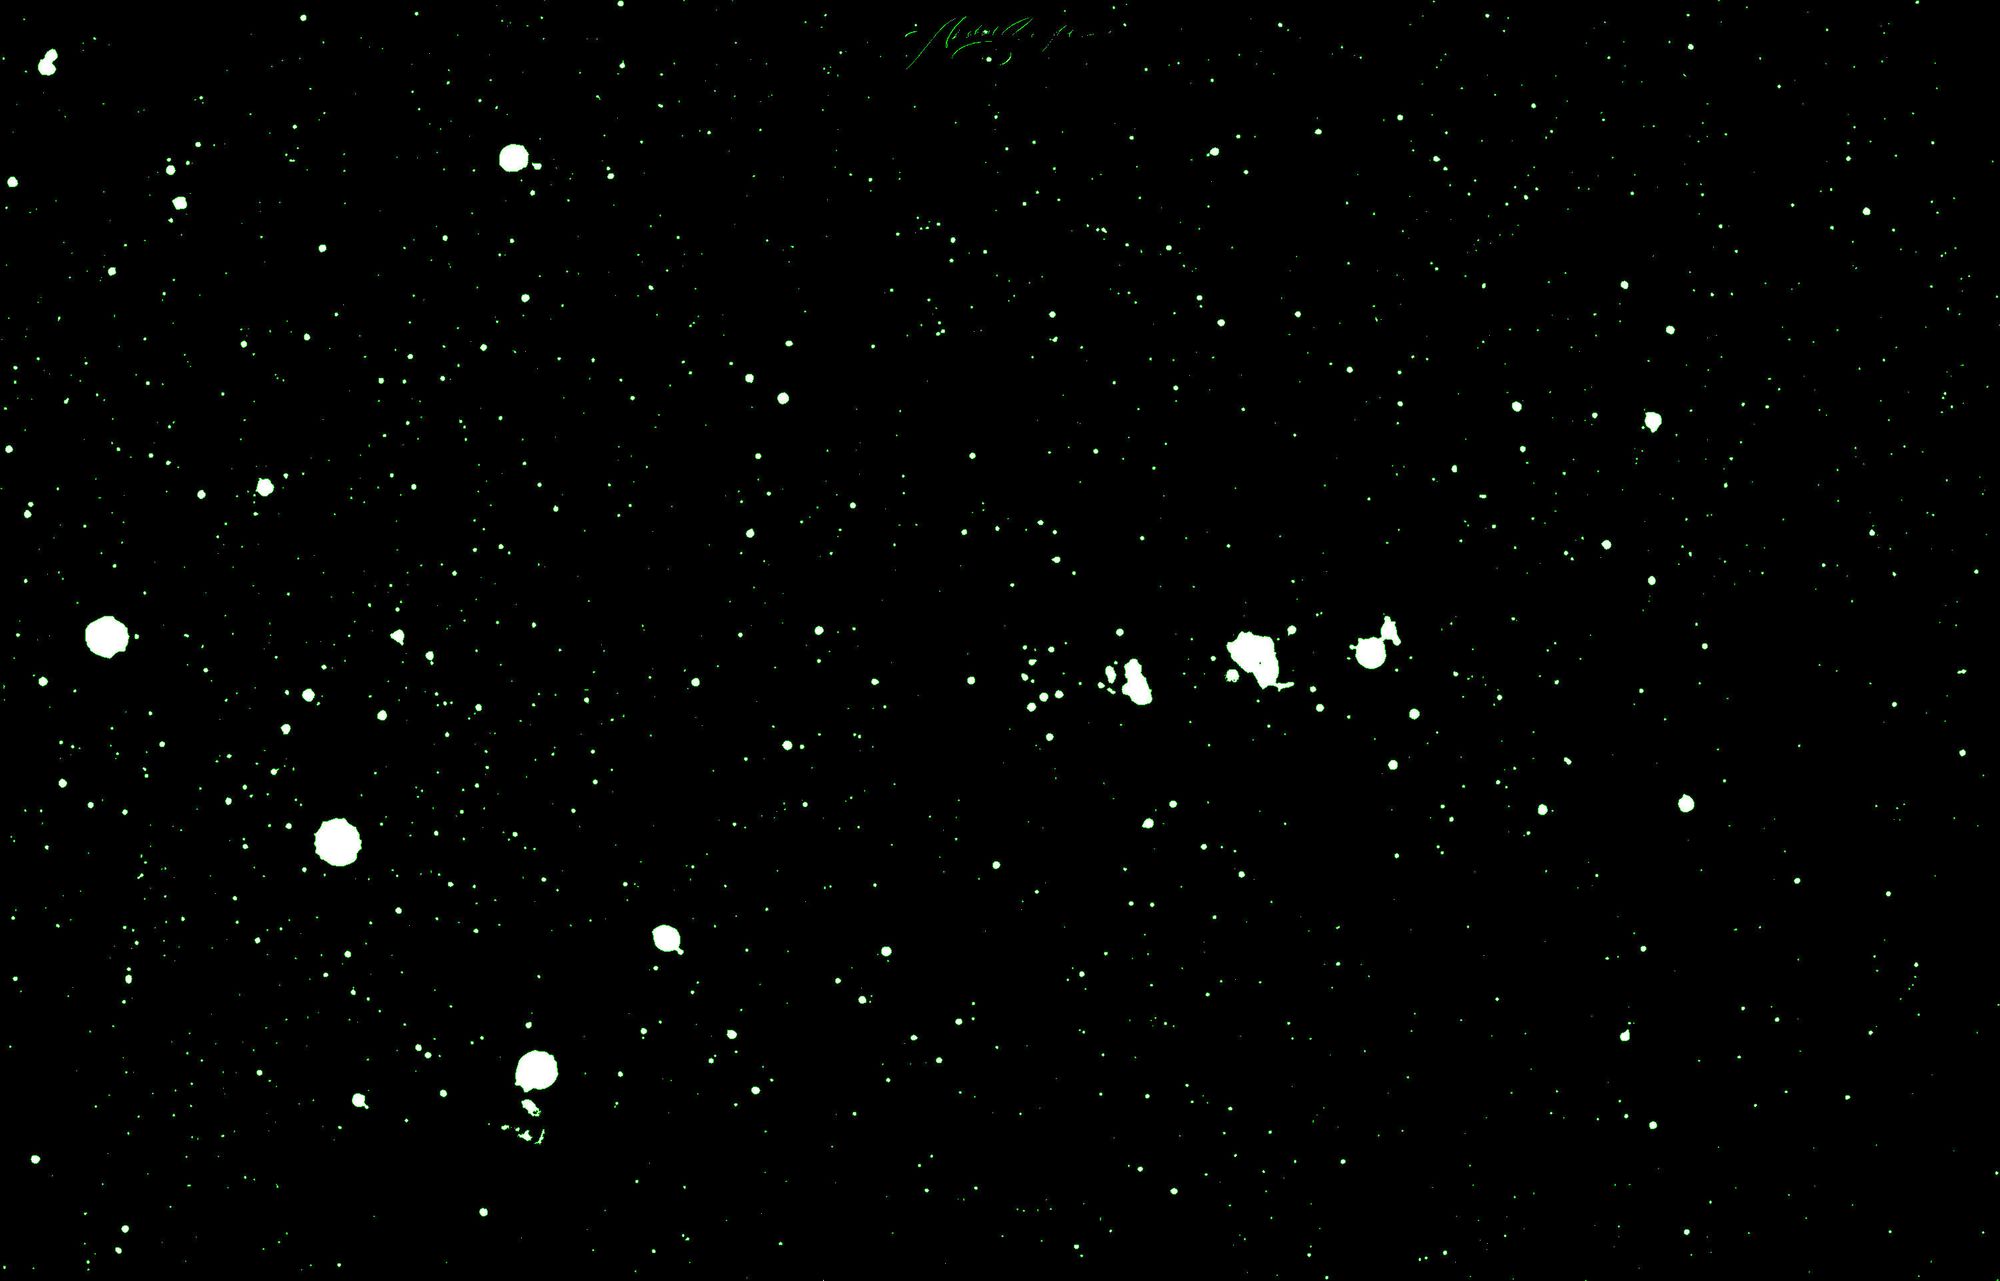
It picked up even more stars this time, but it has also started hallucinating some stars where there are none. This is being caused by lower threshold retaining more noise in the image, which is then picked up as a star. But noise isn't as visible in the final image unless you really pixel-peep, which is why it appears that the algorithm is hallucinating stars.
Noise, in this particular situation, not only refers to the noise in the traditional sense – but also to any pixels that do no belong to a star for this particular purpose.
But there is one more thing...
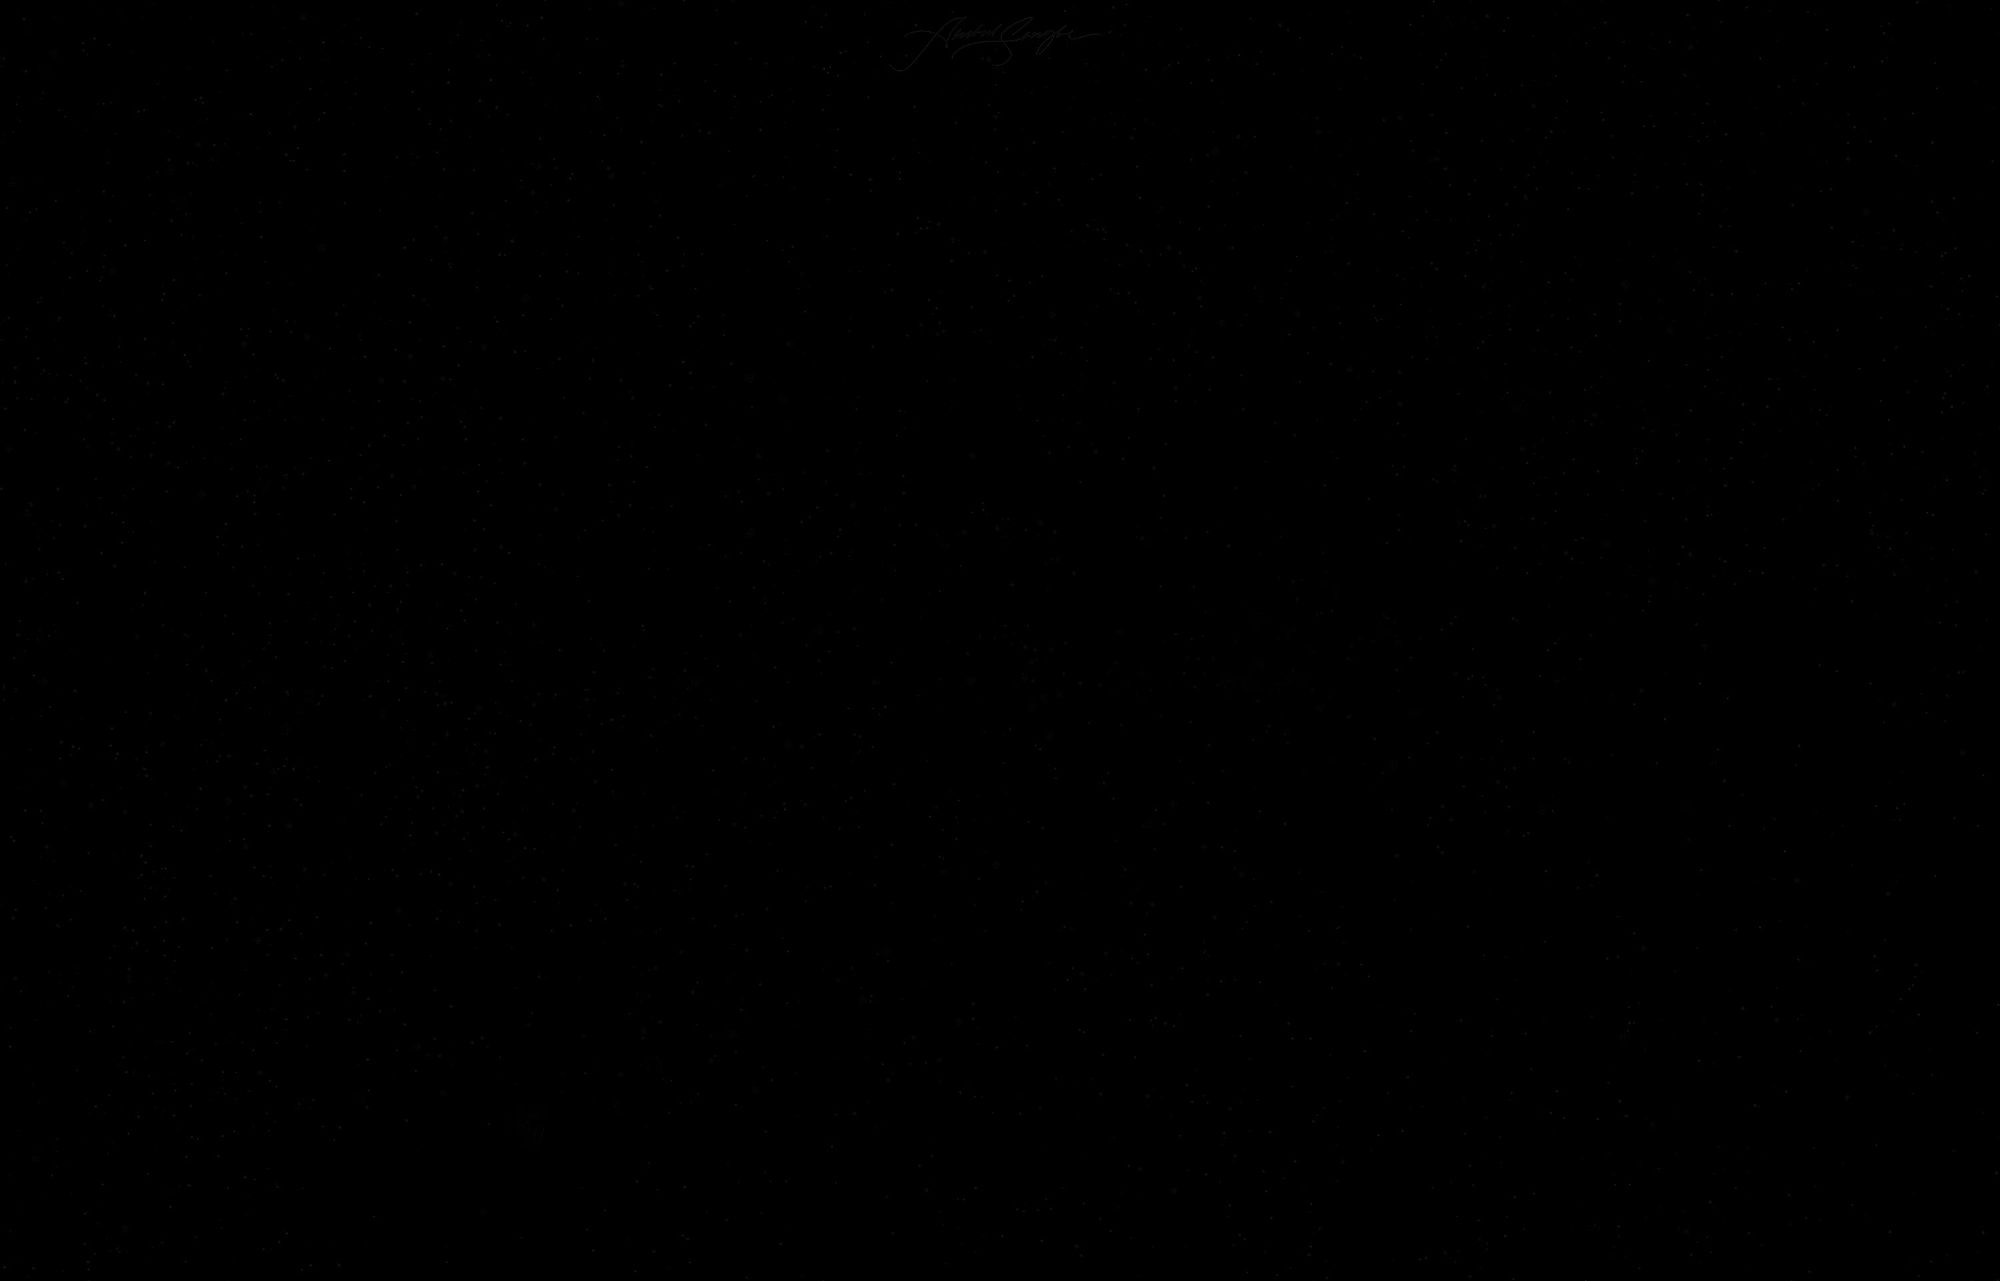
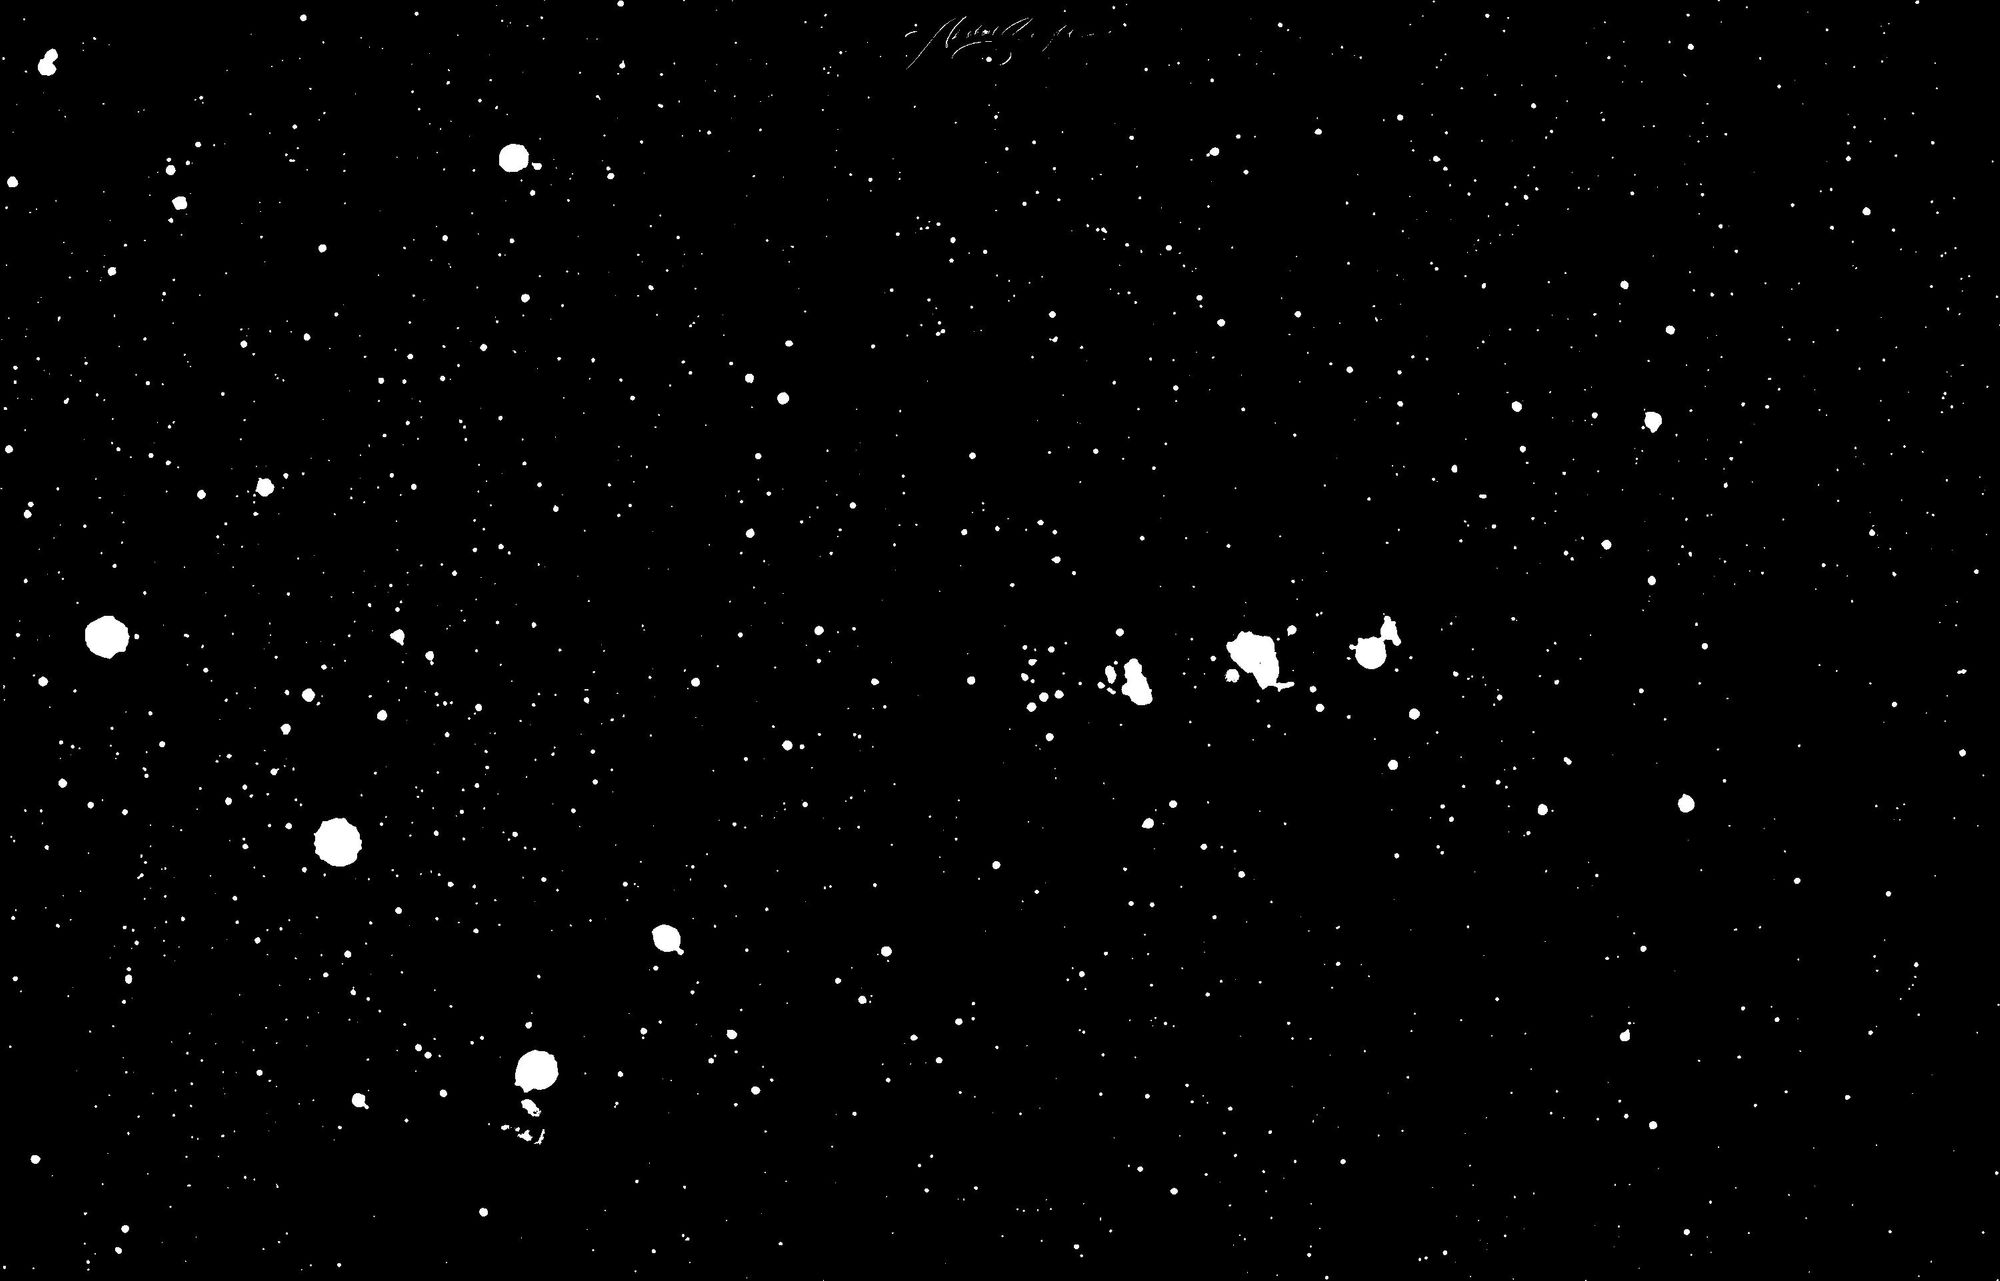
Let's crank the minimum star count up to the absolute maximum for this particular image, which I found to be 3500.
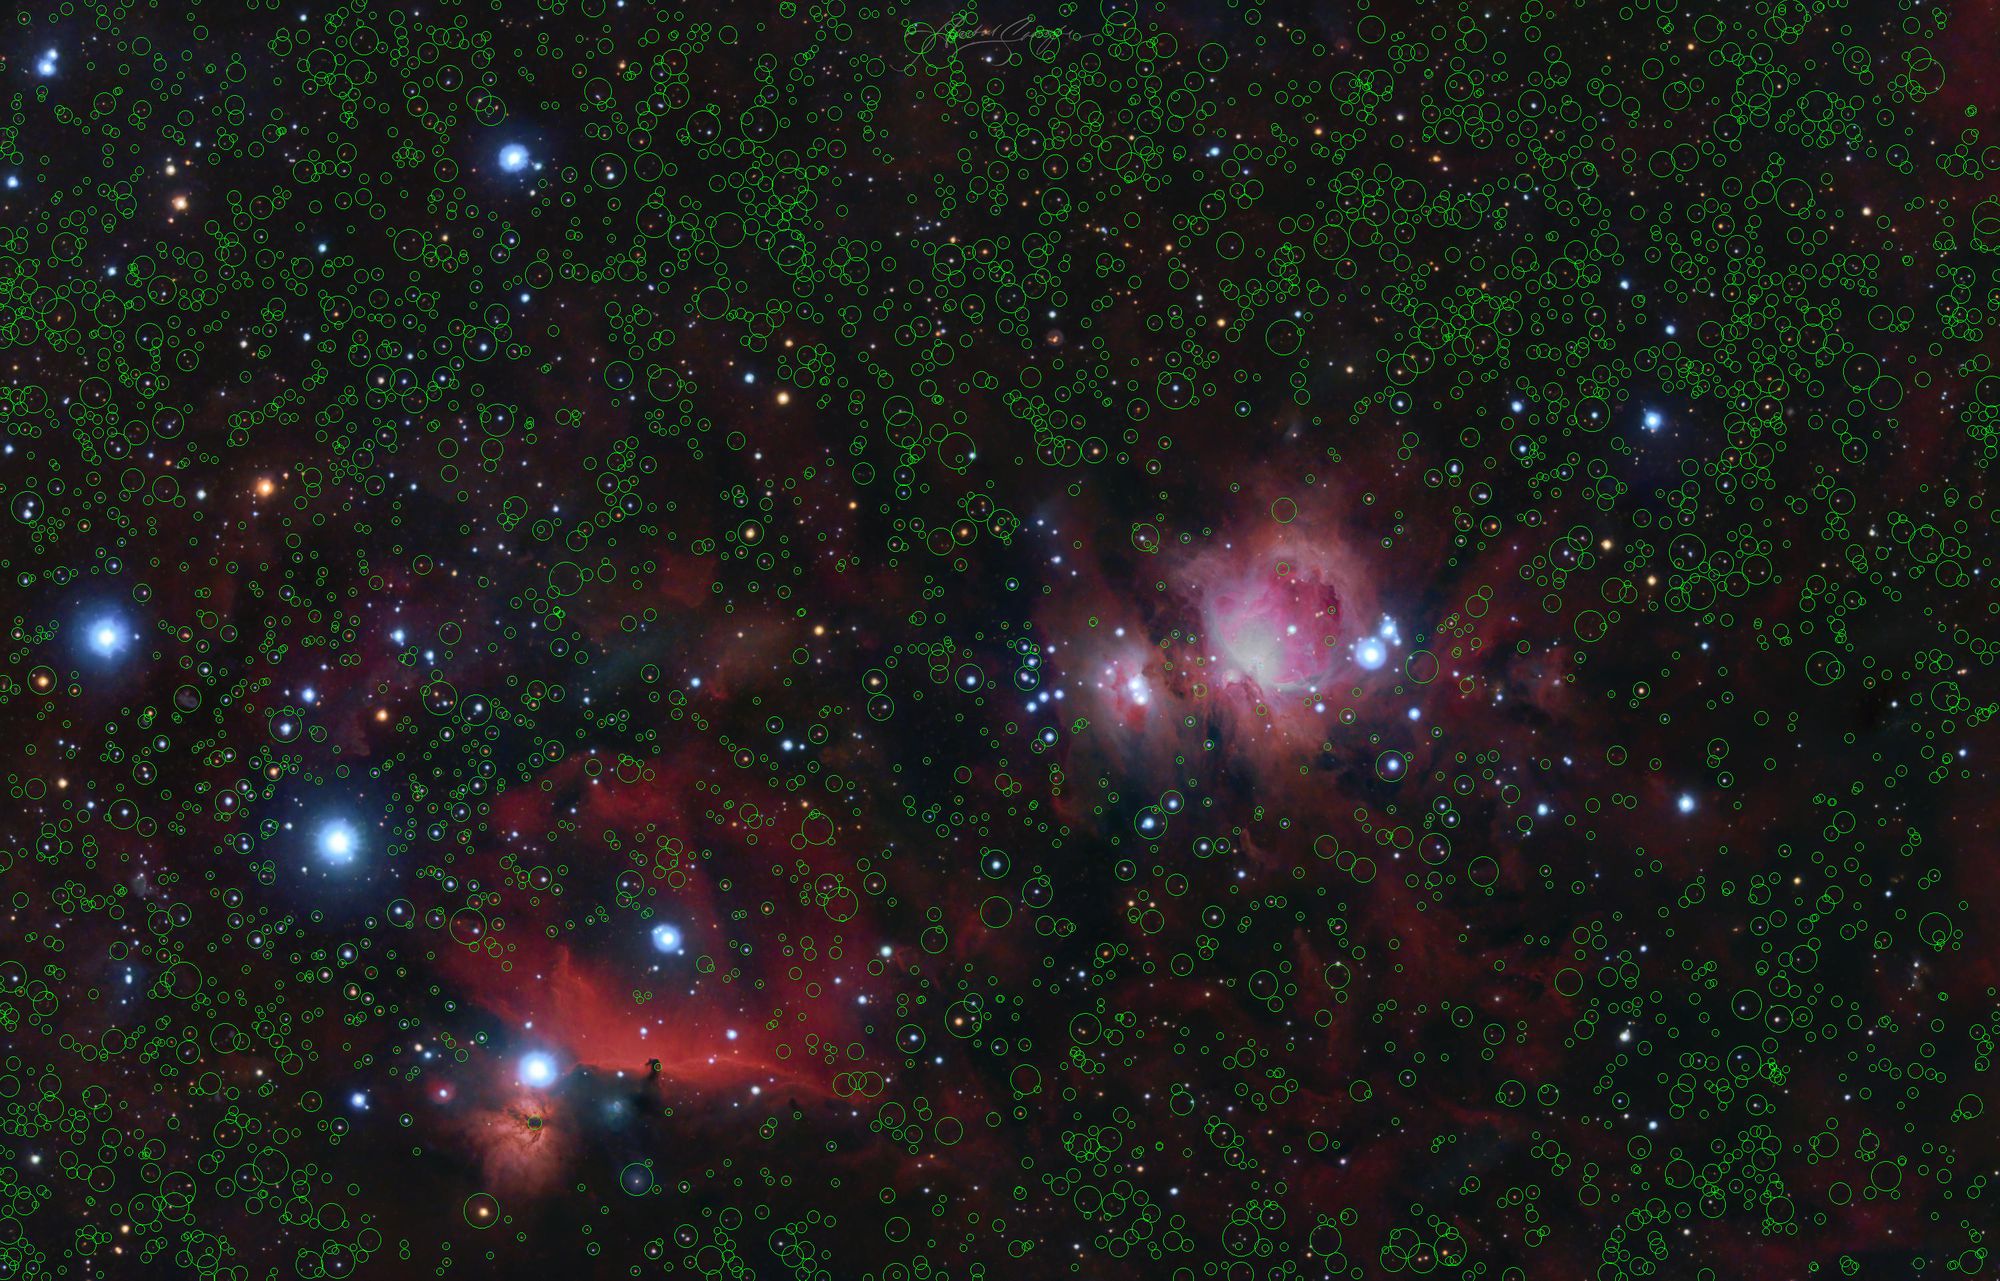
The algorithm now seems to have failed us miserably, which is expected when the noise is too high. There are too many false-positives for this data to be of any use at all.
I wanted to show you this anyway because it shows you the flaws in the algorithm. It also shows you what star detection on noise signal looks like and why we need to pre-process an image to remove everything that isn't a star before we run the star detection.
We're going to stop here for the implementation, but there's many resources you can find below if you're interested in learning more about the topic.
The complete code for everything I talked about today can be found here: https://github.com/anshulsanghi-blog/stardetector
Further Reading
These are some of the resources that were very helpful to me when I was trying to figure out how star detection works. The resources are more about plate-solving (the process of figuring out the exact coordinates in the night sky of things in an image), but star detection is a crucial part of that process.
- How astronomic plate-solving works by Oleg Ignat
- Star Detection during StarAlignment Process In PixInsight
Stars have pretty interesting characteristics, some of which are unique such as their point-spread function estimates. These characteristics can be implemented to further improve the star detection and filtering of false-positives.
In addition, I've created a Rust library that implements this algorithm, but has some additional features already, and more robust processes are in the works.
Things such as handling RGB images properly instead of converting them to grayscale are already implemented. It also has the ability to work with RAW images.
I'm also soon going to be working on performance improvements for the same.
If you want to learn more, or contribute to the library, feel free to do so. The repository can be found here: https://github.com/anshap1719/stardetect
Wrapping Up
I hope you enjoyed the journey so far. If image processing and analysis techniques or their implementation in Rust is something that interests you, then stay tuned for more as these are the topics I love writing about.
Also, feel free to contact me if you have any questions or opinions on this topic.
Enjoying my work?
Consider buying me a coffee to support my work!
Till next time, happy coding and wishing you clear skies!