
For anyone looking to learn about image processing as a programming niche, blending images is a very good place to start. It's one of the simplest yet most rewarding techniques when it comes to image processing.
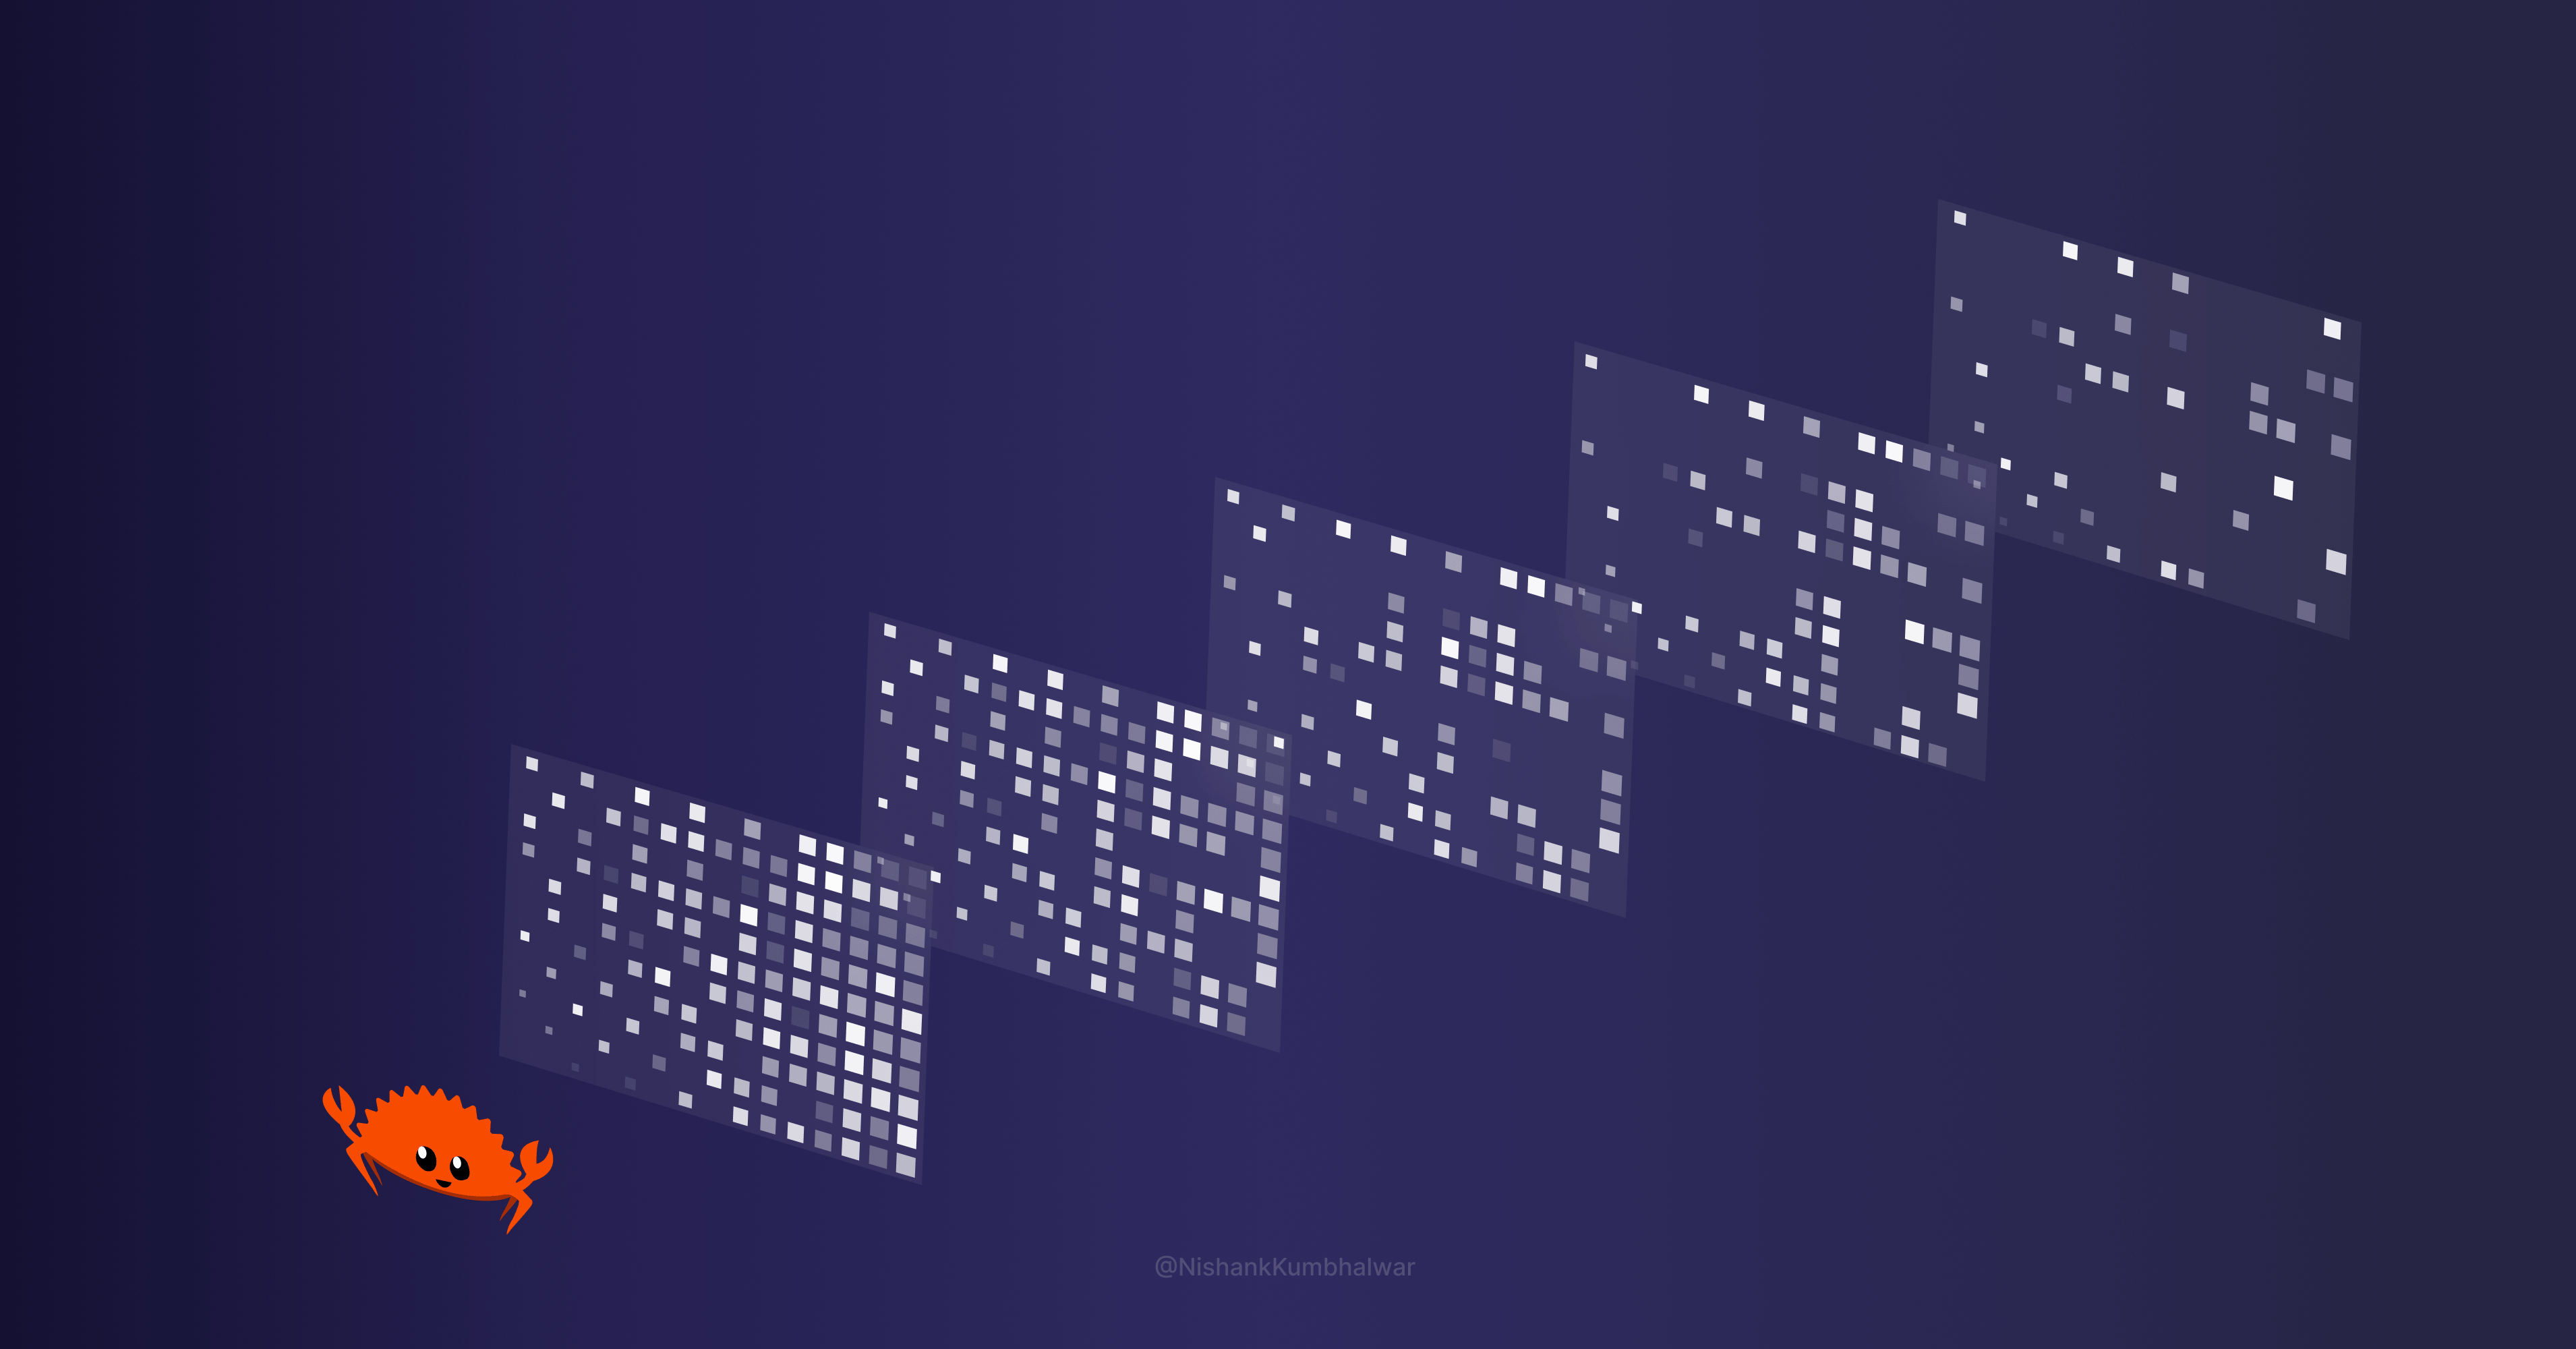
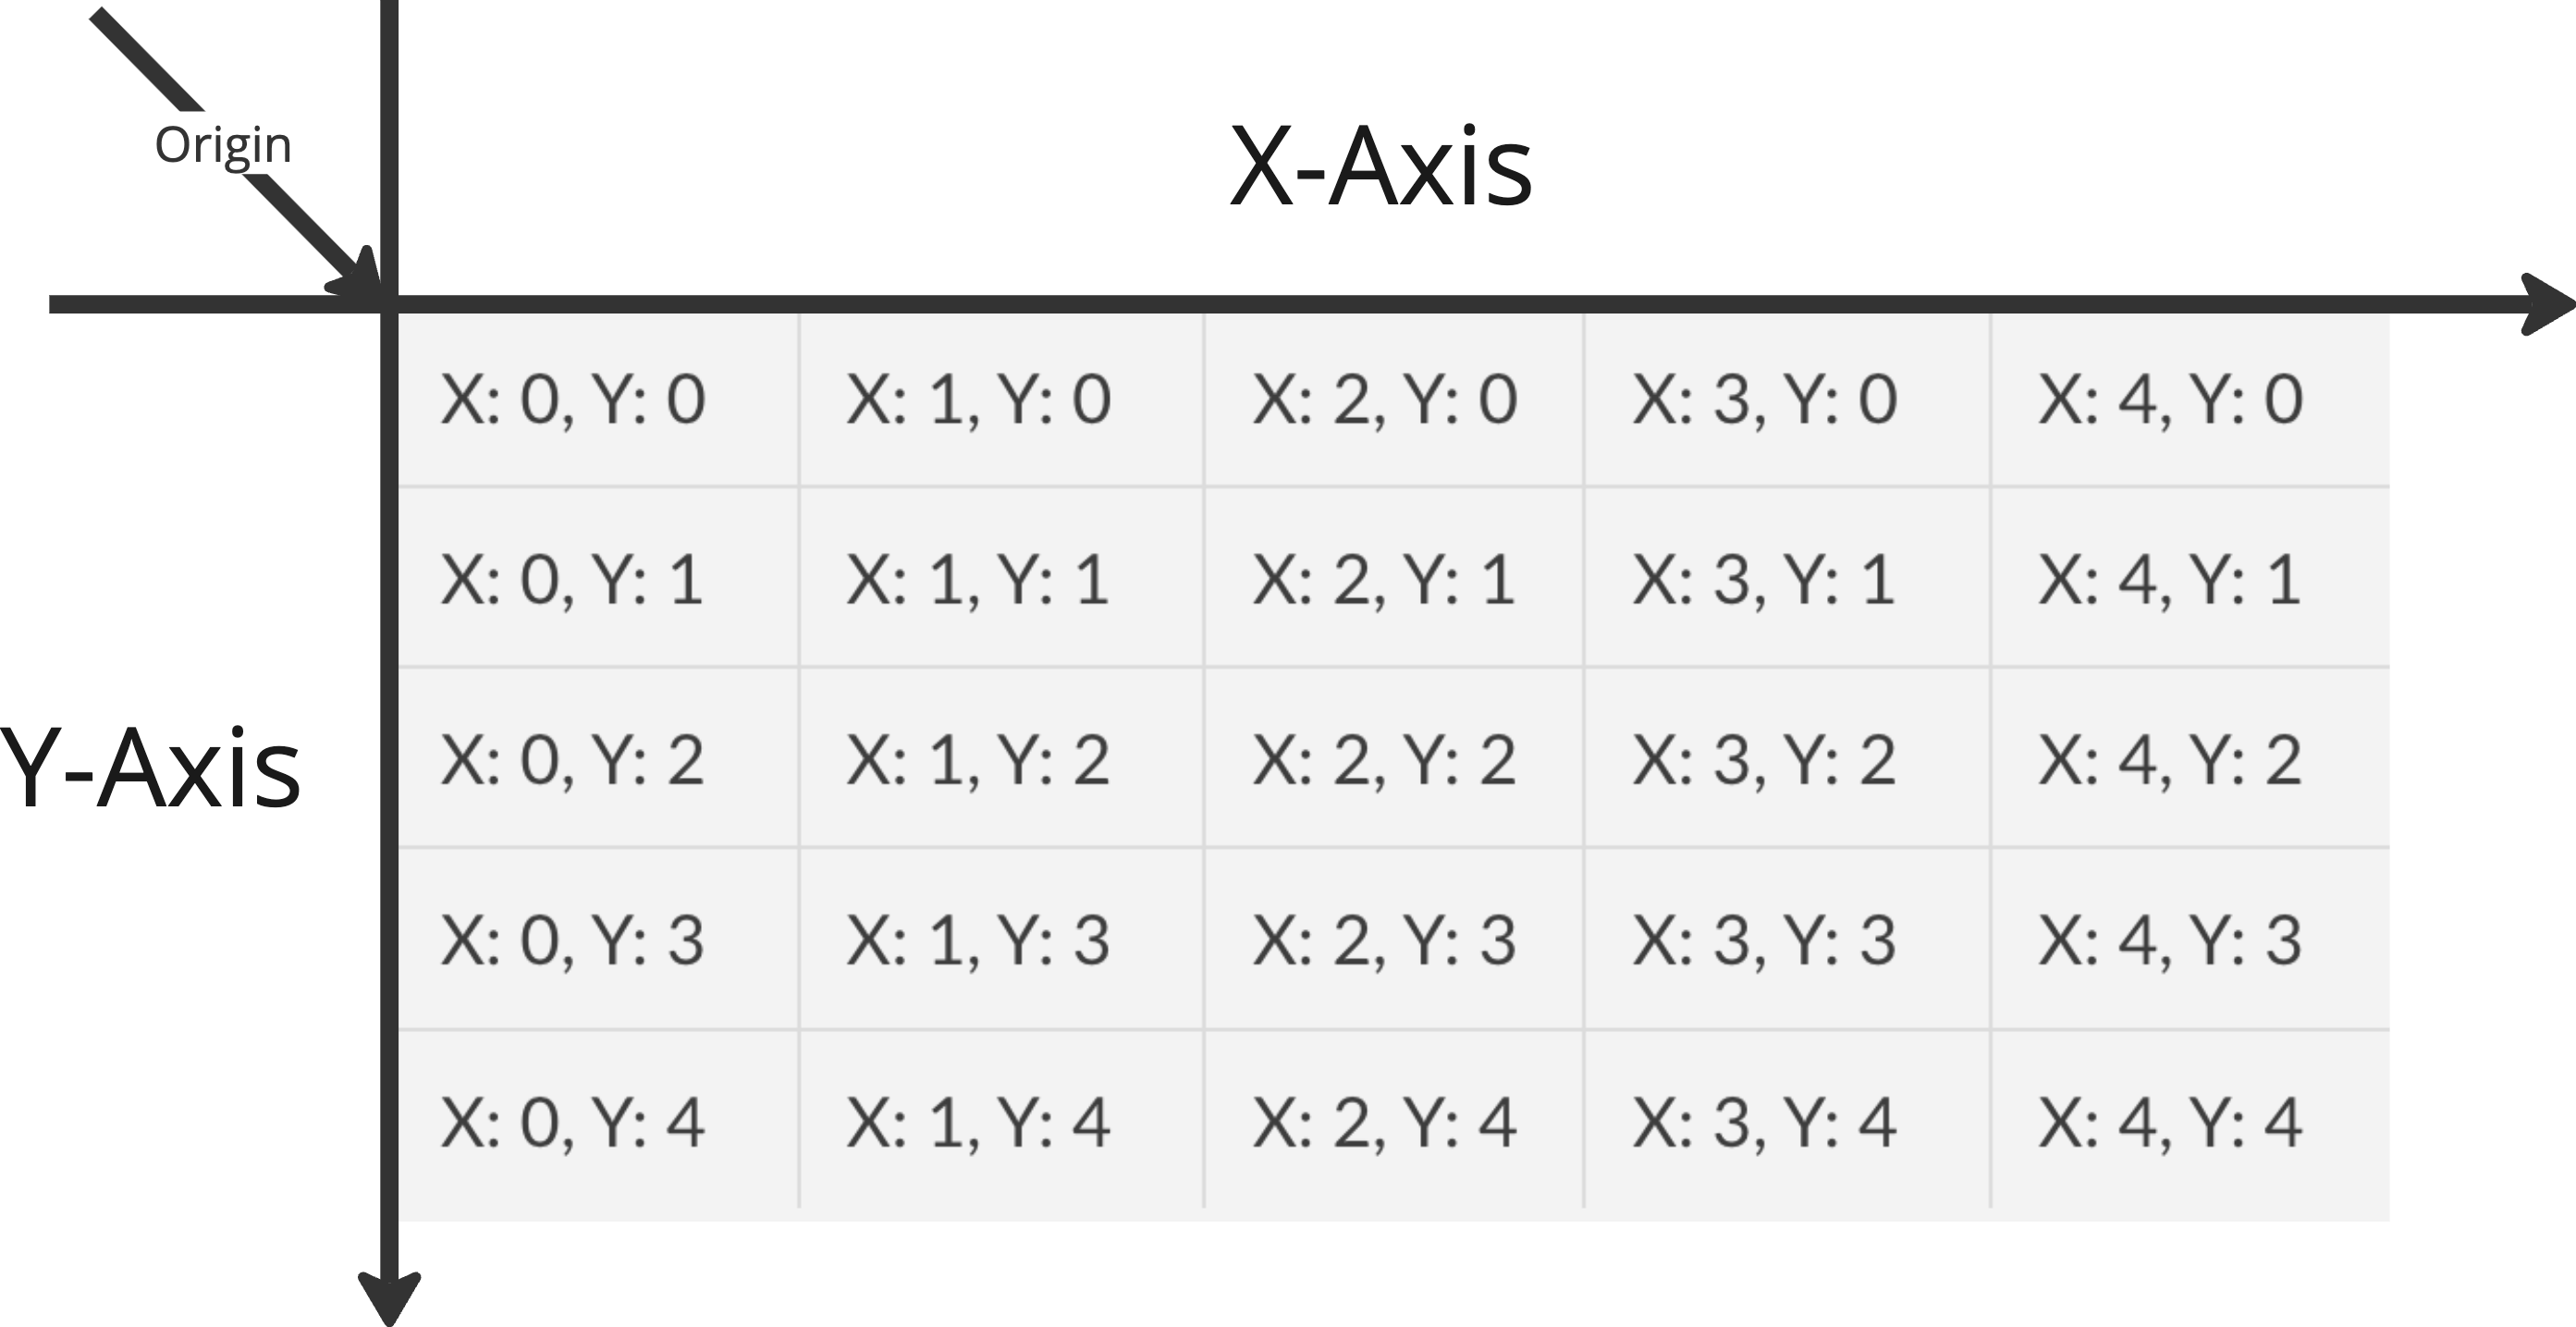
To help your intuition, it's best to imagine an image as a mathematical graph of pixel values plotted along the x and y coordinates. The top right pixel in an image is your origin, which corresponds to an x value of 0 and a y value of 0.
Once you imagine this, any pixel in an image can be read or modified using it's coordinate in this x-y graph. For example, for a square image of size 5px x 5px, the coordinate of the center pixel is 2, 2. You may have expected it to be 3, 3, but image coordinates in this context work similar to array indexes and start from 0 for both axis.
Approaching image processing this way also helps you address each pixel individually, making the process much simpler.
Prerequisites
The focus of this article is for you to understand and learn how to blend images using the Rust programming language, without going into the details of the language or it's syntax. So being comfortable writing Rust programs is required.
If you're not familiar with Rust, I highly encourage you to learn the basics. Here's an interactive Rust course that can get you started.
Table Of Contents
Introduction
Image blending refers to the technique of merging pixels from multiple images to create a single output image that is derived from all of its inputs. Depending on which blending operation is used, the image output can vary widely given the same inputs.
This technique serves as the basis for many complex image processing tools, some of which you may already be familiar with. Things such as removing moving people from images if you have multiple images, merging images of the night sky to create star trails, and merging multiple noise-heavy images to create a noise reduced image are all examples of this technique at play.
To achieve the blending of images in this tutorial, we will make use of "pixel math", which while not being a truly standard term, refers to the technique of performing mathematical operations on a pixel or set of pixels to generate an output pixel.
For example, to blend two images using the "average" blend mode, you will perform the mathematical average operation on all input pixels at a given location, to generate the output at the same location.
Pixel math is not limited to point operations, which are basically operations performed during image processing that generate a given output pixel based on input pixel from single or multiple images from the same location in the x-y coordinate system.
In my experience so far, the entirety of image processing field is 99% mathematics and 1% black magic. Mathematical operations on pixels and it's surrounding pixels is the basis of image manipulation techniques such as compression, resizing, blurring and sharpening, noise reduction, and so on.
How Image Blending Works
The technique is technically simple to implement. Let's take the example of a simple average blend. Here's how it works:
Read the pixel data of both images into memory, usually into an array for each image.
- The array is usually 2 dimensional. Each entry in array is another array for color images, the secondary array holds the 3 pixel values corresponding to Red, Green, and Blue color channels.
For each pixel location:
For each channel:
a. Take the value of the channel from the 2nd image, let's consider ity.
b. Perform the averaging operationx/2 + y/2.
c. Save the output value of this operation as the value of the output channelSave the result of previous operation as the value of the output pixel.
Construct the output image with the same dimensions from the computed data.
You'll notice that pixel math is performed on a per-channel basis. This is always true for the blend modes we cover in this tutorial, but many techniques involve applying blends between the channels themselves and many times within the same image.
Project Setup
Let's get started by setting up a project that gives us a good baseline to work with.
cargo new --bin image-blender
cd image-blender
You will also need a single dependency to help you perform these operations:
cargo add image
image is a Rust library we'll use to work with images of all of the standard formats and encodings. It also helps us convert between various formats, and provides easy access to pixel data as buffers.
For more information on the image crate, you can refer to the official documentation.
To follow along, you can use any two images, the only requirement being that they should be of the same size and in the same format. You can also find the images used in this tutorial, along with complete code, in the GitHub repository here.
How to Read Pixel Values
The first step is to load the images and read their pixel values into a data structure that facilitates our operation. For this tutorial, we're going to use a Vec of arrays (Vec<[u8; 3]>). Each entry in the outer Vec represents a pixel, and the channel-wise values of each pixel are stored in [u8; 3] array.
Let's start by creating a new file to hold this code called io.rs.
// src/io.rs

use image::GenericImageView;

pub struct SourceData {
    pub width: usize,
    pub height: usize,
    pub image1: Vec<[u8; 3]>,
    pub image2: Vec<[u8; 3]>,
}

pub fn read_pixel_data(image1_path: String, image2_path: String) -> SourceData {
    // Open the images
    let image1 = image::open(image1_path).unwrap();
    let image2 = image::open(image2_path).unwrap();

    // Compute image dimensions
    let (width, height) = image1.dimensions();
    let (width, height) = (width as usize, height as usize);

    // Create arrays to hold input pixel data
    let mut image1_data: Vec<[u8; 3]> = vec![[0, 0, 0]; width * height];
    let mut image2_data: Vec<[u8; 3]> = vec![[0, 0, 0]; width * height];

    // Iterate over all pixels in the input image, along with their positions in x & y
    // coordinates.
    for (x, y, pixel) in image1.to_rgb8().enumerate_pixels() {
        // Compute the raw values for each channel in the RGB pixel.
        let [r, g, b] = pixel.0;

        // Compute linear index based on 2D index. This is basically computing index in
        // 1D array based on the row and column index of the pixel in the 2D image.
        let index = (y * (width as u32) + x) as usize;

        // Save the channel-wise values in the correct index in data arrays.
        image1_data[index] = [r, g, b];
    }

    // Iterate over all pixels in the input image, along with their positions in x & y
    // coordinates.
    for (x, y, pixel) in image2.to_rgb8().enumerate_pixels() {
        // Compute the raw values for each channel in the RGB pixel.
        let [r, g, b] = pixel.0;

        // Compute linear index based on 2D index. This is basically computing index in
        // 1D array based on the row and column index of the pixel in the 2D image.
        let index = (y * (width as u32) + x) as usize;

        // Save the channel-wise values in the correct index in data arrays.
        image2_data[index] = [r, g, b];
    }

    SourceData {
        width,
        height,
        image1: image1_data,
        image2: image2_data,
    }
}
How to Blend Functions
The next step is to implement the blending functions, which are pure functions that take two pixel values as input and return the output value. This is implemented through the BlendOperation trait defined below. Let's create a new file to host all the operations called operations.rs.
// src/operations.rs

pub trait BlendOperation {
    fn perform_operation(&self, pixel1: [u8; 3], pixel2: [u8; 3]) -> [u8; 3];
}
Next, we need to implement this trait for all of the blending methods we want to support.
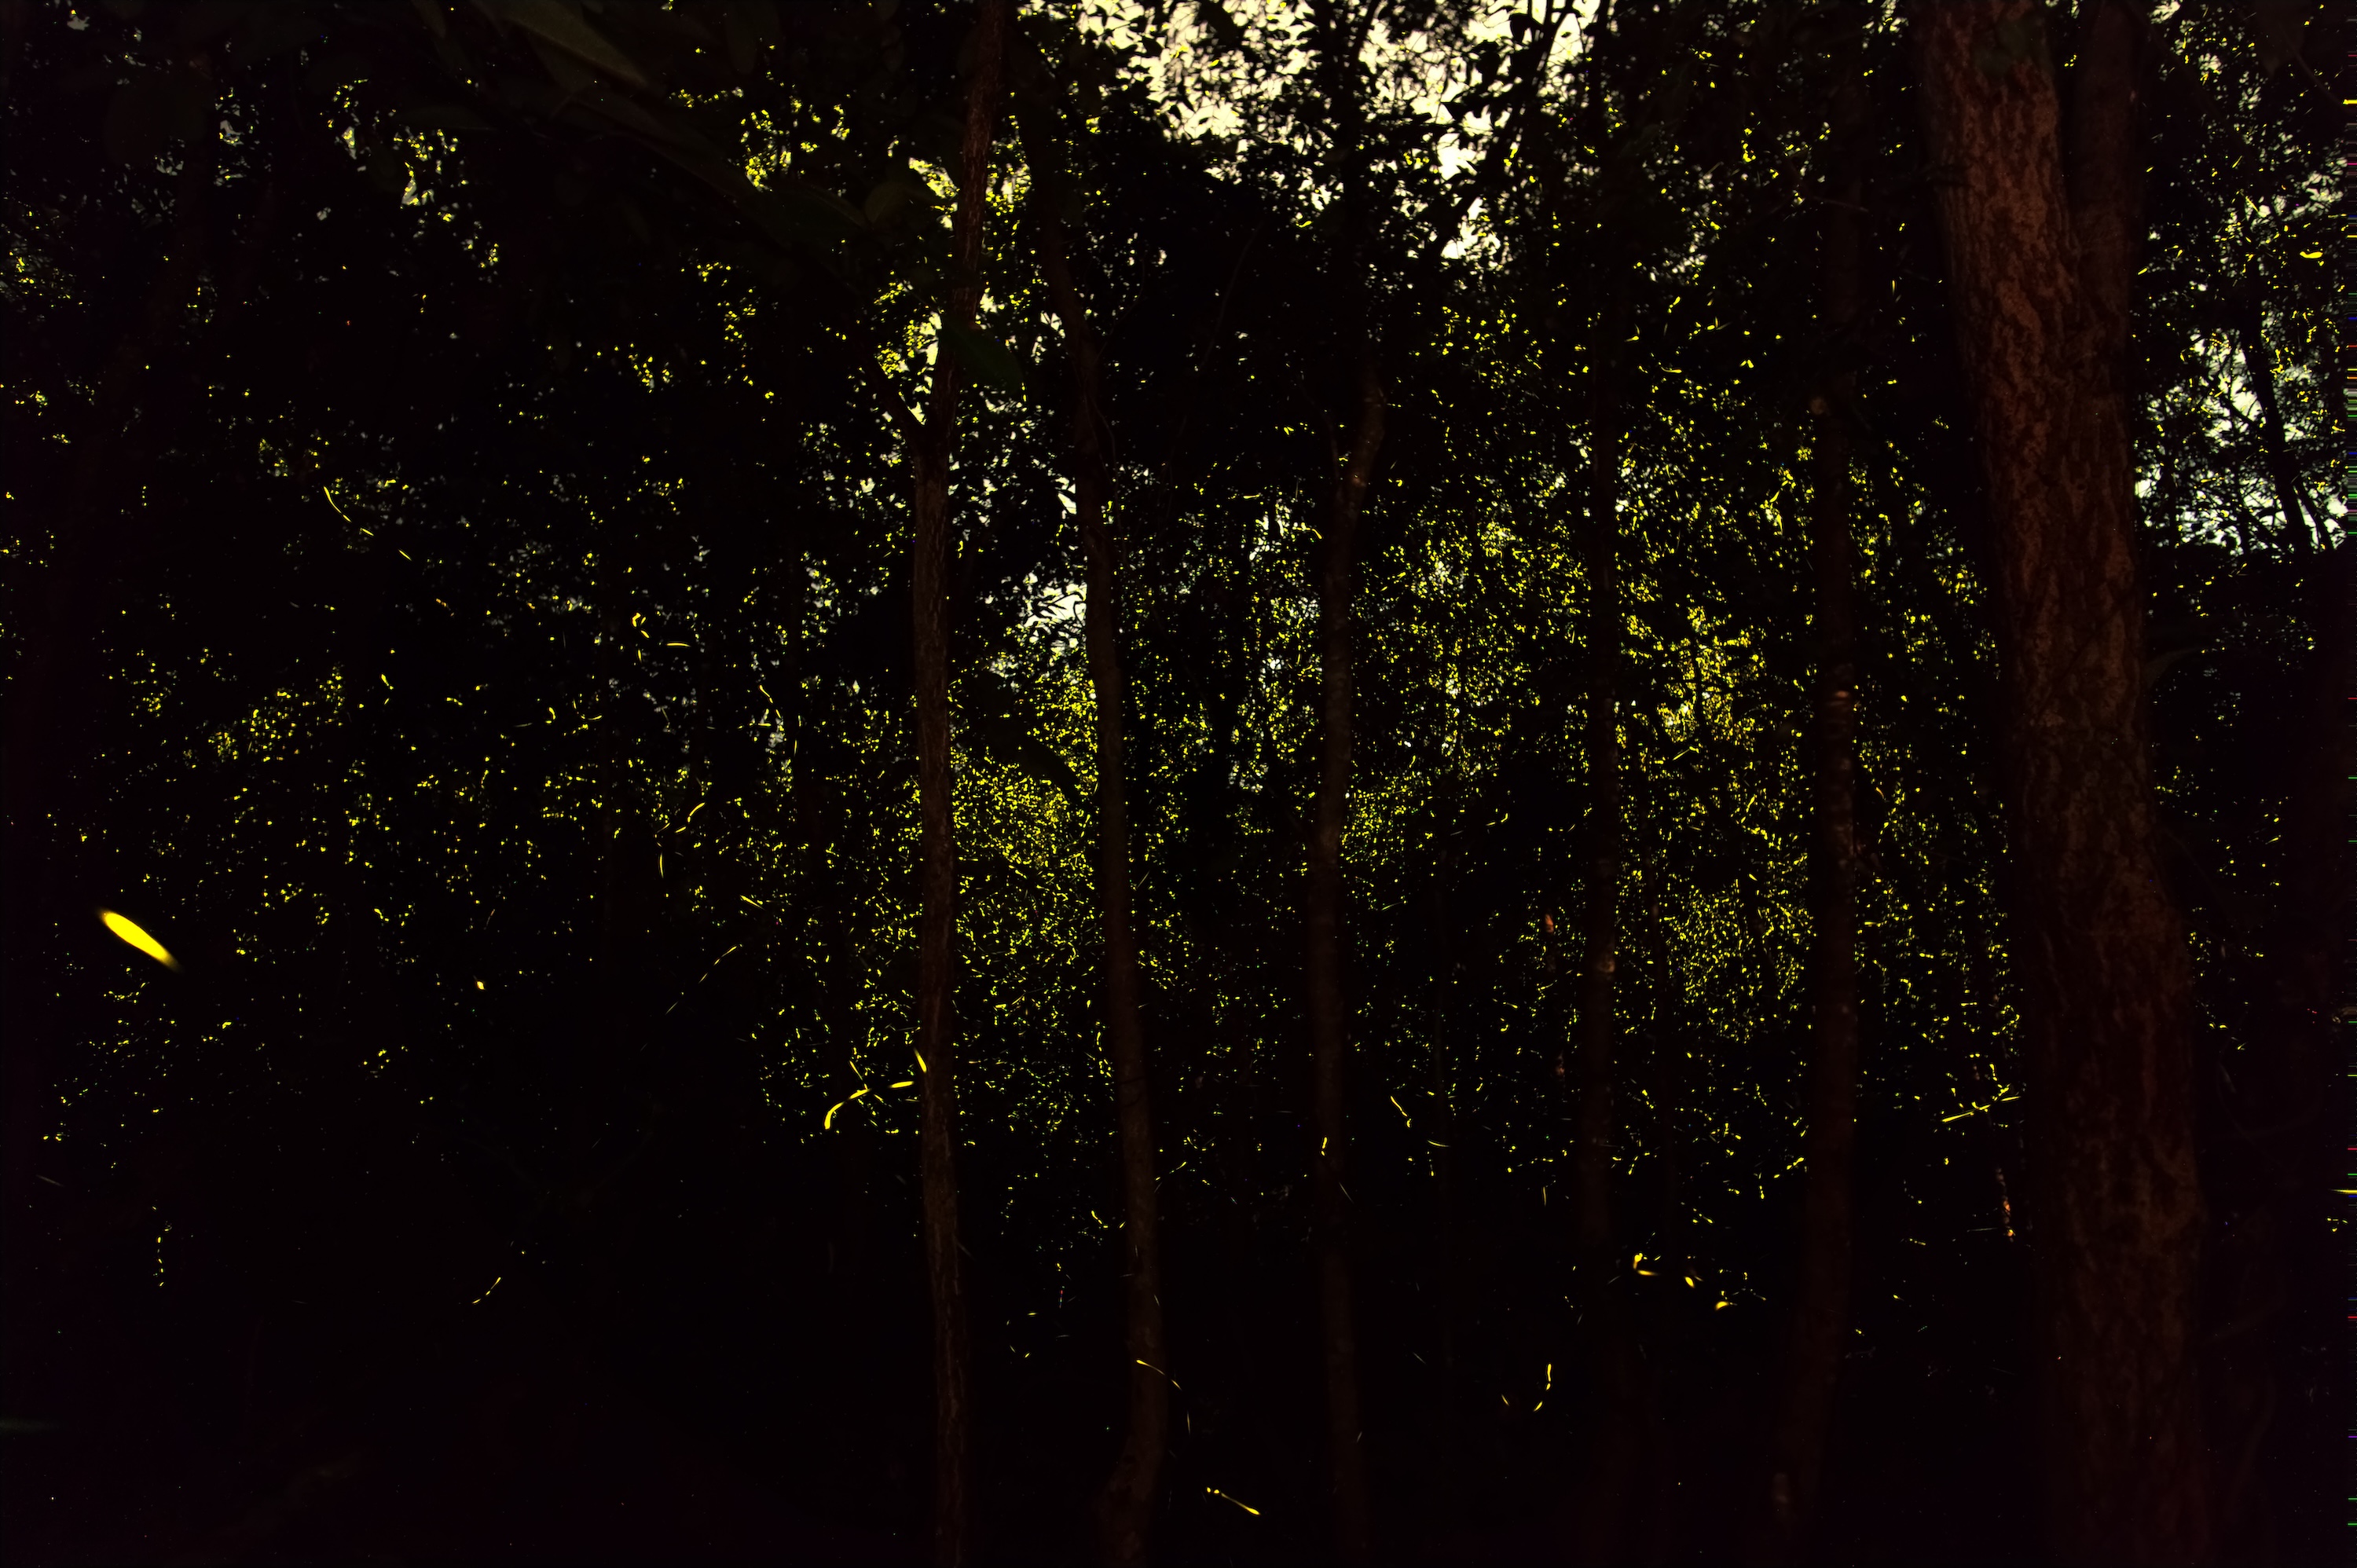
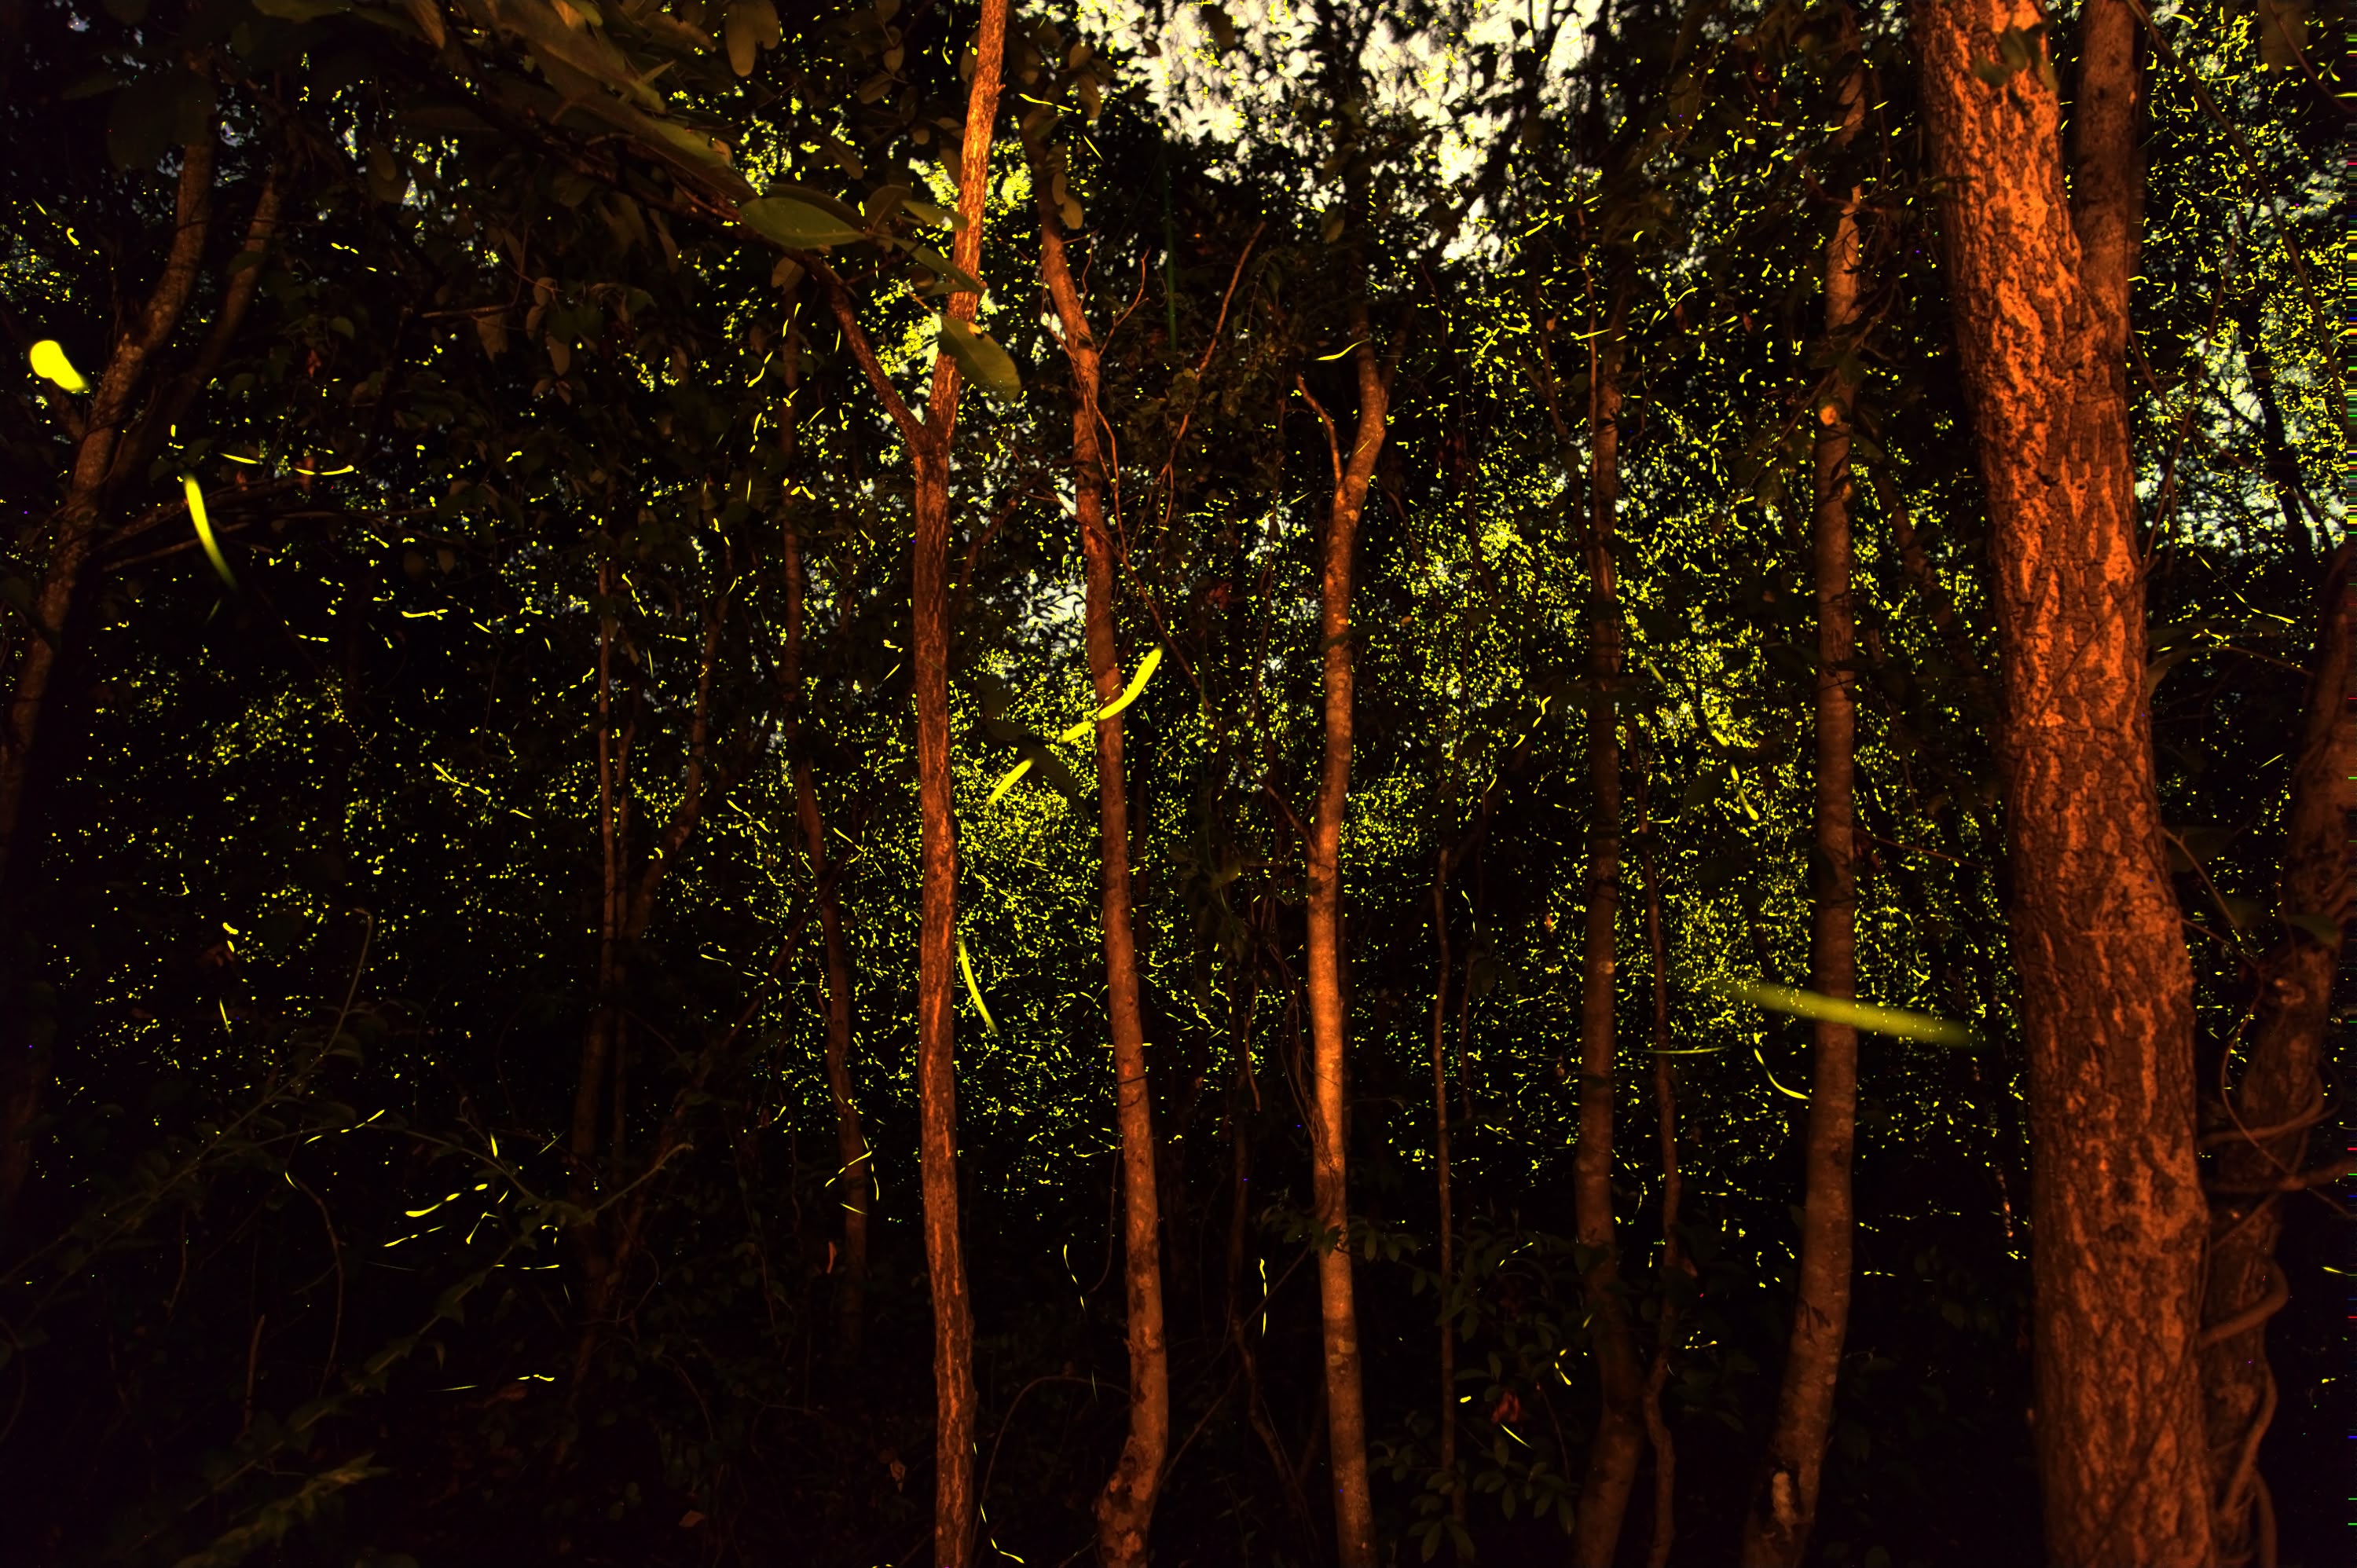
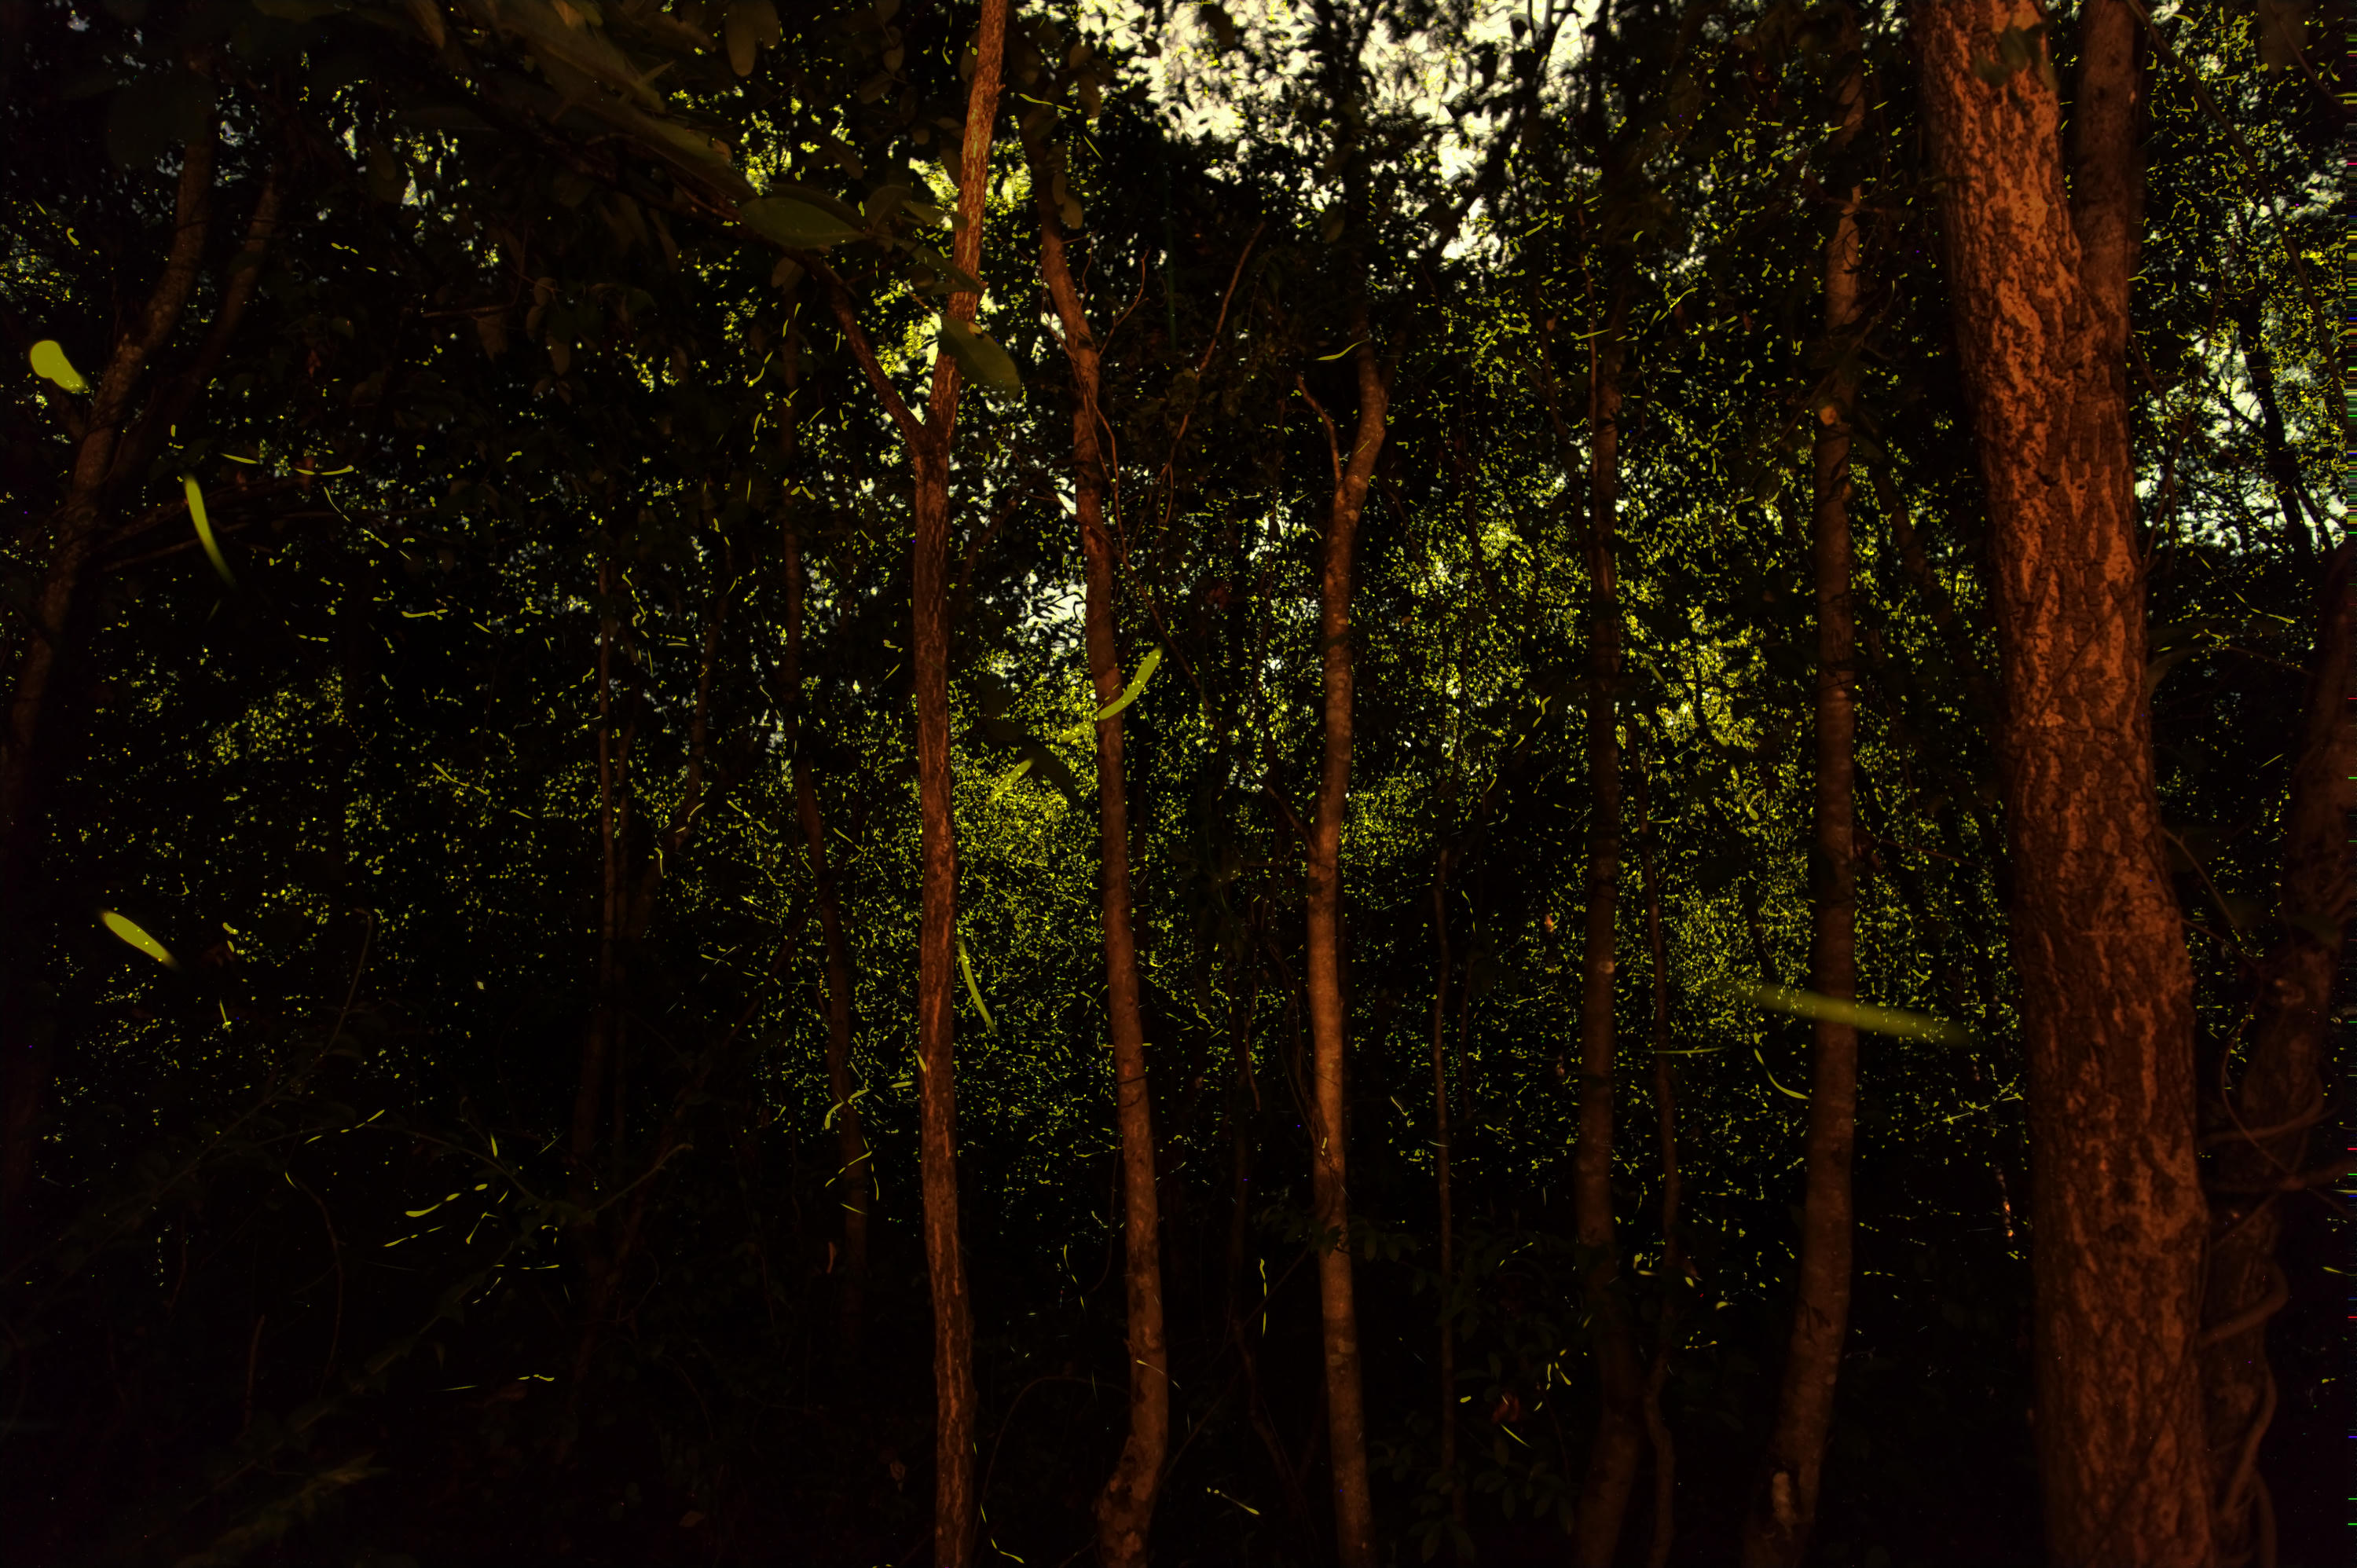
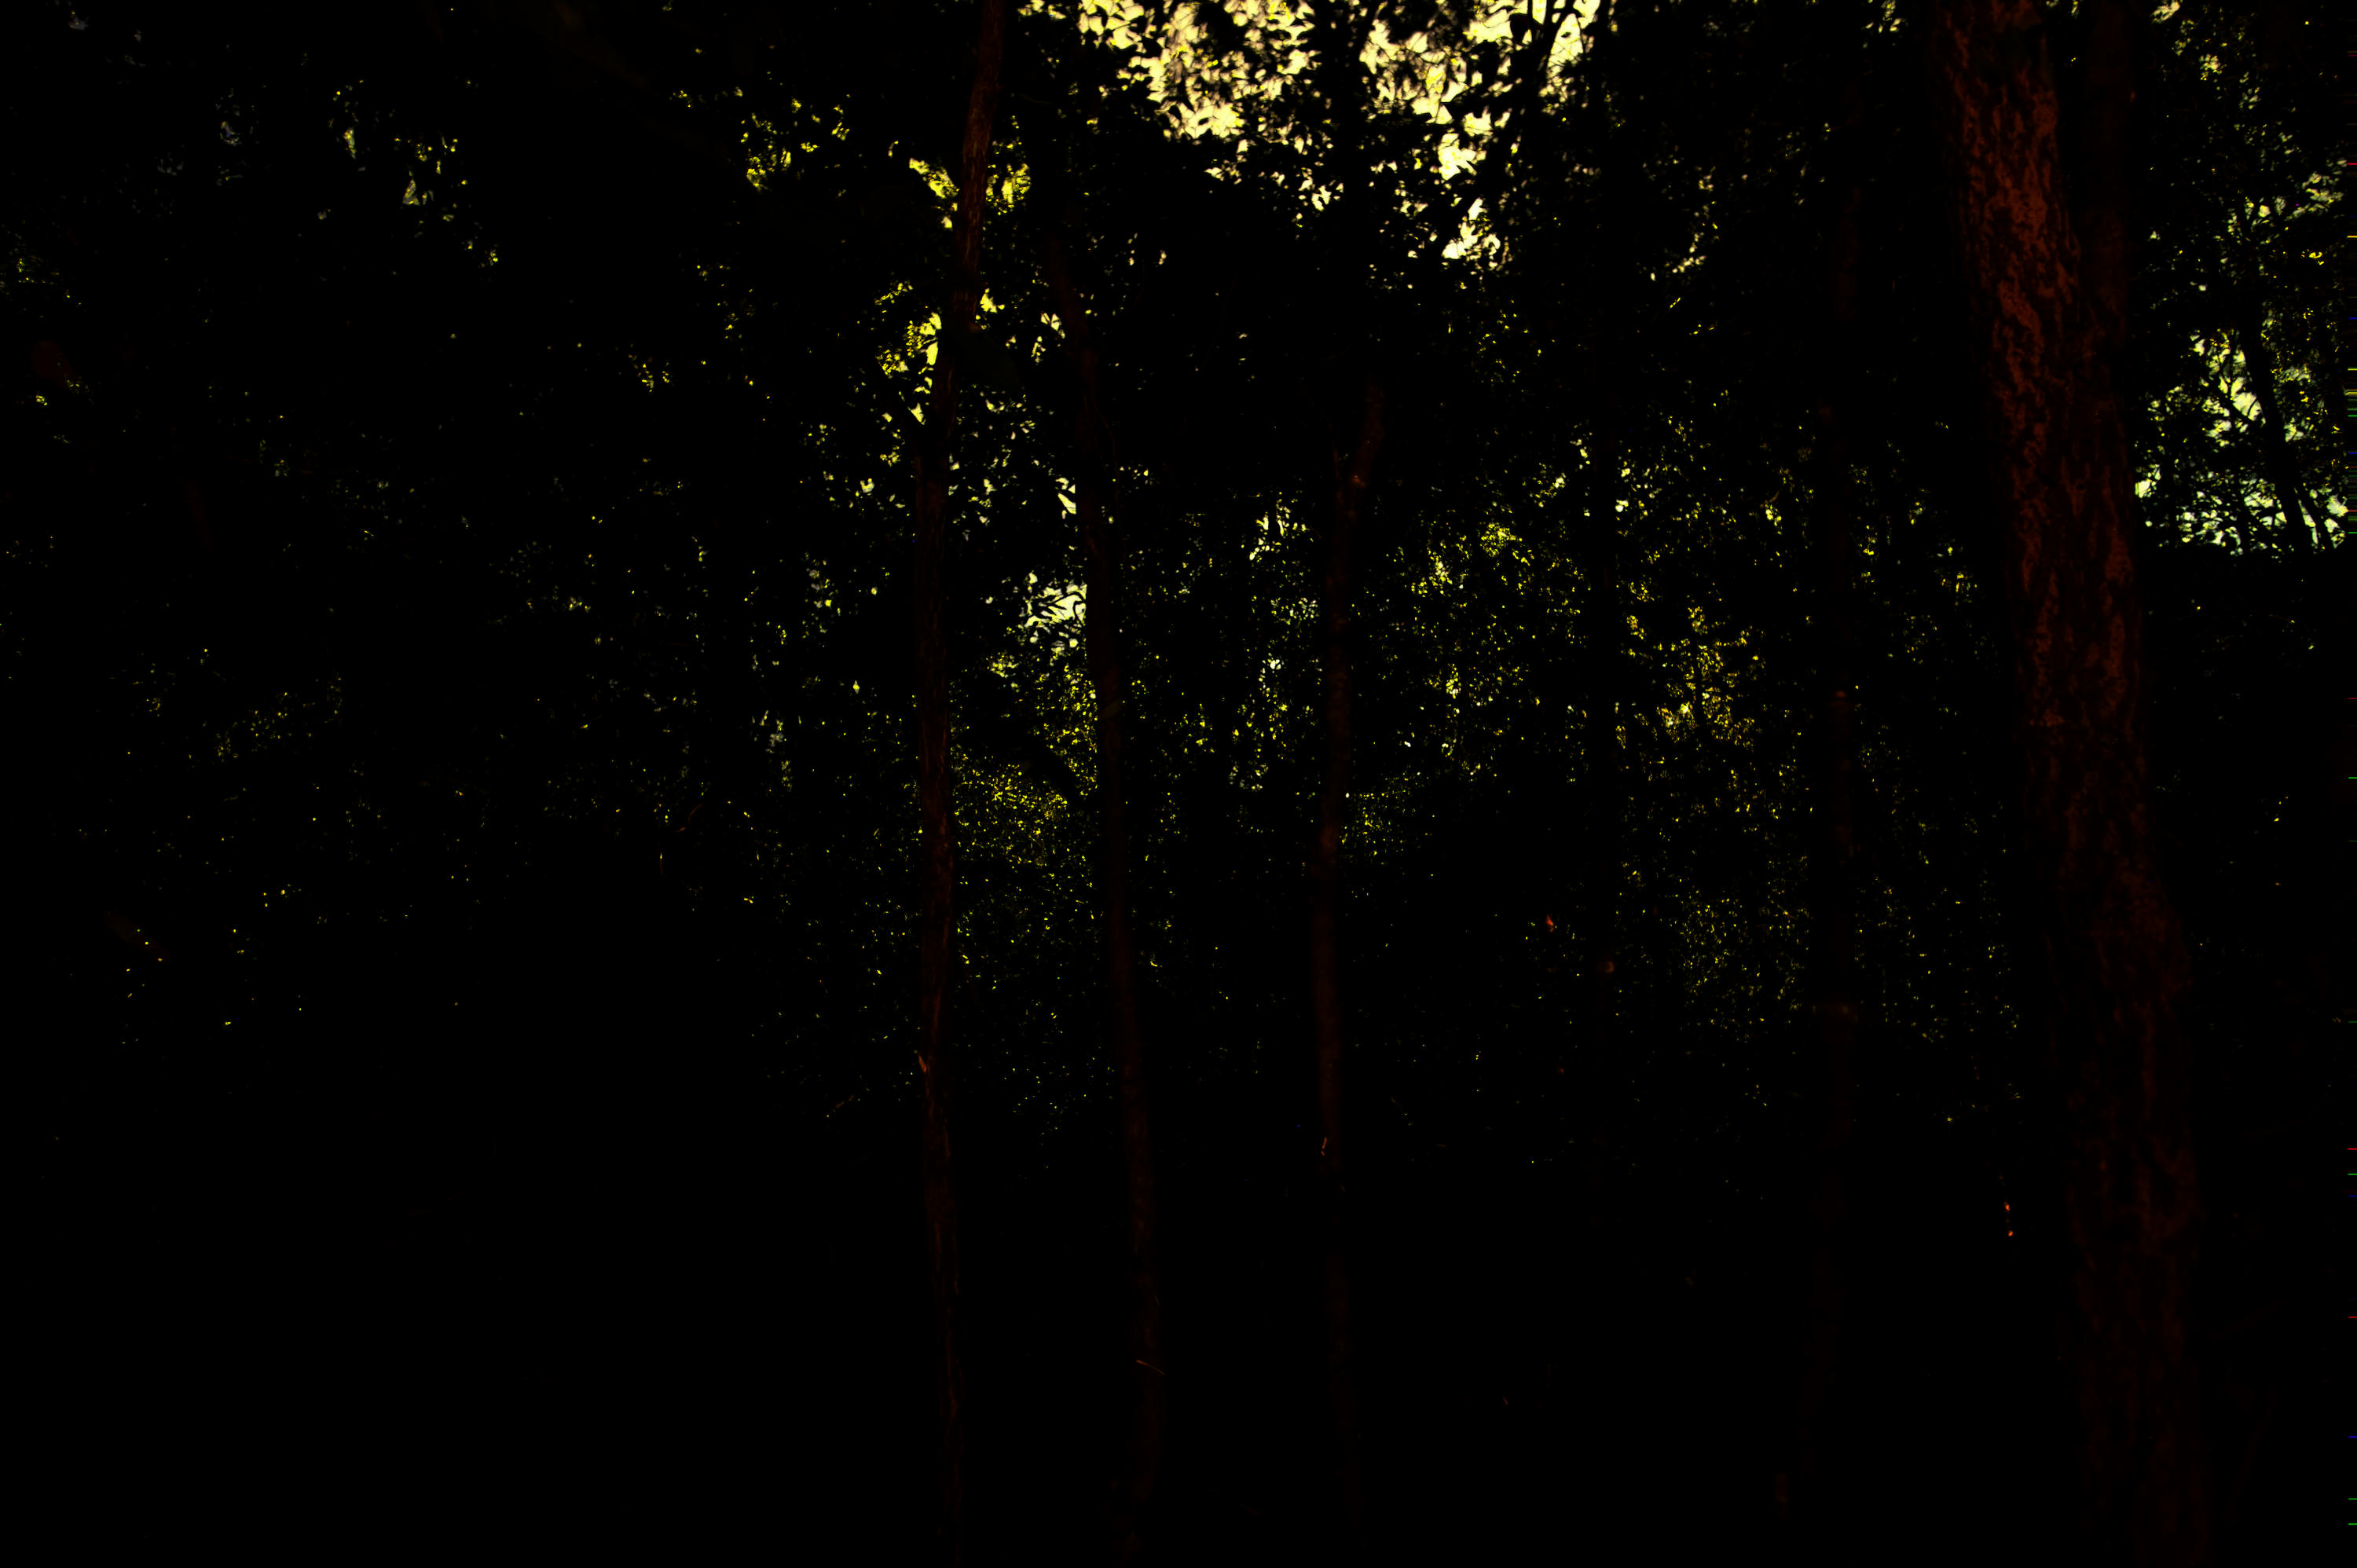
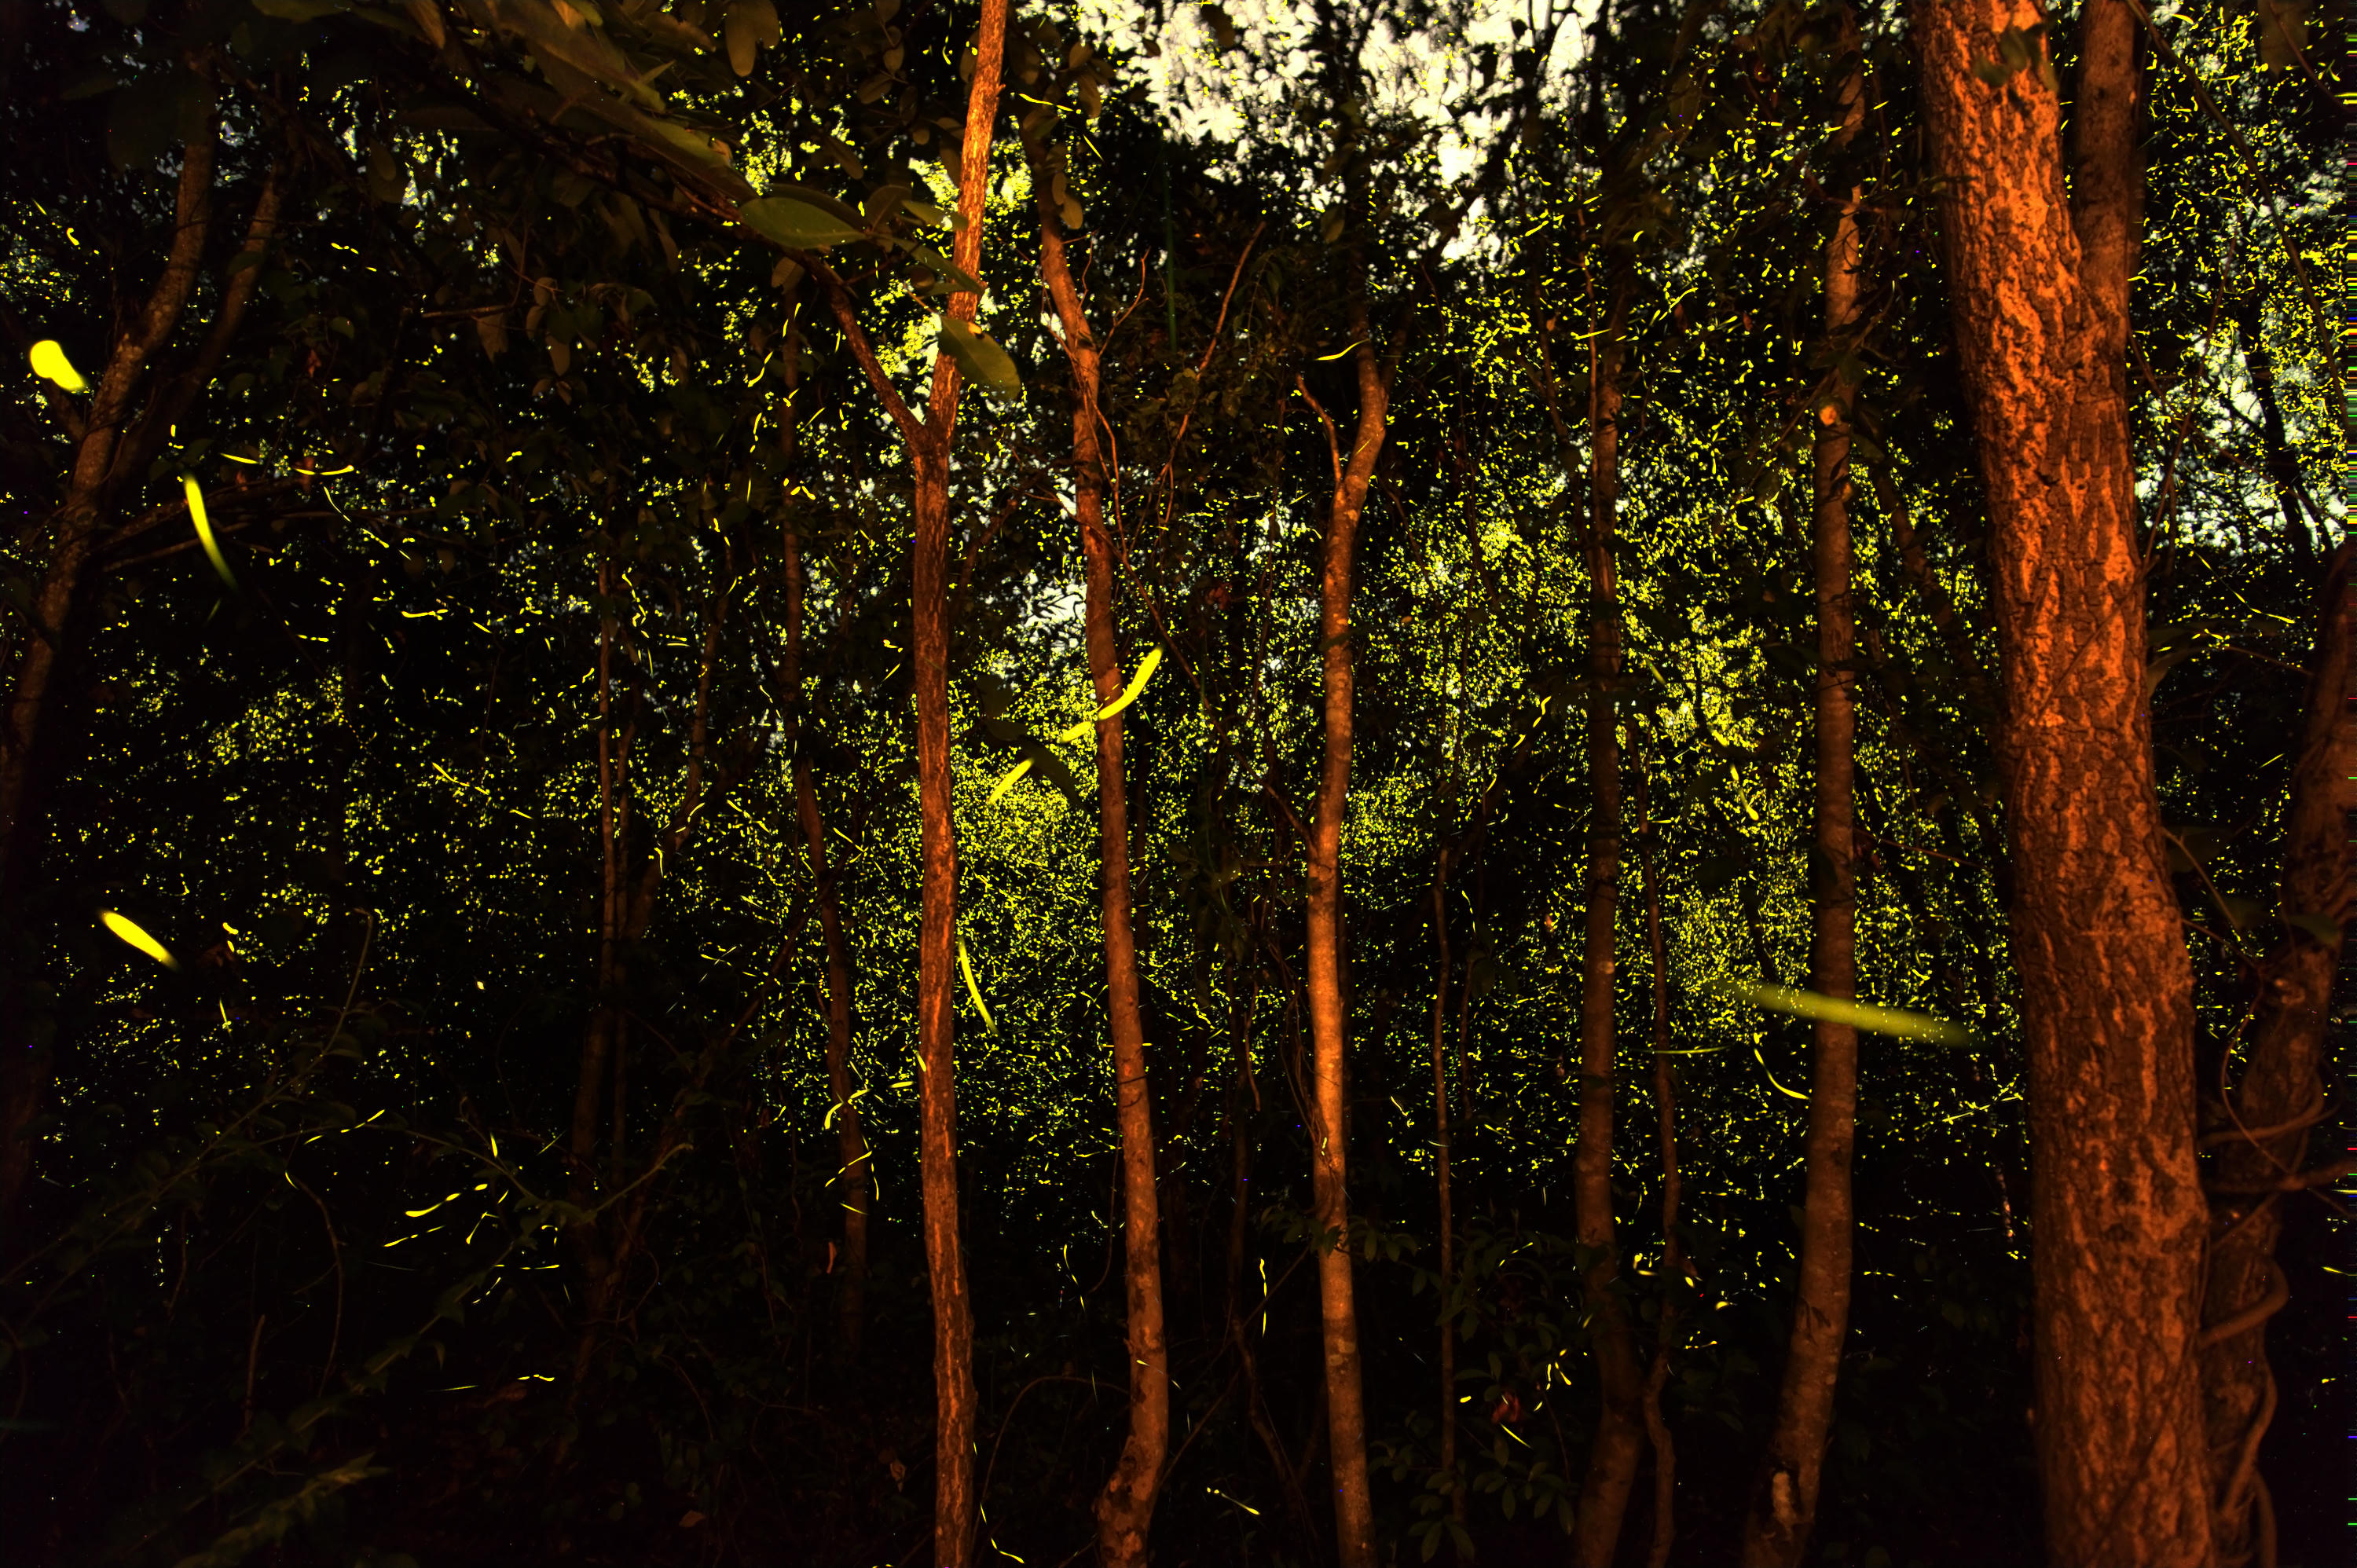
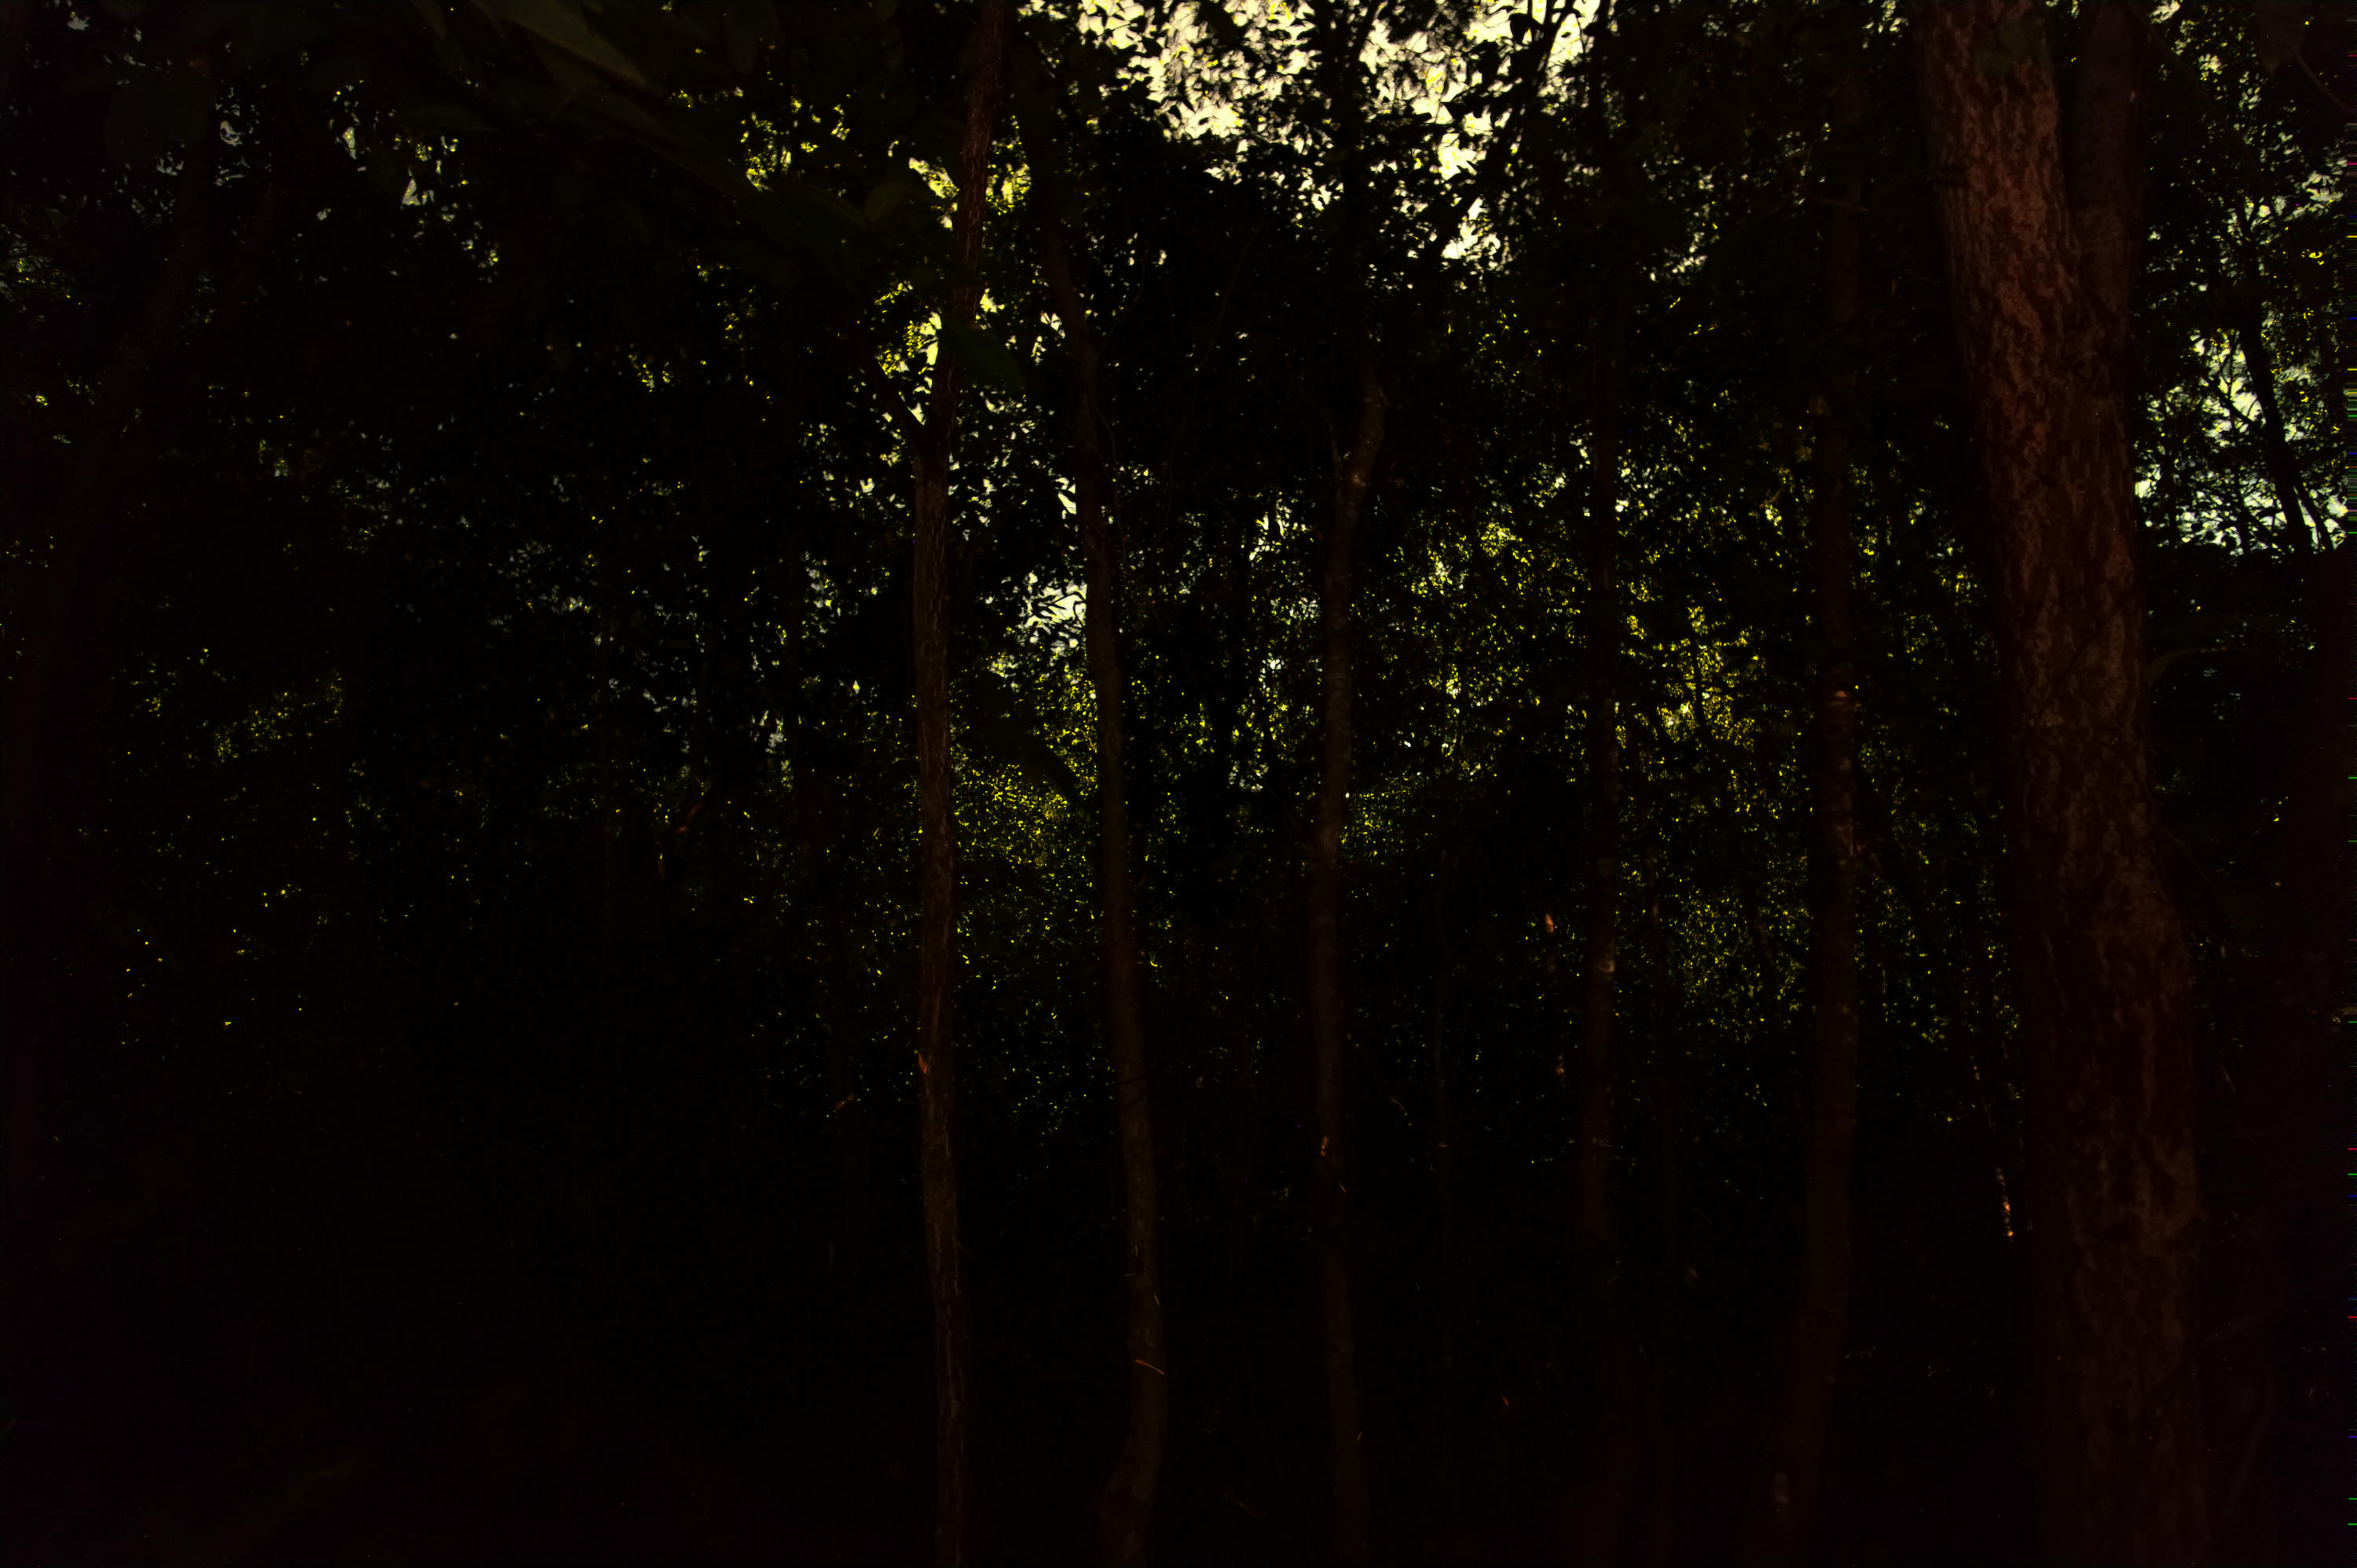
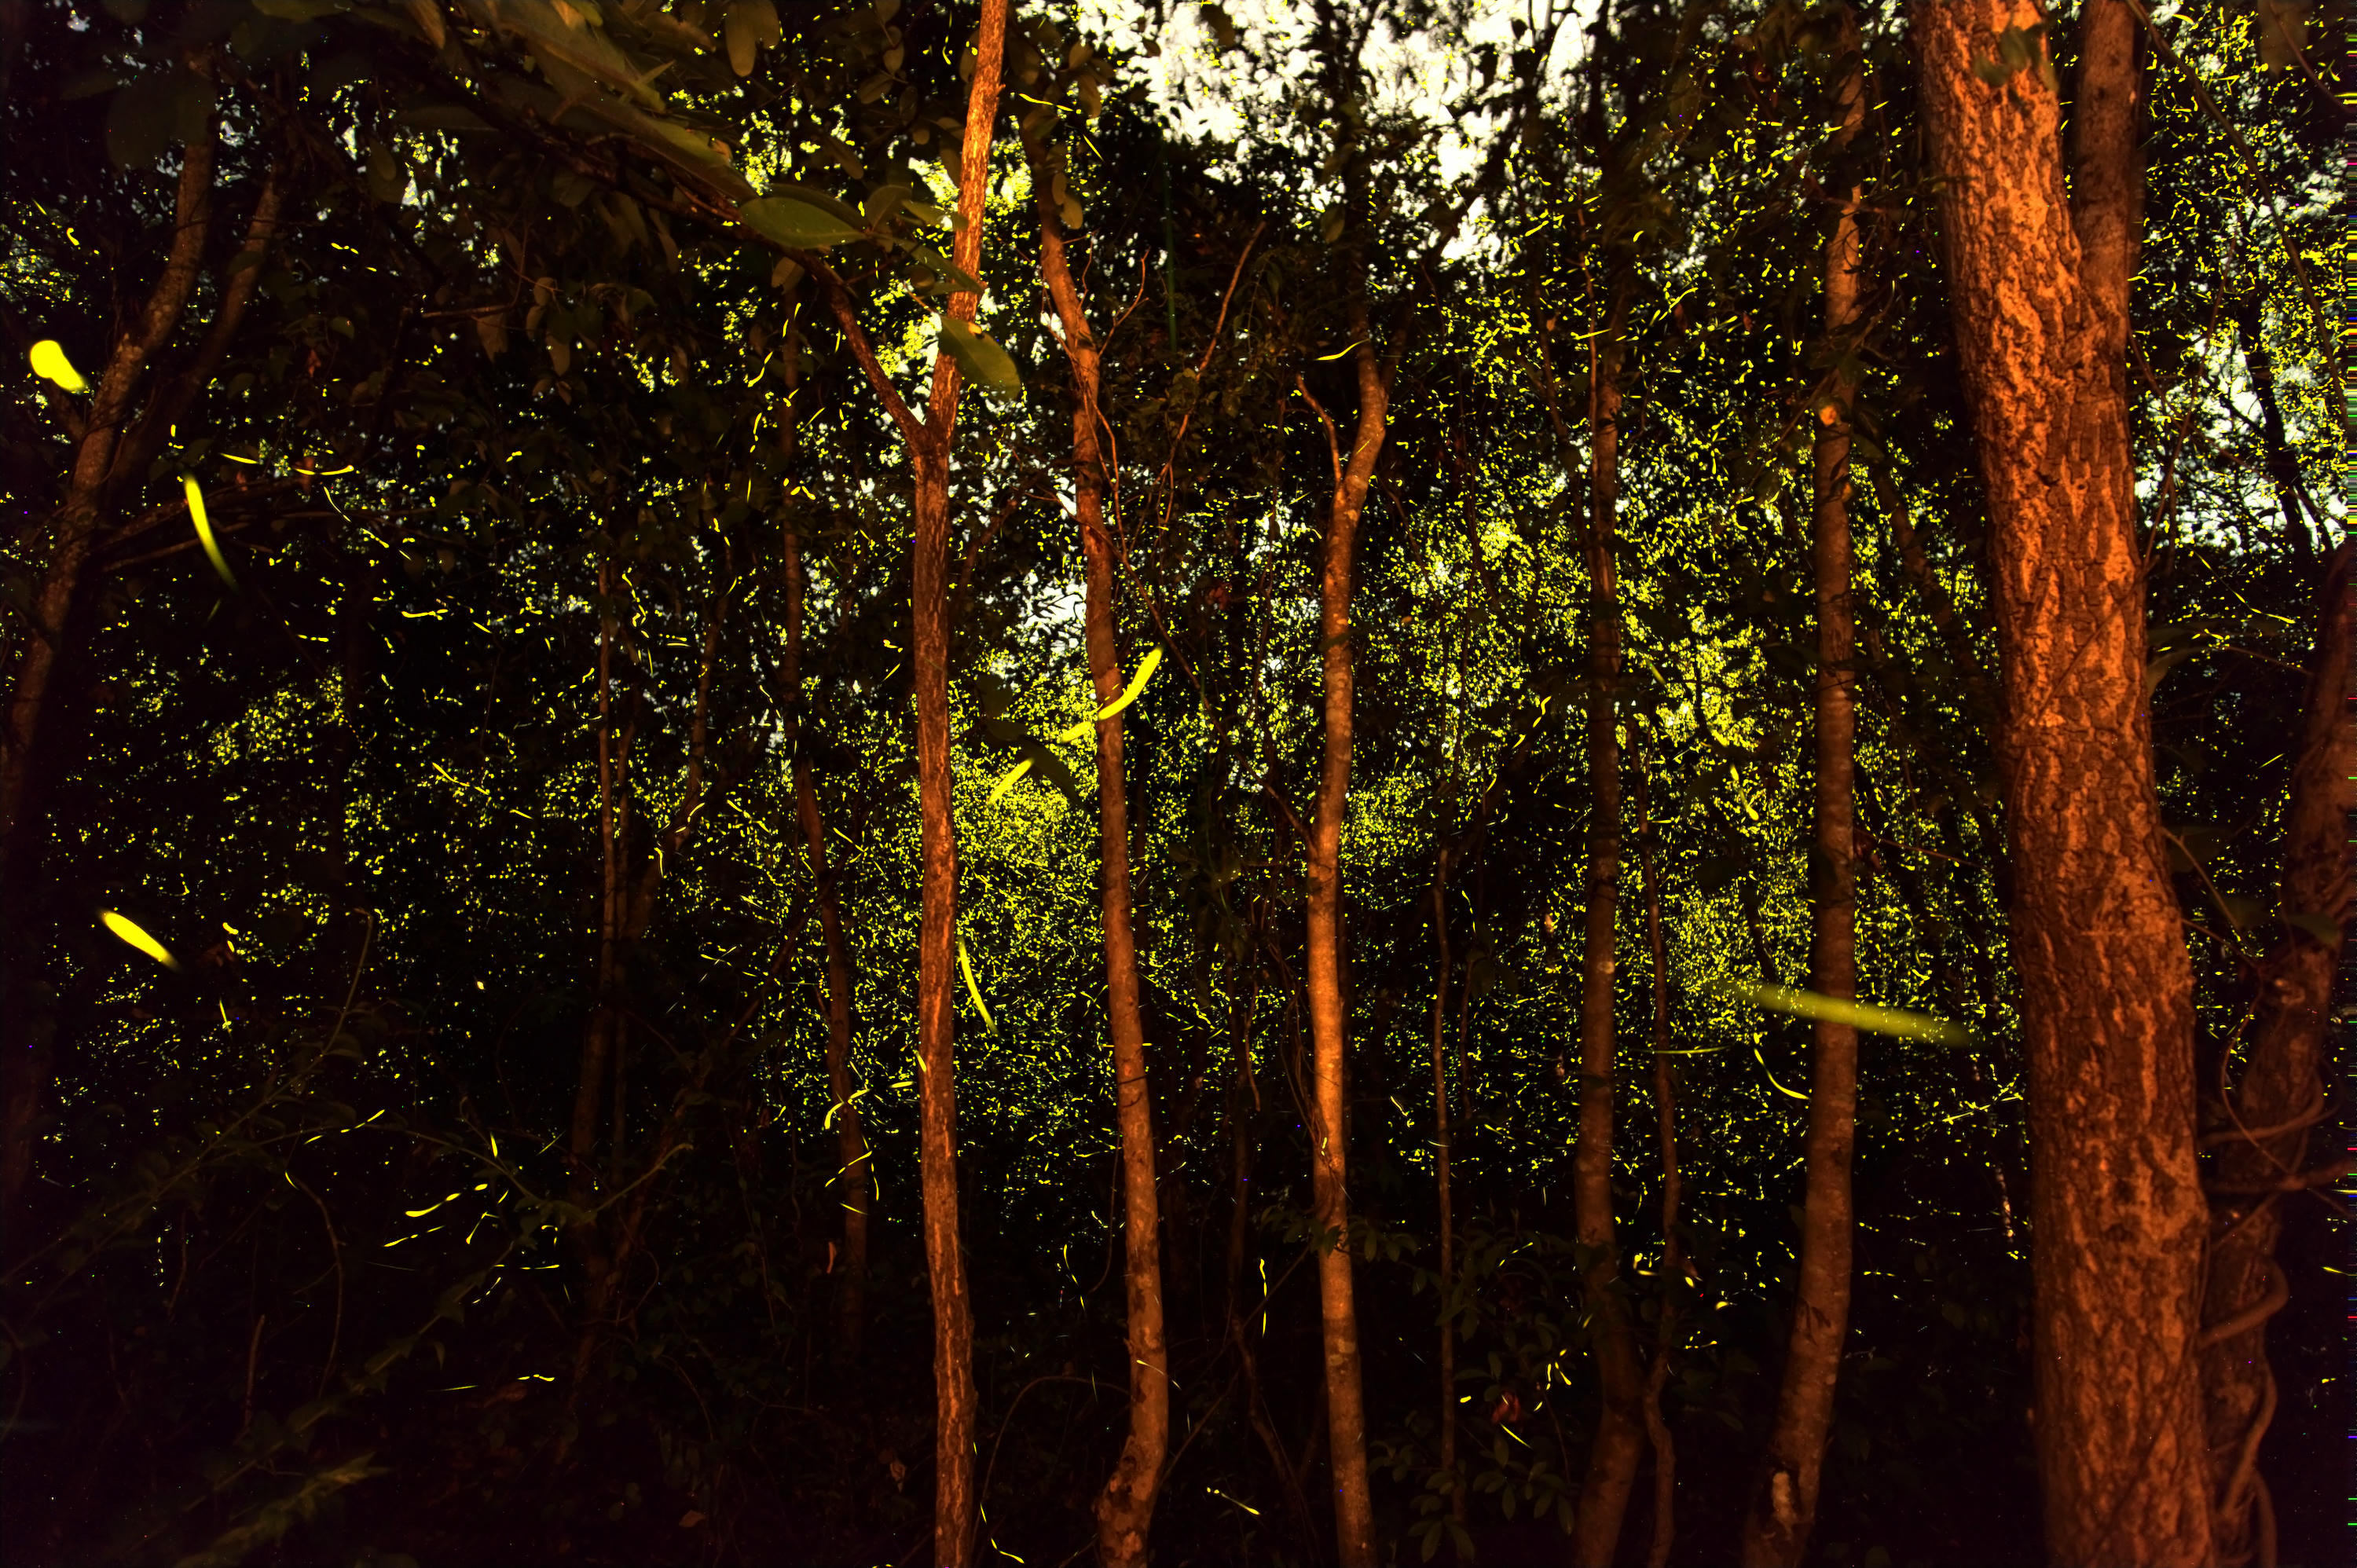
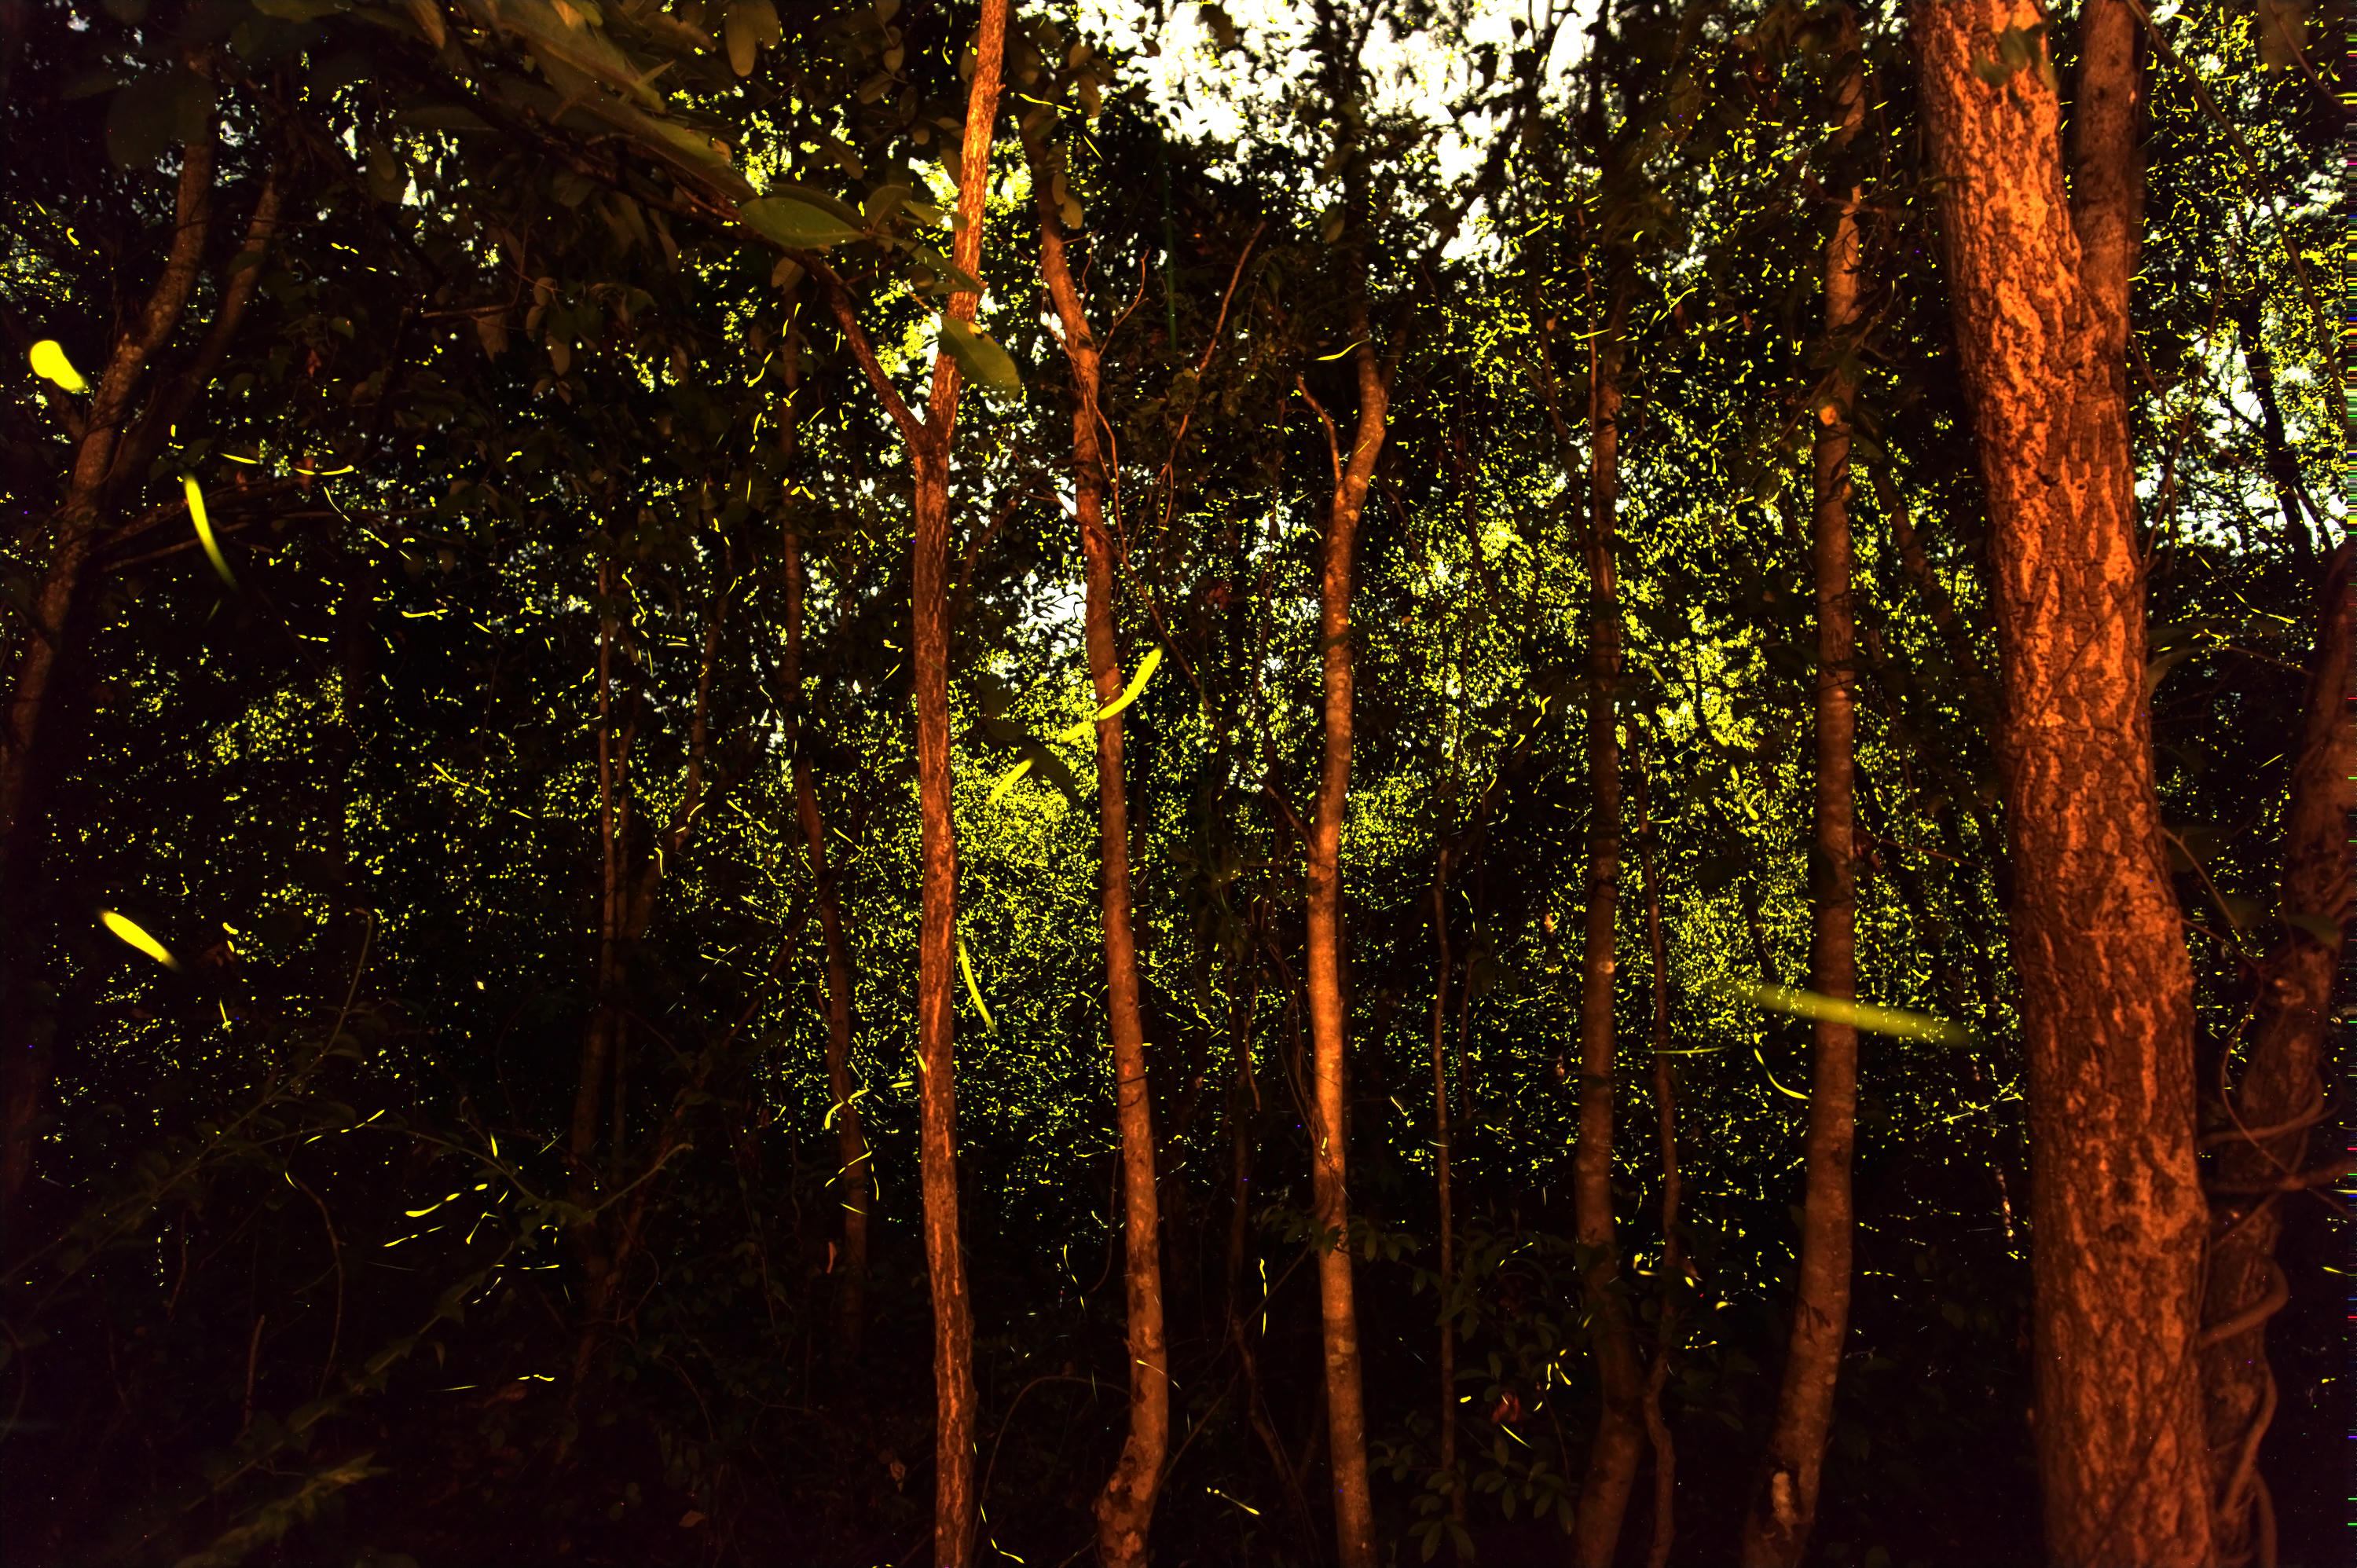
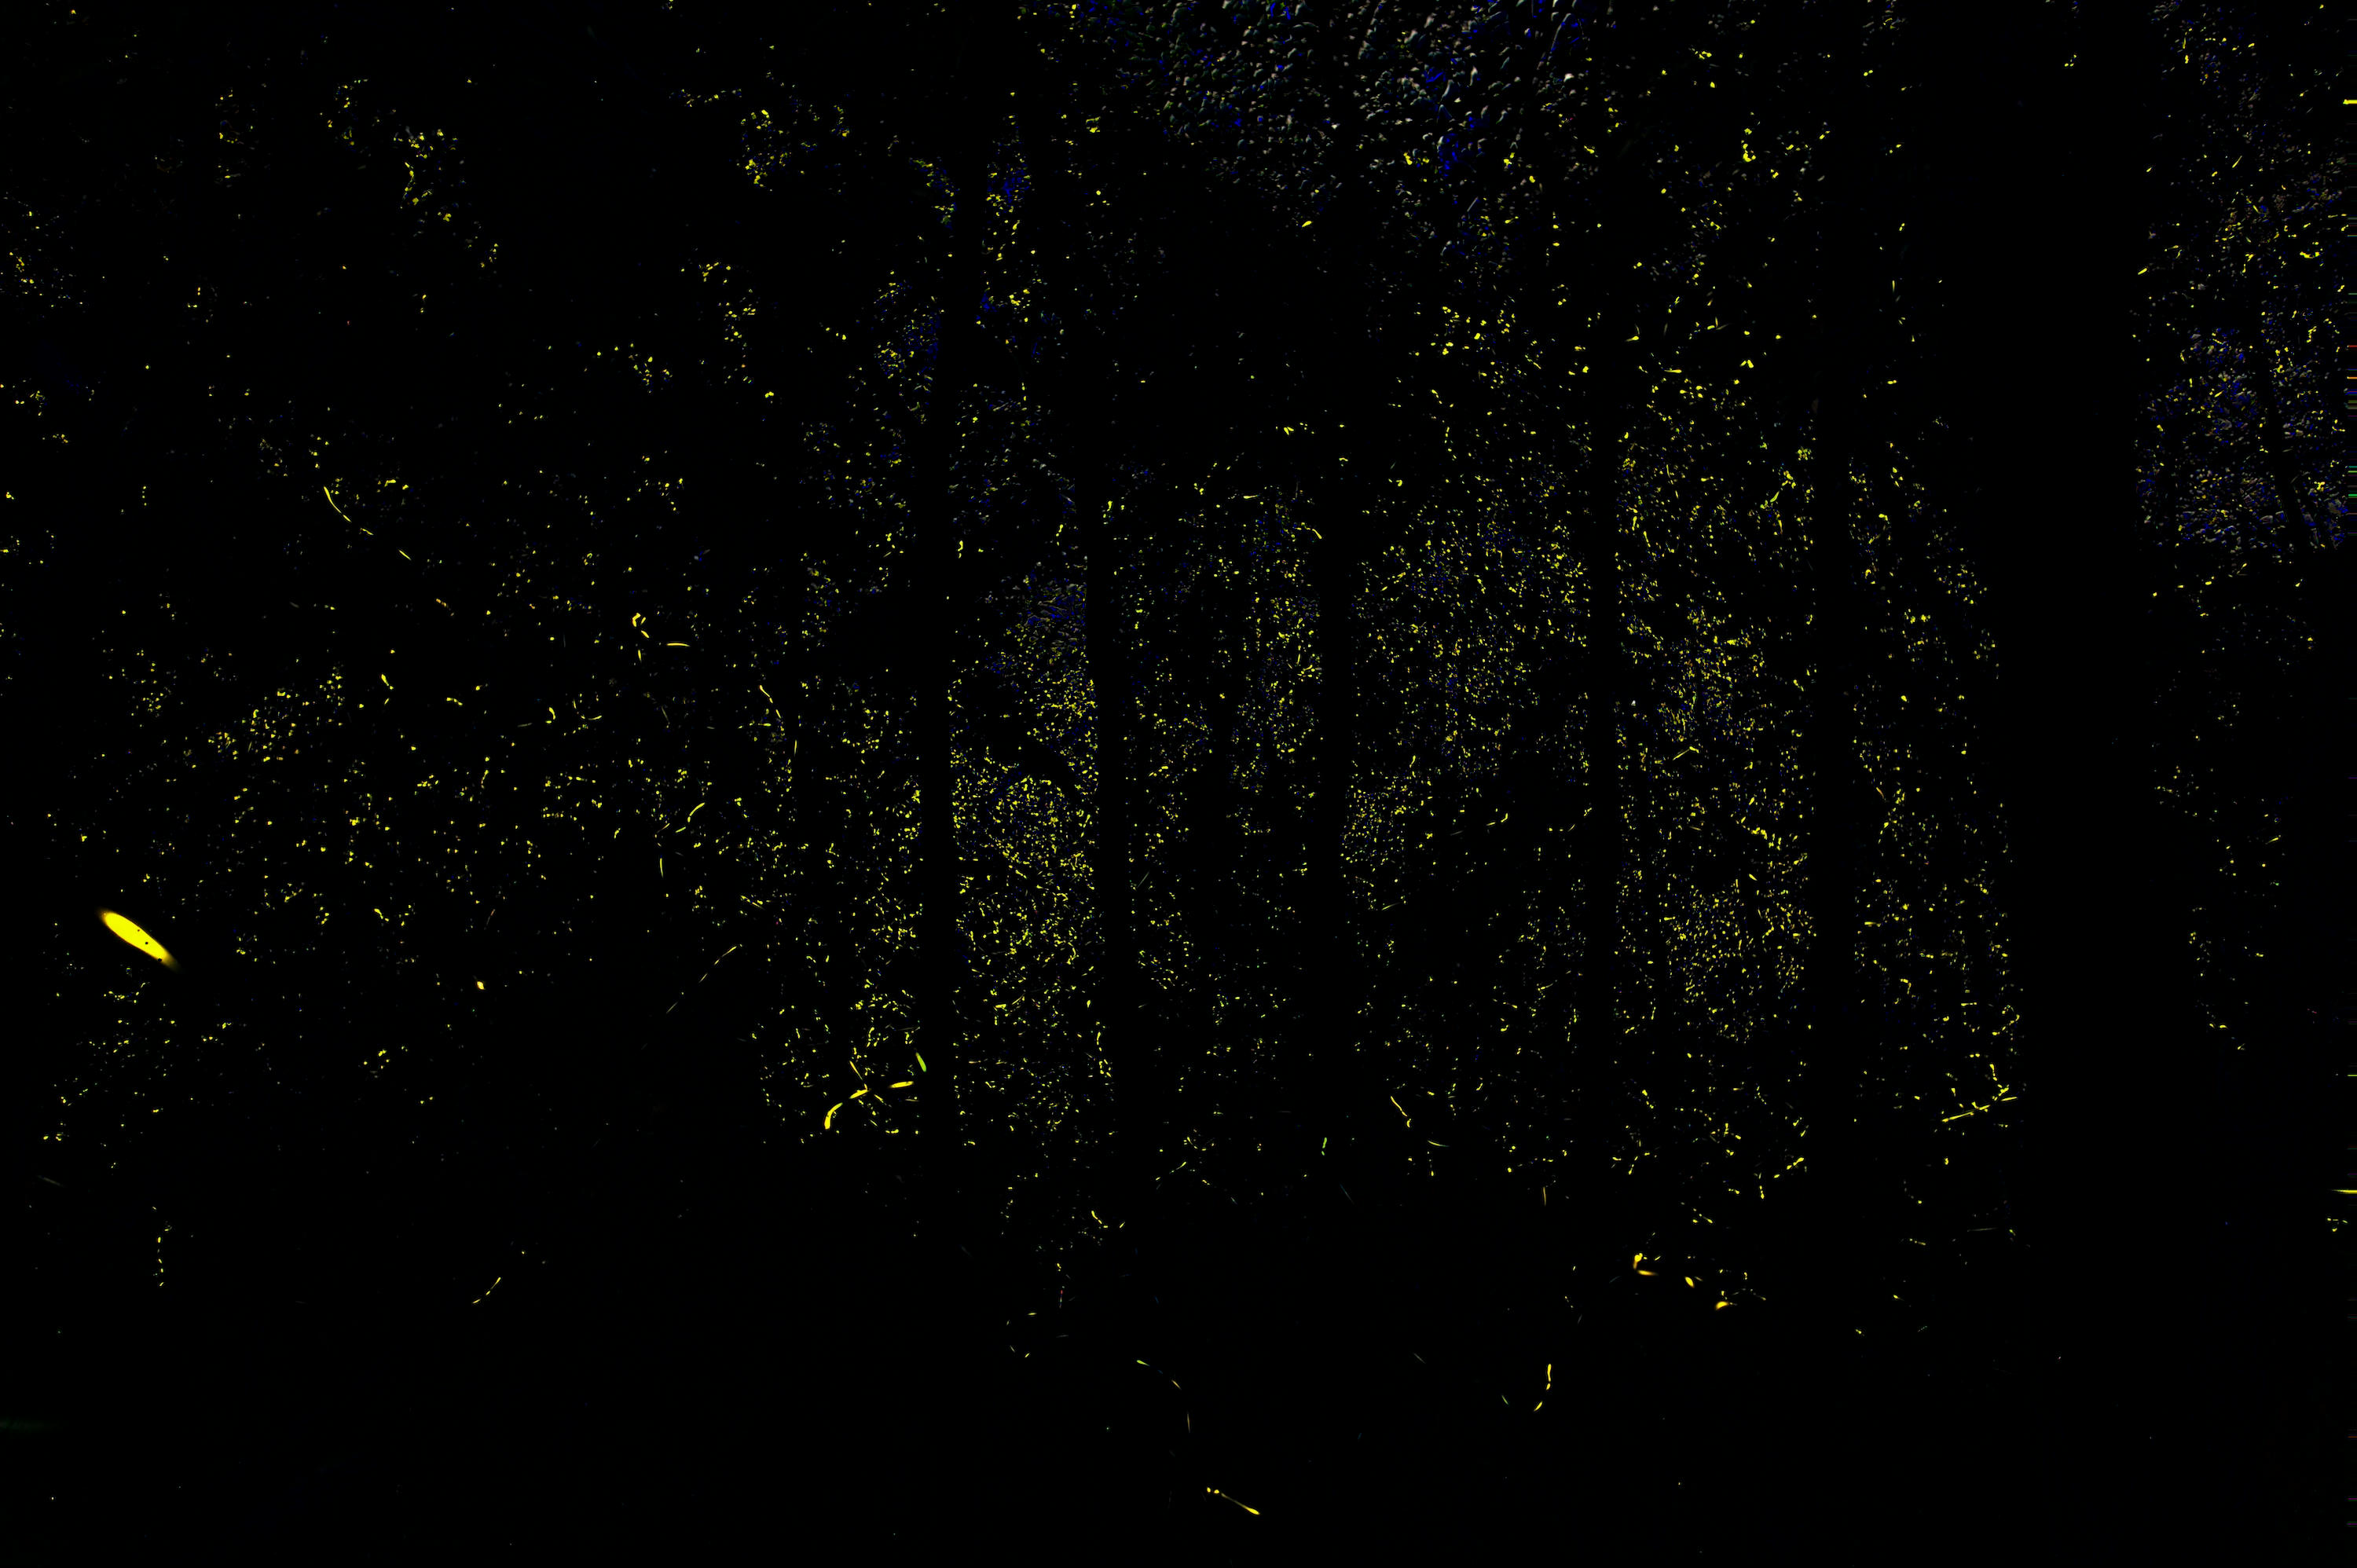
For showcasing the result of each of the blending modes, the following two input images are blended together
Average Blend
An average blend involves channel-wise averaging the input pixel values to get the output pixel.
// src/operations.rs

pub struct AverageBlend;

impl BlendOperation for AverageBlend {
    fn perform_operation(&self, pixel1: [u8; 3], pixel2: [u8; 3]) -> [u8; 3] {
        [
            pixel1[0] / 2 + pixel2[0] / 2,
            pixel1[1] / 2 + pixel2[1] / 2,
            pixel1[2] / 2 + pixel2[2] / 2,
        ]
    }
}
Multiply Blend
A multiply blend involves channel-wise multiplication of input pixel values after they've been normalized[¹] to get the output pixel. The output pixel is then rescaled back to the original range by multiplying with 255.
// src/operations.rs

pub struct MultiplyBlend;

impl BlendOperation for MultiplyBlend {
    fn perform_operation(&self, pixel1: [u8; 3], pixel2: [u8; 3]) -> [u8; 3] {
        [
            ((pixel1[0] as f32 / 255. * pixel2[0] as f32 / 255.) * 255.) as u8,
            ((pixel1[1] as f32 / 255. * pixel2[1] as f32 / 255.) * 255.) as u8,
            ((pixel1[2] as f32 / 255. * pixel2[2] as f32 / 255.) * 255.) as u8,
        ]
    }
}
Lighten Blend
Lighten blend involves channel-wise comparison of input pixel values, selecting the pixel with higher value (intensity) as the output pixel.
// src/operations.rs

pub struct LightenBlend;

impl BlendOperation for LightenBlend {
    fn perform_operation(&self, pixel1: [u8; 3], pixel2: [u8; 3]) -> [u8; 3] {
        [
            pixel1[0].max(pixel2[0]),
            pixel1[1].max(pixel2[1]),
            pixel1[2].max(pixel2[2]),
        ]
    }
}
Darken Blend
Darken blend is the opposite operation of lighten blend. It involves channel-wise comparison of input pixel values, selecting the pixel with least value (intensity) as the output pixel.
// src/operations.rs

pub struct DarkenBlend;

impl BlendOperation for DarkenBlend {
    fn perform_operation(&self, pixel1: [u8; 3], pixel2: [u8; 3]) -> [u8; 3] {
        [
            pixel1[0].min(pixel2[0]),
            pixel1[1].min(pixel2[1]),
            pixel1[2].min(pixel2[2]),
        ]
    }
}
Screen Blend
Screen blend refers to multiplying the inverse of two images, and then inverting the result. In our implementation, the pixels first need to be normalized[¹]. The normalized[¹] values are then inverted by subtracting them from 1, then they're multiplied and inverted again.
Finally, the output is multiplied by 255 to de-normalize the output pixel value.
// src/operations.rs

pub struct ScreenBlend;

impl BlendOperation for ScreenBlend {
    fn perform_operation(&self, pixel1: [u8; 3], pixel2: [u8; 3]) -> [u8; 3] {
        [
            ((1. - ((1. - (pixel1[0] as f32 / 255.)) * (1. - (pixel2[0] as f32 / 255.)))) * u8::MAX as f32) as u8,
            ((1. - ((1. - (pixel1[1] as f32 / 255.)) * (1. - (pixel2[1] as f32 / 255.)))) * u8::MAX as f32) as u8,
            ((1. - ((1. - (pixel1[2] as f32 / 255.)) * (1. - (pixel2[2] as f32 / 255.)))) * u8::MAX as f32) as u8,
        ]
    }
}
Addition Blend
Addition blend involves adding the input values and then clamping the result to the maximum range of the color depth we're targeting. In this case, that would be 0-255 as we're targeting 8-bit color depth.
We also have to convert the values to u16 in order to avoid loss of value due to overflow. We can also use normalized[¹] values here to achieve the same result.
// src/operations.rs

pub struct AdditionBlend;

impl BlendOperation for AdditionBlend {
    fn perform_operation(&self, pixel1: [u8; 3], pixel2: [u8; 3]) -> [u8; 3] {
        [
            (pixel1[0] as u16 + pixel2[0] as u16).clamp(0, u8::MAX as u16) as u8,
            (pixel1[1] as u16 + pixel2[1] as u16).clamp(0, u8::MAX as u16) as u8,
            (pixel1[2] as u16 + pixel2[2] as u16).clamp(0, u8::MAX as u16) as u8,
        ]
    }
}
Subtraction Blend
Addition blend involves subtracting the input values and then clamping the result to the maximum range of the color depth we're targeting. In this case, that would be 0-255 as we're targeting 8-bit color depth.
We also convert the values to i16 in order to avoid loss of value due to overflow and lack of sign. We can also use normalized[¹] values here to achieve the same result.
// src/operations.rs

pub struct SubtractionBlend;

impl BlendOperation for SubtractionBlend {
    fn perform_operation(&self, pixel1: [u8; 3], pixel2: [u8; 3]) -> [u8; 3] {
        [
            (pixel1[0] as i16 - pixel2[0] as i16).clamp(0, u8::MAX as i16) as u8,
            (pixel1[1] as i16 - pixel2[1] as i16).clamp(0, u8::MAX as i16) as u8,
            (pixel1[2] as i16 - pixel2[2] as i16).clamp(0, u8::MAX as i16) as u8,
        ]
    }
}
How to Apply Blend Functions To Images
The final step is to actually use the blending operations we created previously and apply them to pairs of images.
To achieve this, we need a function that can take the SourceData type we defined previously as input, along with a blending operation as the arguments, and gives us the final output buffer. Let's start by creating a new file for it called blend.rs.
// src/blend.rs

use image::{ImageBuffer, Rgb};
use crate::{operations::BlendOperation, SourceData};

impl SourceData {
    pub fn blend_images(&self, operation: impl BlendOperation)  -> ImageBuffer<Rgb<u8>, Vec<u8>> {
        let SourceData {
            width,
            height,
            image1,
            image2,
        } = self;

        // Create a new buffer that has the same size as input images, which will serve as our output data
        let mut buffer = ImageBuffer::new(*width as u32, *height as u32);

        // Iterate over all pixels in the output buffer, along with their coordinates
        for (x, y, output_pixel) in buffer.enumerate_pixels_mut() {
            // Compute linear index form x & y coordinates. In other words, you have the
            // row and column indexes here, and you want to compute the array index based
            // on these two positions.
            let index = (y * *width as u32 + x) as usize;

            // Store pixel values in the given position into variables
            let pixel1 = image1[index];
            let pixel2 = image2[index];

            // Compute the blended pixel and convert it into the `Rgb` type, which is then
            // assigned to the output pixel in the buffer.
            *output_pixel = Rgb::from(operation.perform_operation(pixel1, pixel2));
        }

        buffer
    }
}
Putting It All Together
It's now time to make use of all the new things you've learnt so far, and put them together in main.rs file.
// src/main.rs

mod blend;
mod io;
mod operations;

use io::*;
use operations::{
    AdditionBlend, AverageBlend, DarkenBlend, LightenBlend, MultiplyBlend, ScreenBlend,
    SubtractionBlend,
};

fn main() {
    let source_data = read_pixel_data("image1.jpg".to_string(), "image2.jpg".to_string());

    let output_buffer = source_data.blend_images(AdditionBlend);
    output_buffer.save("addition.jpg").unwrap();

    let output_buffer = source_data.blend_images(AverageBlend);
    output_buffer.save("average.jpg").unwrap();

    let output_buffer = source_data.blend_images(DarkenBlend);
    output_buffer.save("darken.jpg").unwrap();

    let output_buffer = source_data.blend_images(LightenBlend);
    output_buffer.save("lighten.jpg").unwrap();

    let output_buffer = source_data.blend_images(MultiplyBlend);
    output_buffer.save("multiply.jpg").unwrap();

    let output_buffer = source_data.blend_images(ScreenBlend);
    output_buffer.save("screen.jpg").unwrap();

    let output_buffer = source_data.blend_images(SubtractionBlend);
    output_buffer.save("subtraction.jpg").unwrap();
}
You can now run the program using the following command, and you should have all the images generated and saved in the project folder:
cargo run --release
As you might have guessed already, this implementation only works for 8-bit RGB images. This code, however, can be extended very easily to support the other color formats such as 8-bit Luma (Monochrome), 16-bit RGB (Many RAW camera images), and so on.
I highly encourage you to try that out. You can also reach out to me for help with anything in this tutorial or with extending the code in this tutorial. I'd be happy to answer all your queries. Email is the best way to reach me, you can email me at anshul@anshulsanghi.tech.
Glossary
Normalization refers to the process of rescaling the pixel values so that the values are in floating point format and are in the range of 0-1. For example, for an 8 bit image, the color black is represented by 0 (0 in de-normalized value) and the color white is represented by 1 (255 in de-normalized value). Intermediary decimal values between 0 & 1 represent different intensities of the pixel between black and white. Normalization is done for many different reasons such as:
Preventing overflows during calculations.
Re-scaling images to the same range irrespective of their individual color depth.
Expanding possible dynamic range of the image.
Enjoying my work?
Consider buying me a coffee to support my work!

Till next time, happy coding and wishing you clear skies!