In the ever-evolving realm of web technologies, the integration of AI-powered chatbots has become a defining trend in 2024.
With rapid advancements in Large Language Models (LLMs), chatbots have grown to become pivotal tools adopted across many websites and services. From FAQ bots to live chat support, they can provide users with information and assistance.
If you have a website, a sleek chatbot interface can offer support to your users. And you'll want to present a modern chatbot that can captivate your users and leave an impression.
React is one of the most popular tools for developing websites, and React-powered sites and apps are great candidates for chatbots. In this short guide, you'll see how easy it can be to integrate a chatbot into your React website.
Prerequisites
Before we start setting up our chatbot, note that this guide assumes knowledge of the following:
A basic understanding of the above is sufficient, and you should be able to set up your own React project. If you're completely unfamiliar with the above, you can check out the linked tutorials (as well as any other helpful resources you find) for them first. Otherwise, let's begin!
Step 1: Create a Project
Before we can setup our chatbot, let's create a new blank React project. Head over to a project folder of your choice and run the following commands in your terminal:
npm create vite@latest
You will be prompted to enter a project name, framework, and variant. For the purpose of this tutorial, we will go with the following selections:
- Project Name: MyChatBot
- Framework: React
- Variant: JavaScript
Once your setup is complete, head into your project folder and run the following commands:
npm install && npm run dev
If you visit http://localhost:5173 on your browser, you should be greeted with the following screen:
 React app set up
Step 2: Install React ChatBotify
Now that we have our project setup, it's time to install React ChatBotify. React ChatBotify is a highly customizable React library that simplifies the process of integrating a chatbot into your application. We'll be using it to include a chatbot so install it with the command below:
npm install react-chatbotify
Once the installation is complete, we can proceed to import the library and have it rendered. Within your src folder, open up your App.jsx file with an editor of your choice. The default file should look similar to this:
import { useState } from 'react'
import reactLogo from './assets/react.svg'
import viteLogo from '/vite.svg'
import './App.css'

function App() {
  const [count, setCount] = useState(0)

  return (
    <>
      <div>
        <a href="https://vitejs.dev" target="_blank">
          <img src={viteLogo} className="logo" alt="Vite logo" />
        </a>
        <a href="https://react.dev" target="_blank">
          <img src={reactLogo} className="logo react" alt="React logo" />
        </a>
      </div>
      <h1>Vite + React</h1>
      <div className="card">
        <button onClick={() => setCount((count) => count + 1)}>
          count is {count}
        </button>
        <p>
          Edit <code>src/App.jsx</code> and save to test HMR
        </p>
      </div>
      <p className="read-the-docs">
        Click on the Vite and React logos to learn more
      </p>
    </>
  )
}

export default App
Next, with just adding 2 lines of code, we will see the chatbot rendered in our application. At the top of your file, add the line:
import ChatBot from 'react-chatbotify'
Above your <div> element in the return statement, add the following line:
<ChatBot/>
Your edited file should look like this:
import ChatBot from 'react-chatbotify'
import { useState } from 'react'
import reactLogo from './assets/react.svg'
import viteLogo from '/vite.svg'
import './App.css'

function App() {
  const [count, setCount] = useState(0)

  return (
    <>
      <ChatBot/>
      <div>
        <a href="https://vitejs.dev" target="_blank">
          <img src={viteLogo} className="logo" alt="Vite logo" />
        </a>
        <a href="https://react.dev" target="_blank">
          <img src={reactLogo} className="logo react" alt="React logo" />
        </a>
      </div>
      <h1>Vite + React</h1>
      <div className="card">
        <button onClick={() => setCount((count) => count + 1)}>
          count is {count}
        </button>
        <p>
          Edit <code>src/App.jsx</code> and save to test HMR
        </p>
      </div>
      <p className="read-the-docs">
        Click on the Vite and React logos to learn more
      </p>
    </>
  )
}

export default App
Try running your application again and you'll be greeted with a chatbot on the bottom right corner as shown in the screenshot below:
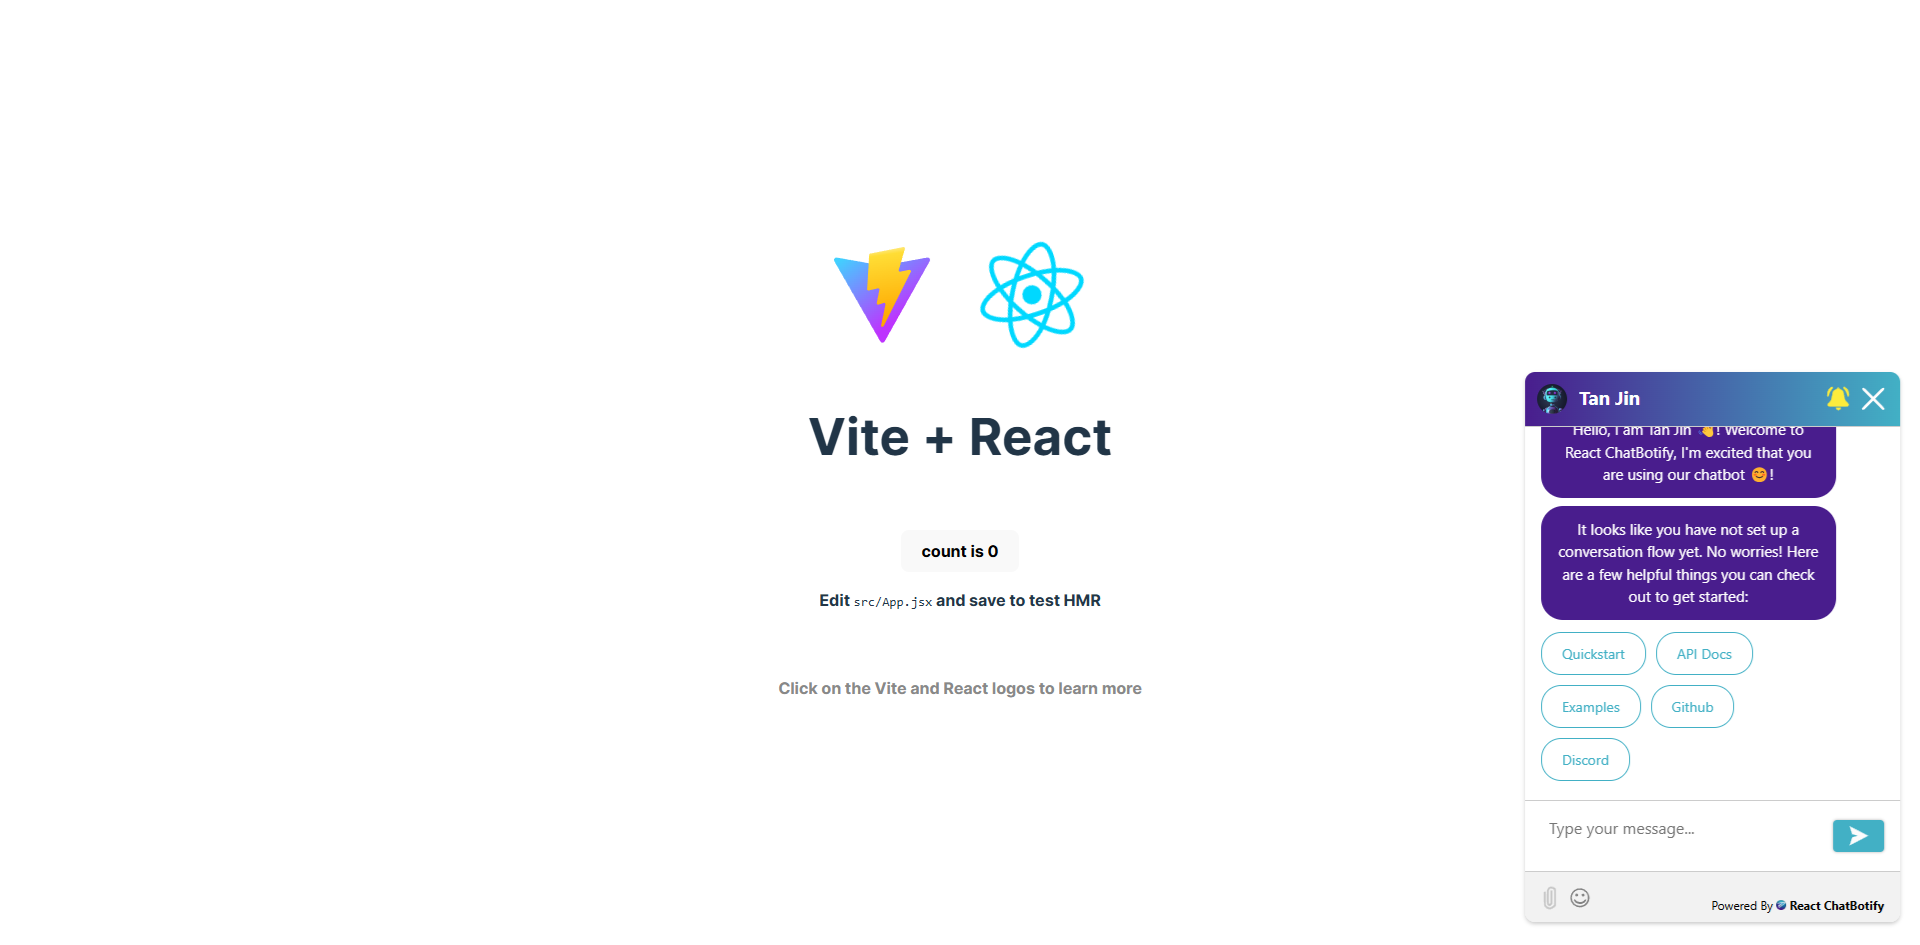 Chatbot in the React app
Pretty neat, isn't it?
Step 3: Craft Your "Hello World" Message
It's nice to have the chatbot setup easily, but it's not great to only have the default welcome message. Let's quickly add a hello world message of our own.
The <ChatBot/> component takes in a flow prop to define conversations. By default, the entry point of a conversation is always named the start block as shown in this example below:
const flow = {
  "start": {
    "message": "Hello world!"
  }
}
We will go ahead and pass the above flow into our chatbot:
import { useState } from 'react'
import reactLogo from './assets/react.svg'
import viteLogo from '/vite.svg'
import ChatBot from "react-chatbotify"
import './App.css'

function App() {
  const [count, setCount] = useState(0)

  const flow = {
    "start": {
      "message": "Hello world!"
    }
  }
  return (
    <>
      <div>
        <a href="https://vitejs.dev" target="_blank">
          <img src={viteLogo} className="logo" alt="Vite logo" />
        </a>
        <a href="https://react.dev" target="_blank">
          <img src={reactLogo} className="logo react" alt="React logo" />
        </a>
      </div>
      <h1>Vite + React</h1>
      <div className="card">
        <button onClick={() => setCount((count) => count + 1)}>
          count is {count}
        </button>
        <p>
          Edit <code>src/App.jsx</code> and save to test HMR
        </p>
      </div>
      <p className="read-the-docs">
        Click on the Vite and React logos to learn more
      </p>
      <ChatBot flow={flow}/>
    </>
  )
}

export default App
When you look at your application again, you will notice that the default message has disappeared and is replaced with Hello world! instead. Not too hard, isn't it?
Conclusion
In this guide, you've seen how easy it can be to setup a modern React chatbot.
While the example above is simple, there are plenty of other properties within a flow that can help you build your conversations. These are documented on the library website which also comes with live playground examples for you to explore and find out more.