

Managing your repository is one of the most important tasks for every open-source, individual, or proprietary software project.
Small open-source project repositories are easily maintained without using additional functionality because few developers work on them.
However, when working with medium or large open-source projects, the main problem lies in how to manage them.
With many developers contributing at the same time and the developer community rapidly expanding day by day, this becomes a significant challenge.
GitHub, GitLab, Gitea, and so on, have similar functionalities that help you and your team to manage your project more efficiently. Without relying on other software and tools, you can handle your project with your repository.
In this tutorial, we'll discuss three basic GitHub features that can help you to manage your repository more efficiently without using any additional tools or services:
Labels
Projects
Milestones
GitHub, Gitlab, or Gitea all have similar functionalities with the same name.
How to Use Labels on GitHub
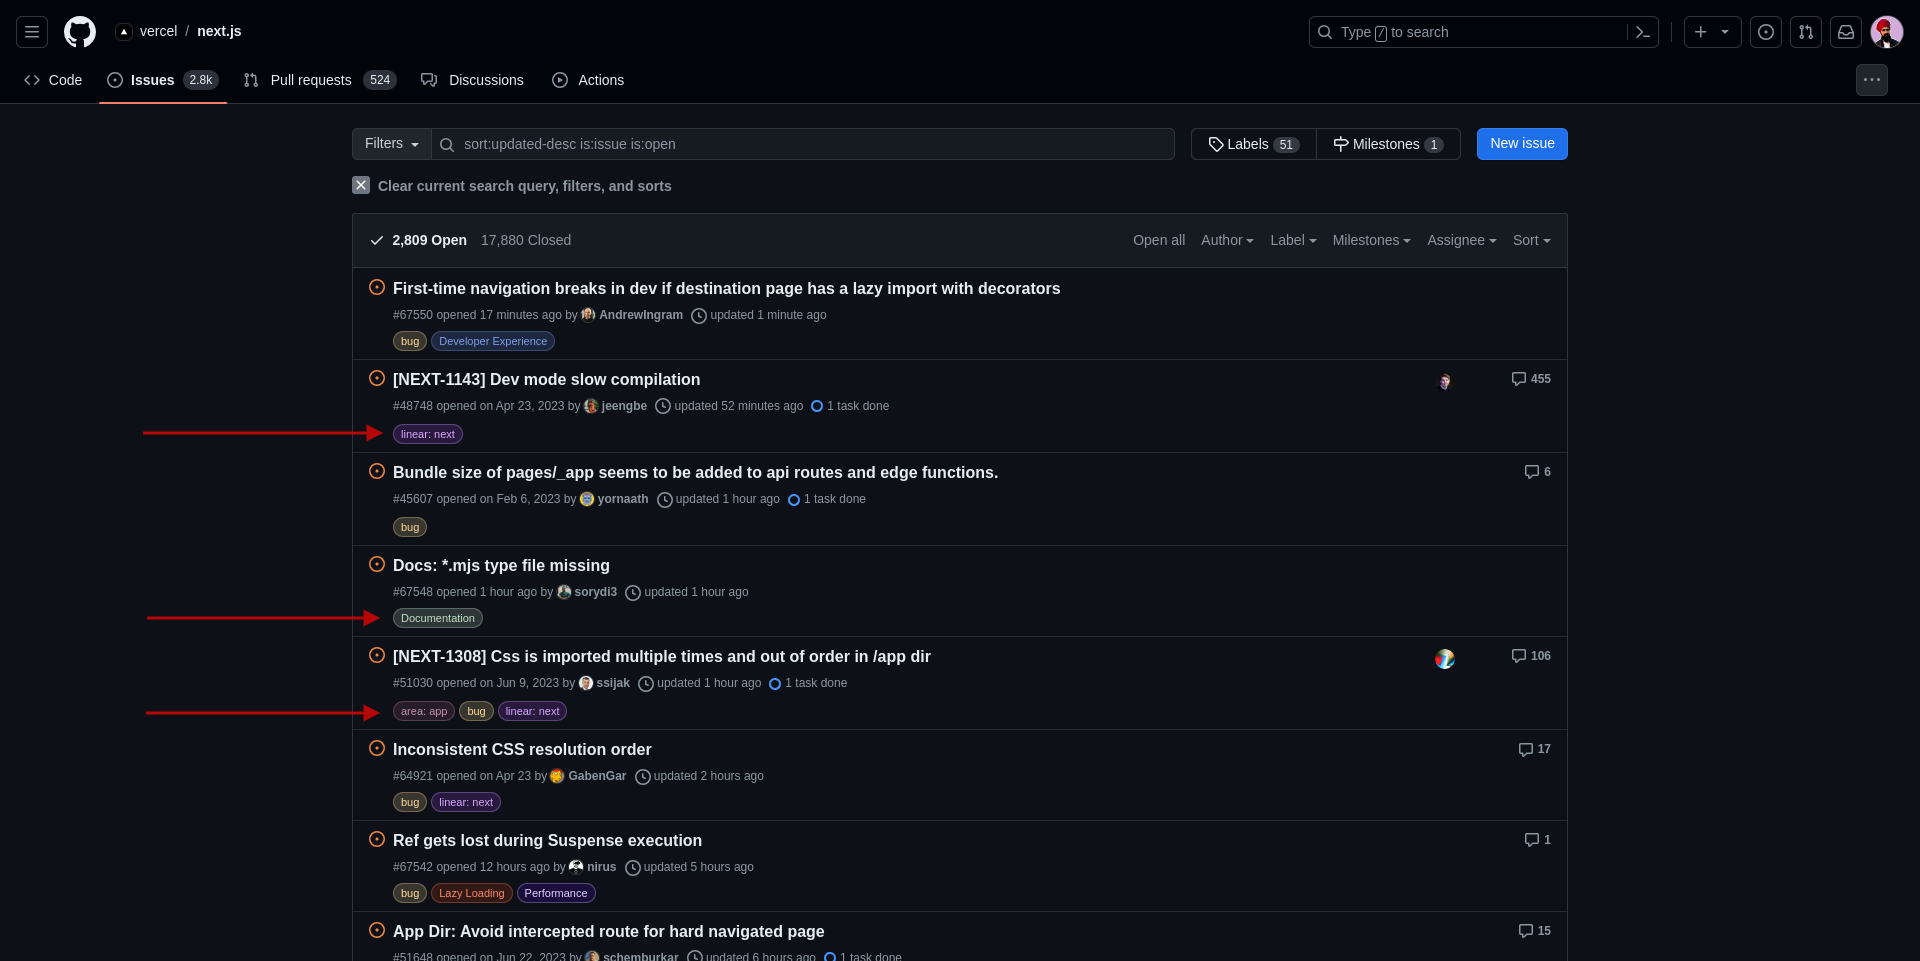
The label helps categorize issues, pull requests, and discussions. By default, GitHub comes with some built-in labels.
You can also create a custom label. You can use the label on any issue, pull request, or discussion within your repository.
You can find the list of default labels in the GitHub documentation.
How to Create a Label in Your Repository
Creating a custom label in the repository is very simple. There are different ways to make a label. You need to follow these common steps:
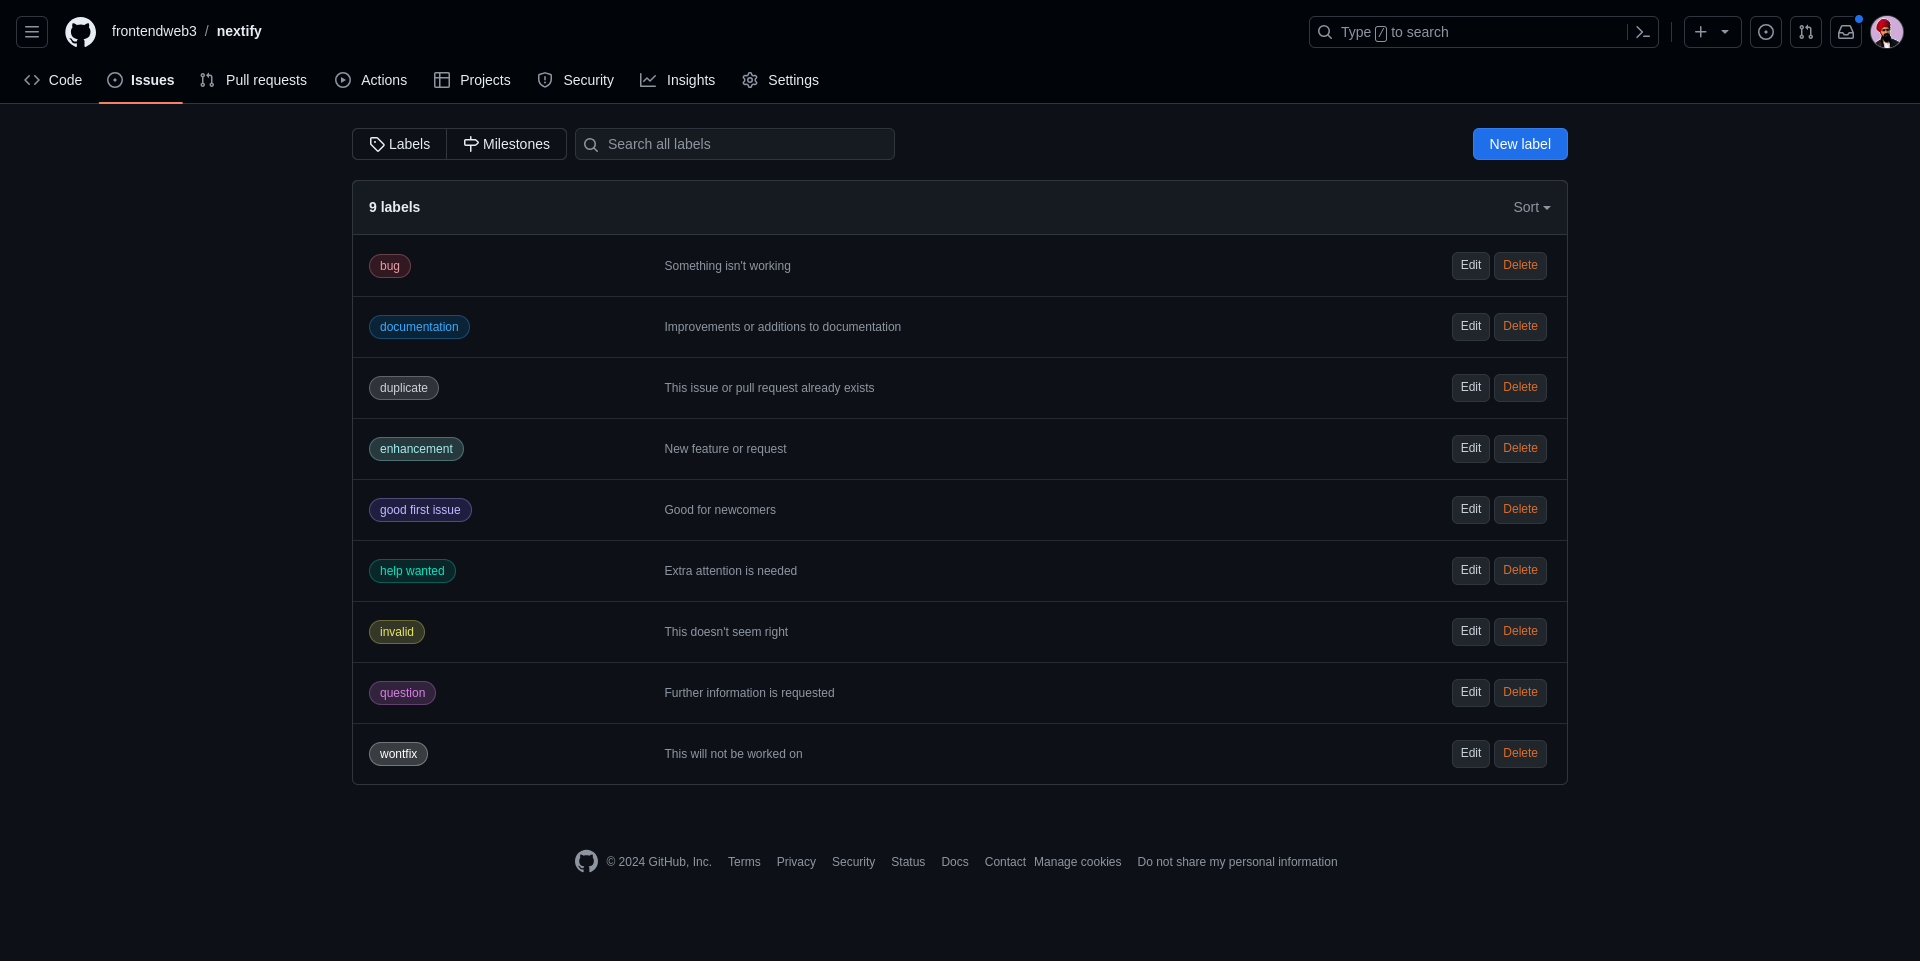
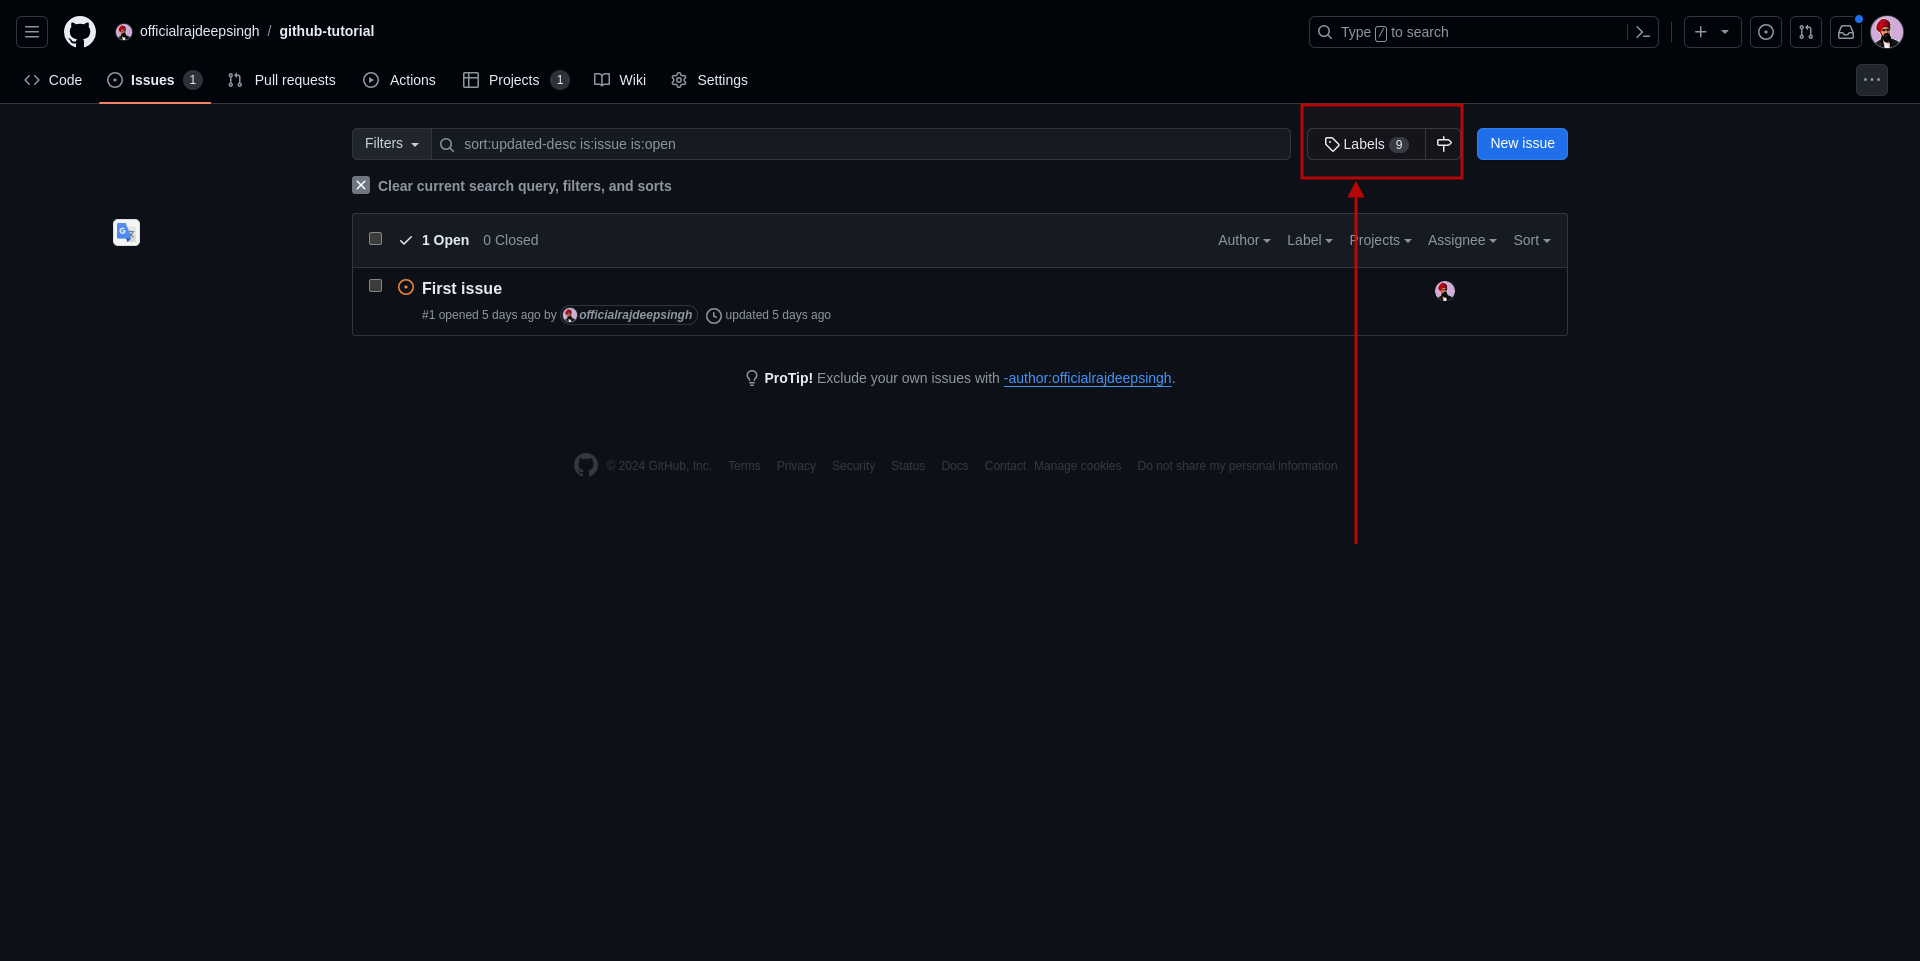
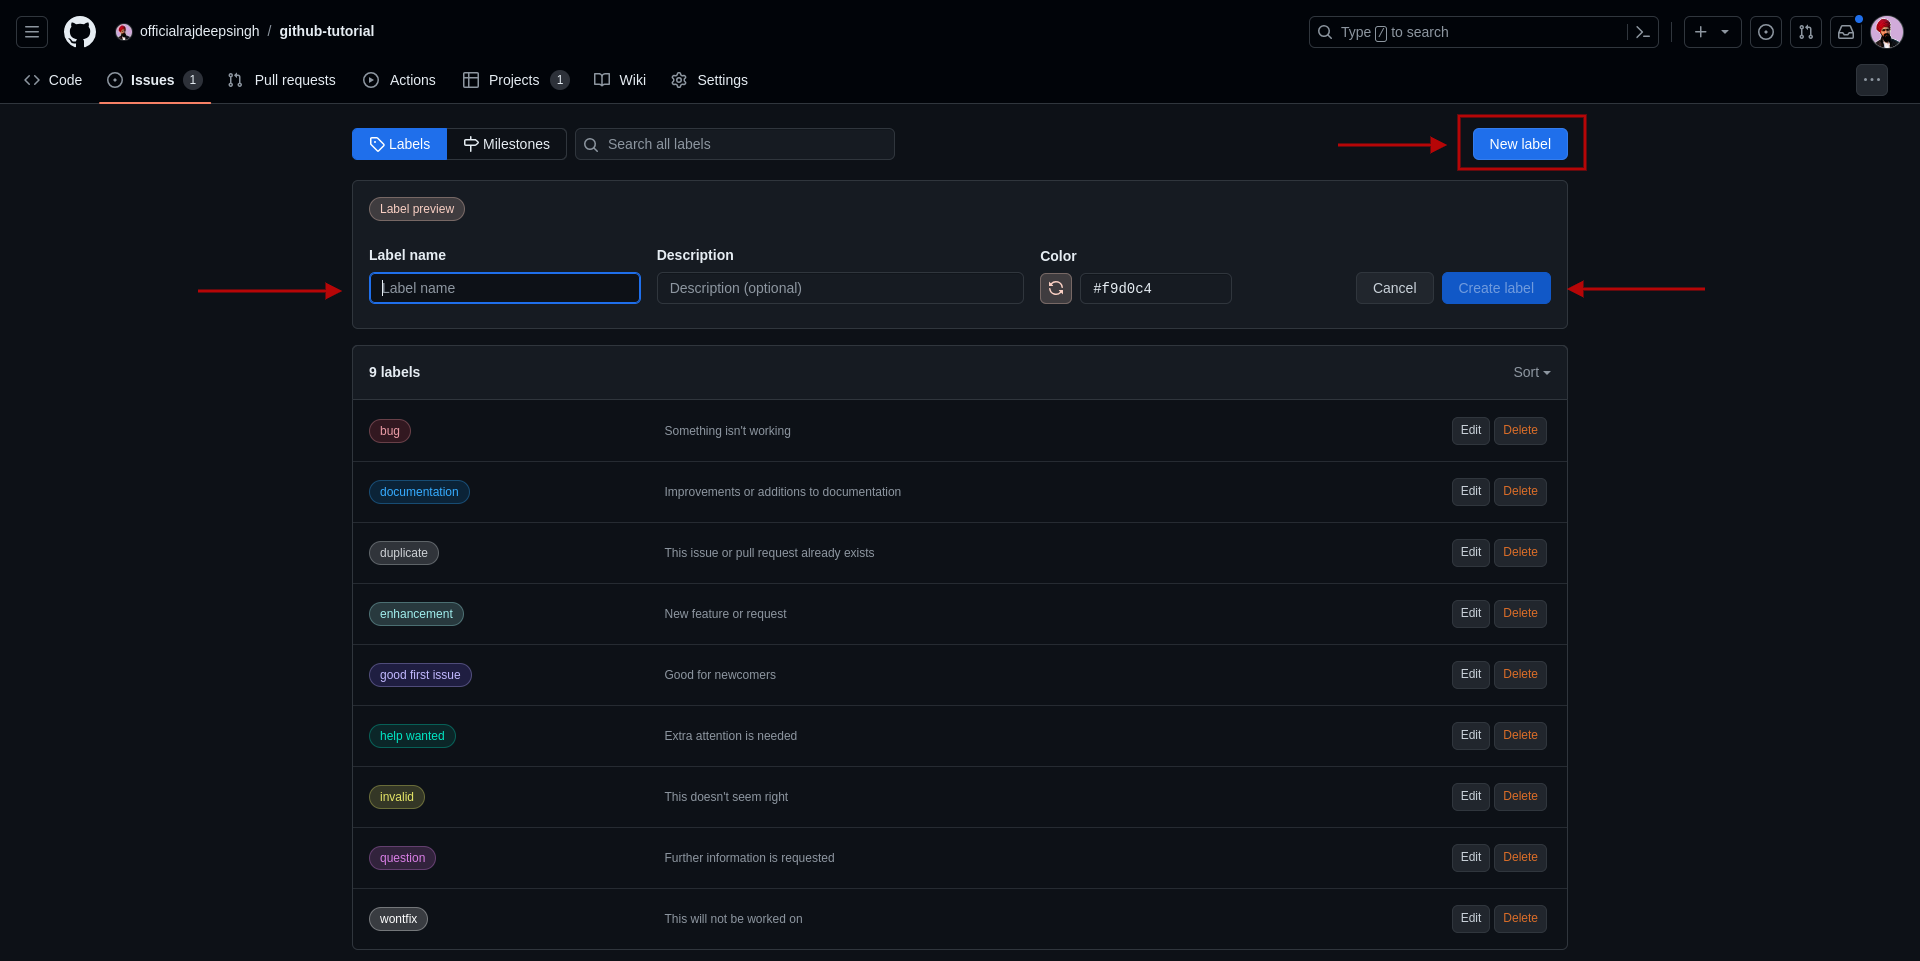
Go to your repository > then go to issues > then click on the labels button.
Next, click on the new label button and enter your label name, description and color.
How to Delete and Edit Labels on GitHub
To edit and delete a label, go to the issue page and click on the Label button. In the label page, you should see all the existing labels.
Click on the Edit button to edit a label, and click on the Delete button to delete a label.
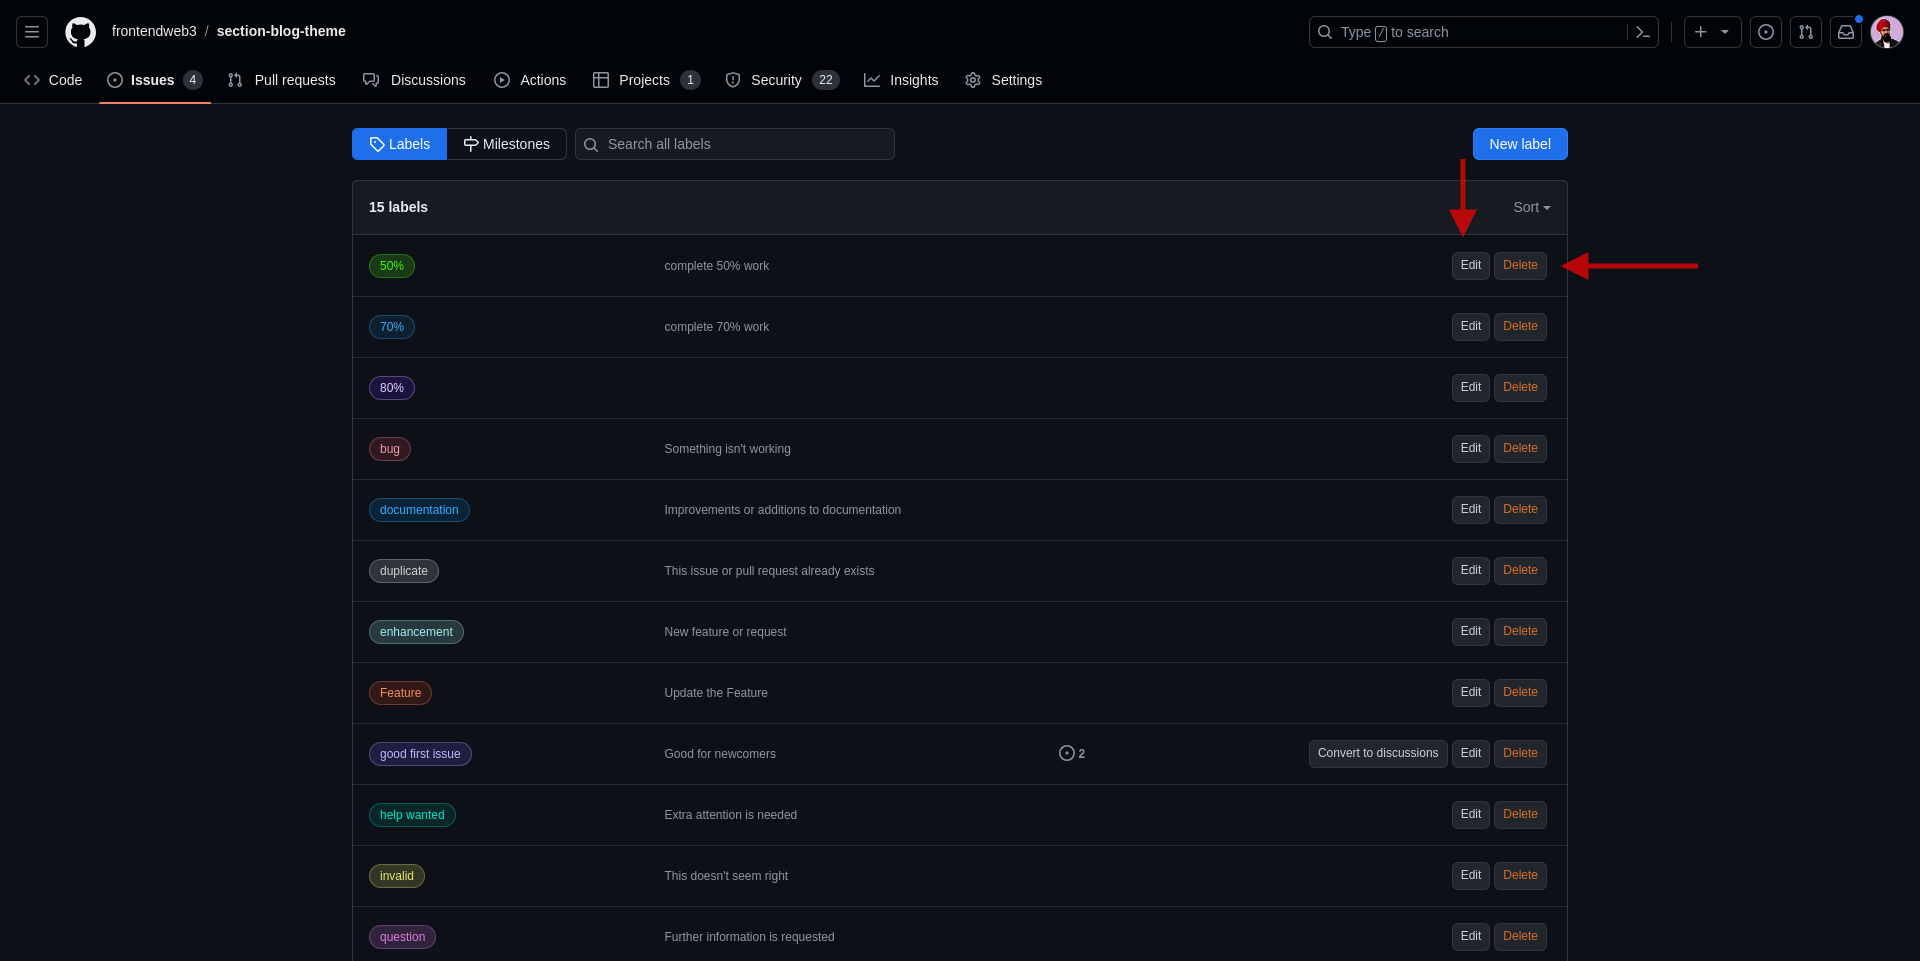
You cannot delete multiple labels with GitHub.
How to Use GitHub Projects

The Github Projects tool is a versatile and flexible tool for planning and managing your repository work in one central location.
It functions similarly to a spreadsheet, task board, and road map, allowing you to plan and track your repository work in one place. The GitHub project is fully integrated with GitHub.
You can create and customize multiple views, filter, sort, and group your issues and pull requests, visualize work with charts, and add custom fields to track specific metadata.
You can assign users to specific issues, check issue statuses, and assign reviewers, among other functions.
GitHub projects come in two types: public and private.
Public projects are visible to everyone, and the management team can make edits and changes to the project.
Private projects, on the other hand, are not visible to others, and only the management team can edit and make changes to the project.
By default, projects are private in GitHub.
How to Create Projects on GitHub
Creating a project is a straightforward task. In some cases, the projects tab may not be visible on your repository. First, go to your repository section and enable the project.
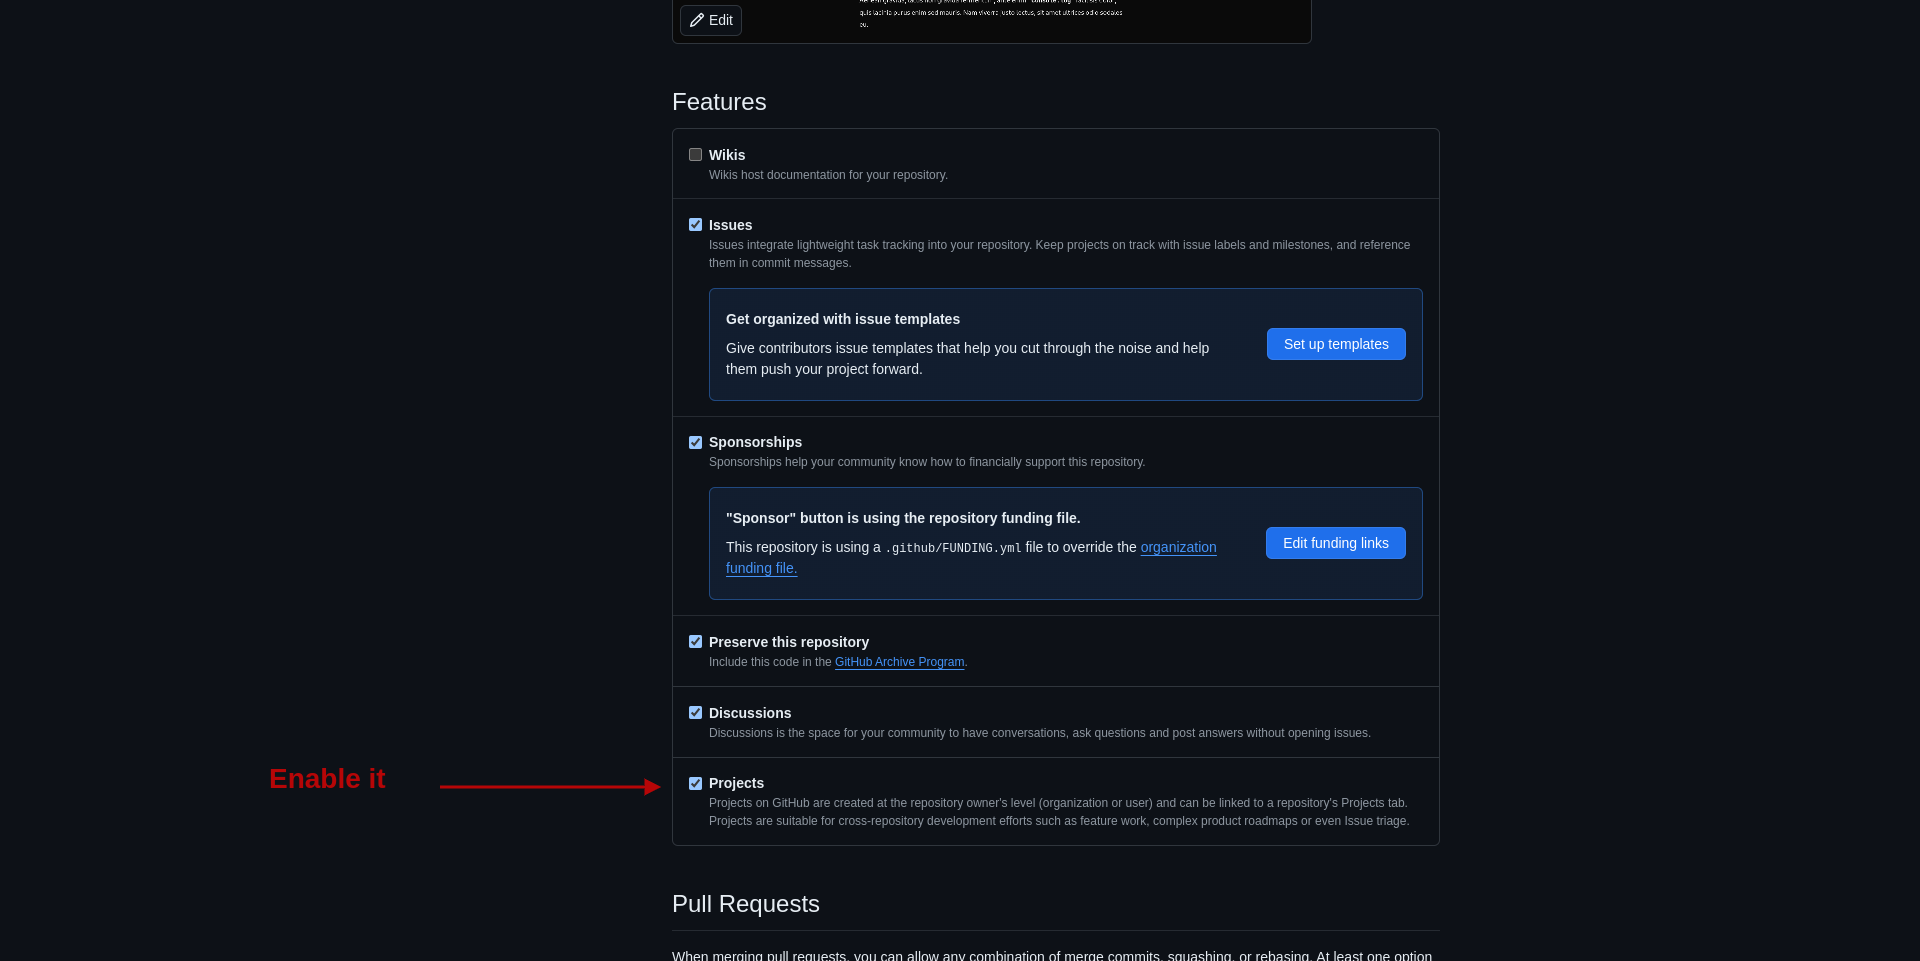
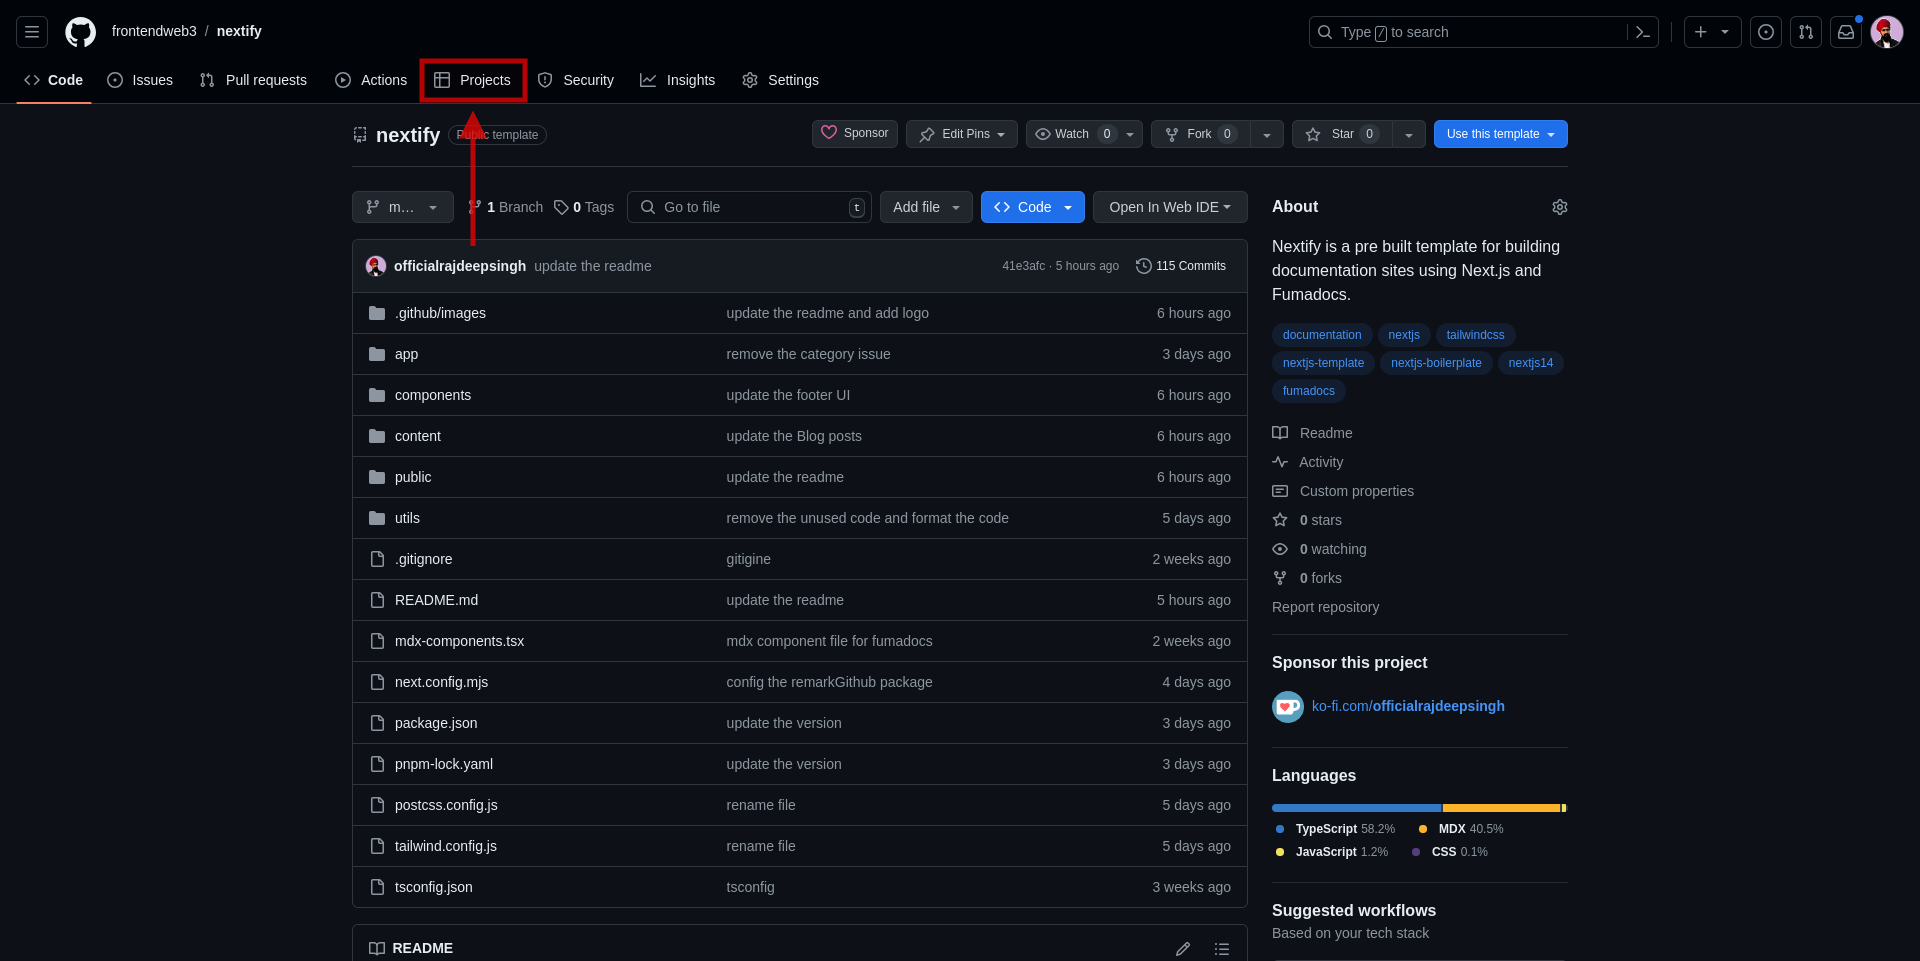
After enabling projects on your repository, you should now be able to see a projects tab in your repository. Now click on the projects tab.
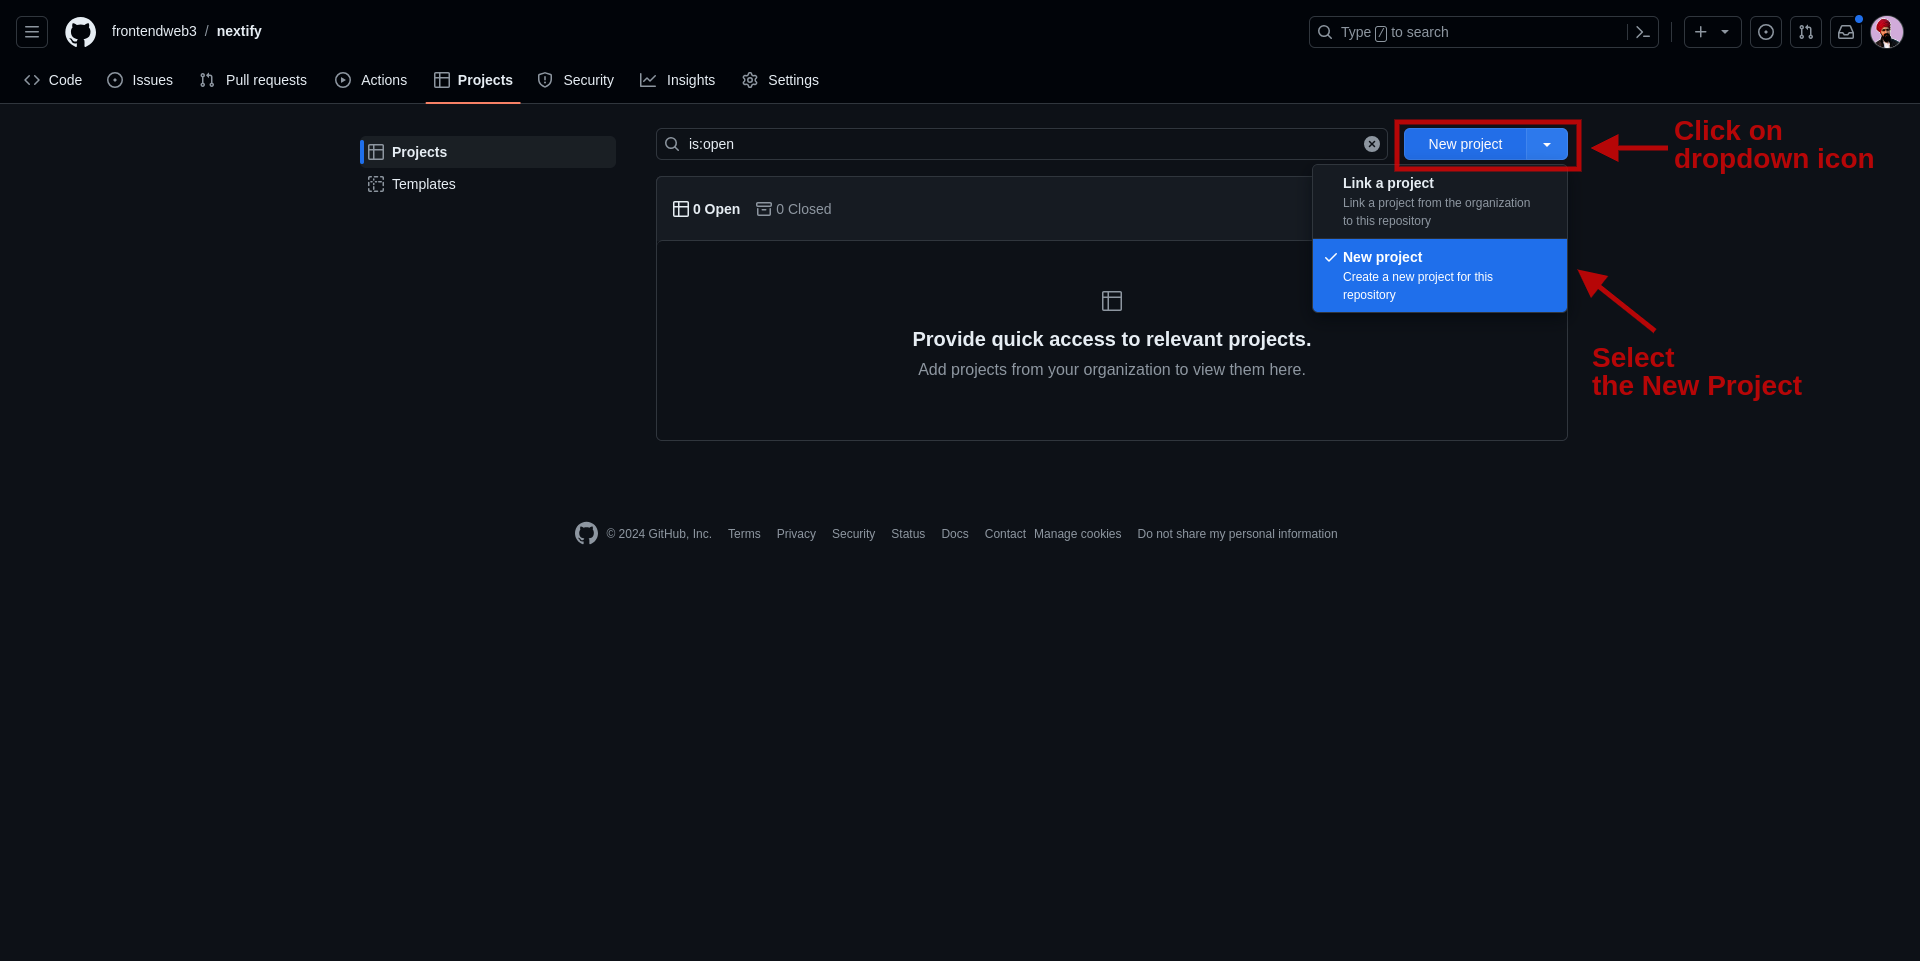
Your default project page looks like this. To create a new project, click on the dropdown icon and select the New Project, then click on the New Project option.
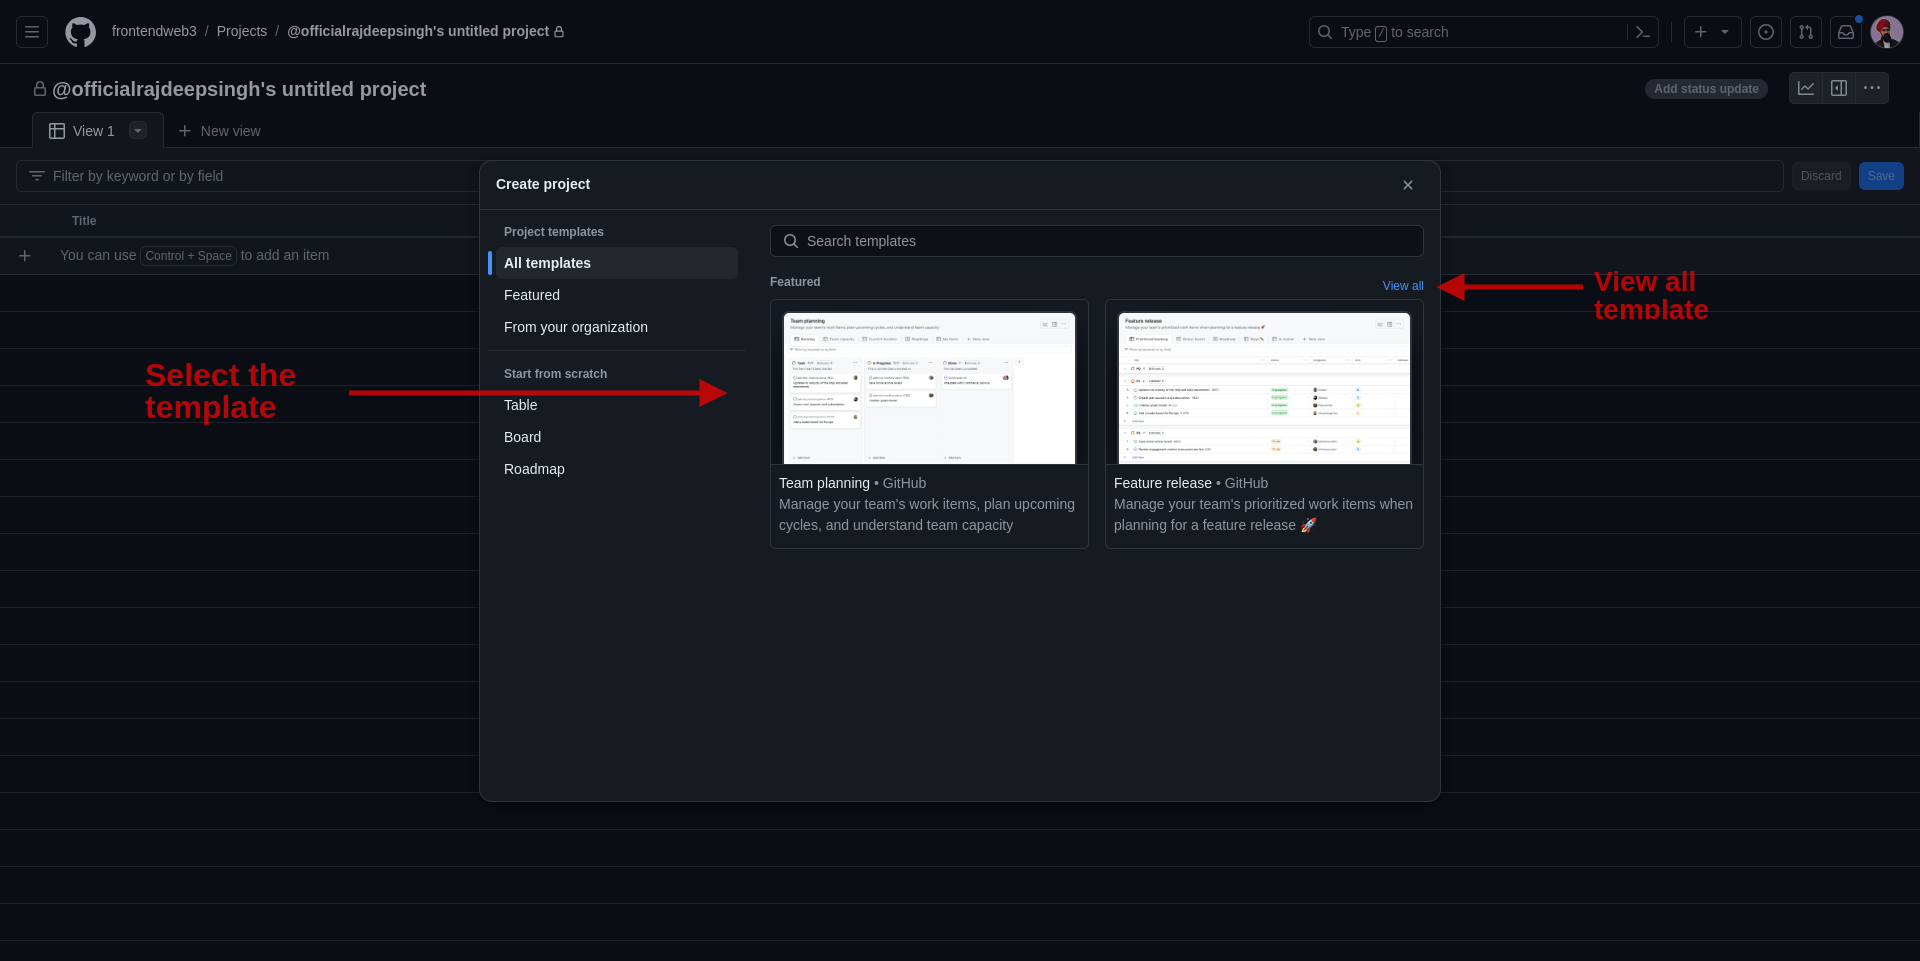
Next, select the templates for the project according to your requirements. Click on the view all button to view all available templates, or go with blank templates.
The template comes with pre-configuration based on what you choose.
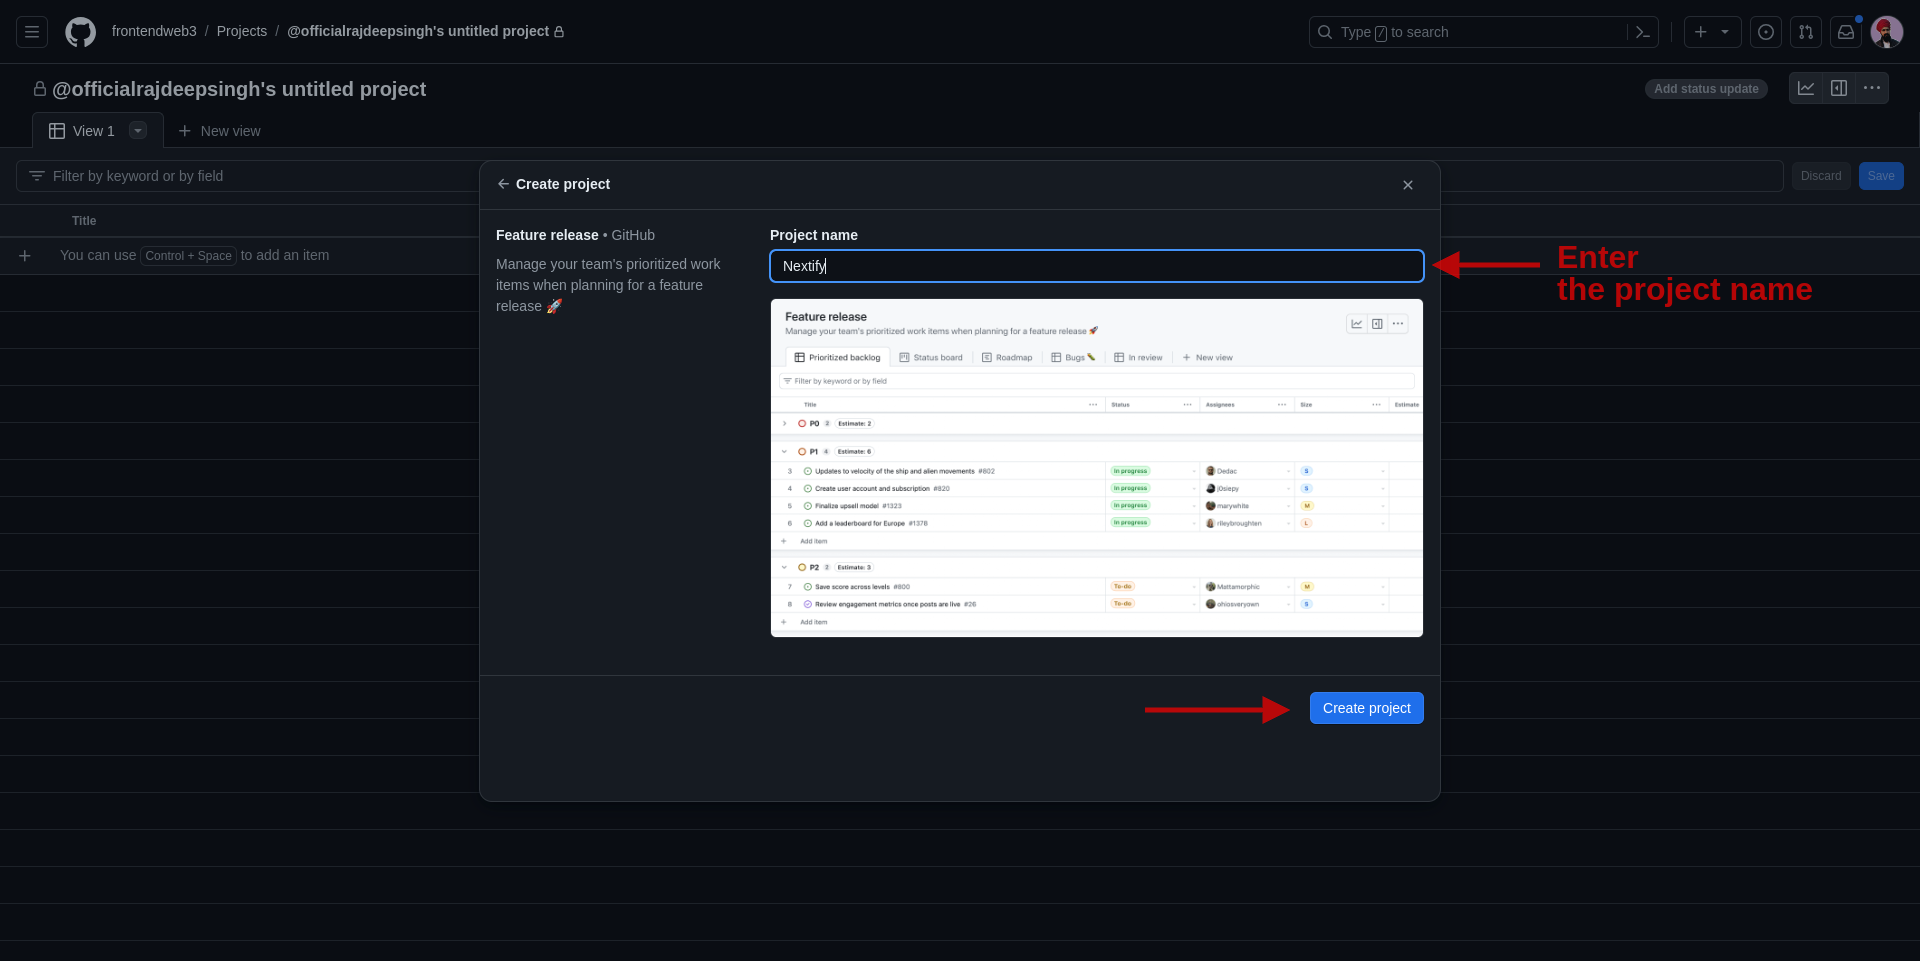
I selected the feature release template for this tutorial. Next, enter your project name and click on the Create Project button.
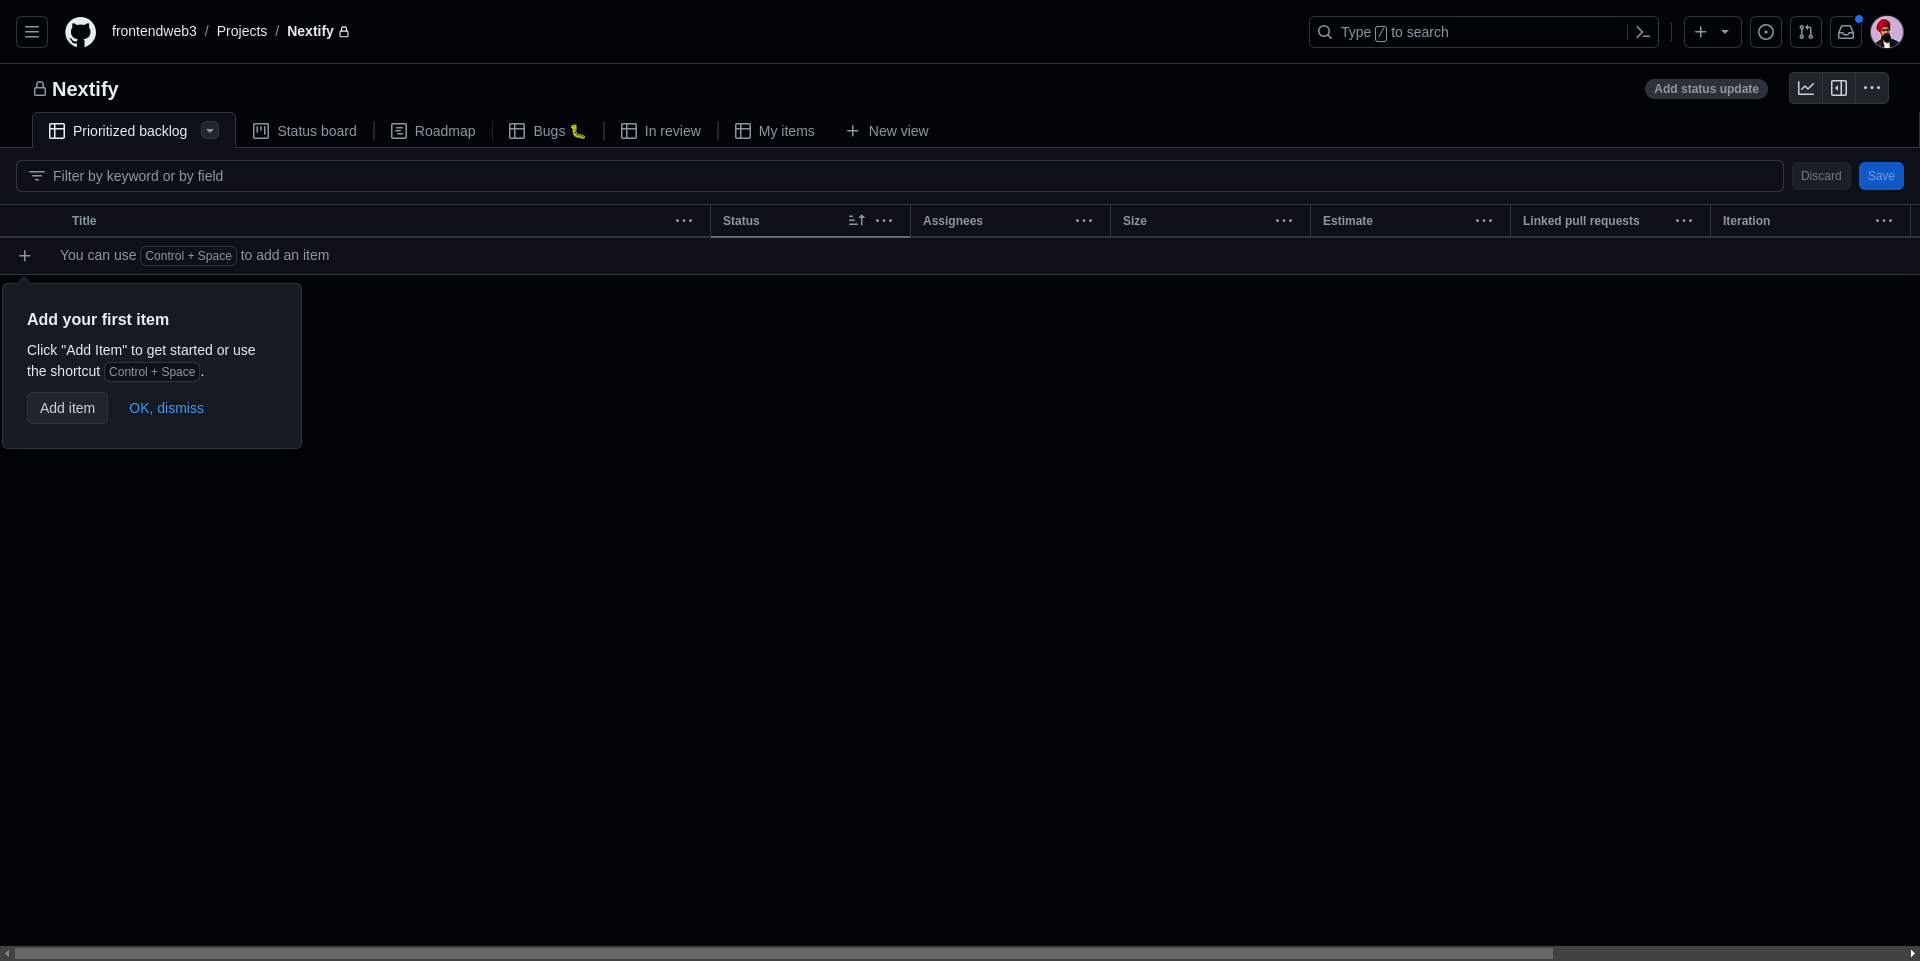
Your project should be created based on the template you chose. Your project dashboard page may be different according to your template.
How to Delete and Edit Projects on GitHub
To edit and delete a project, go to the project page.
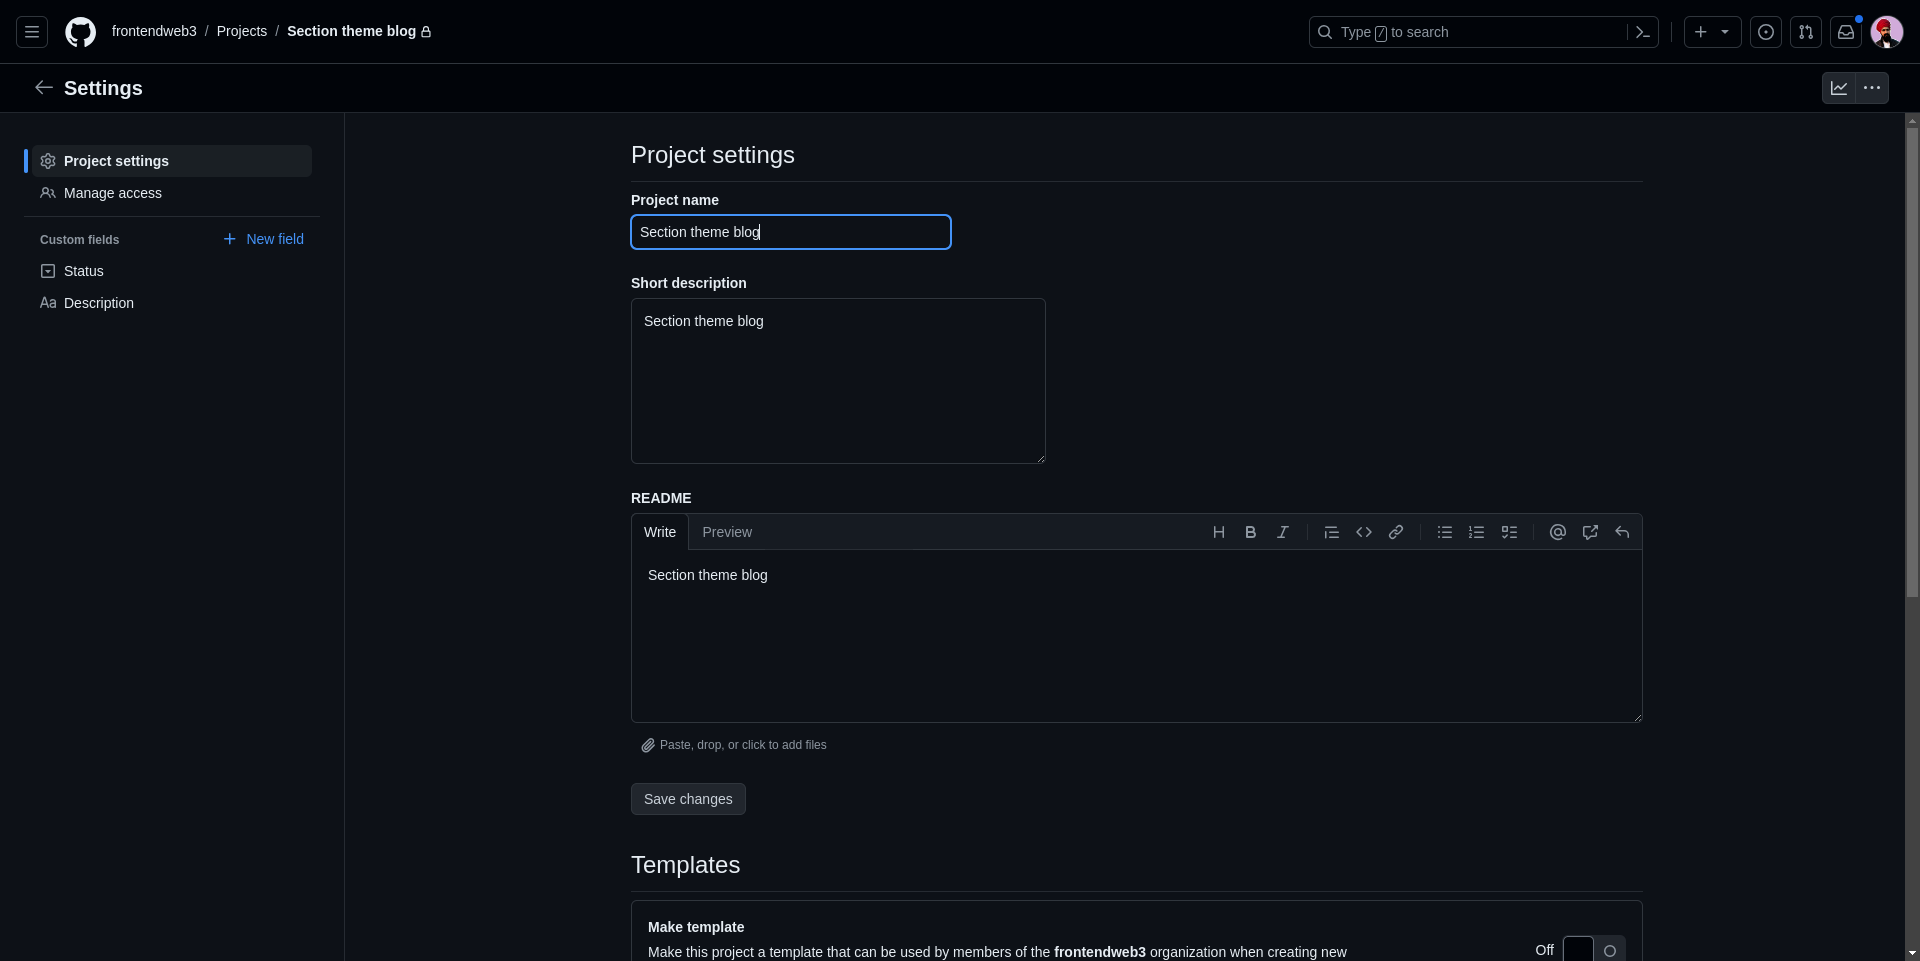
Then click on a project which you want to edit or delete. Clicking on the project title should take you to the project setting page.
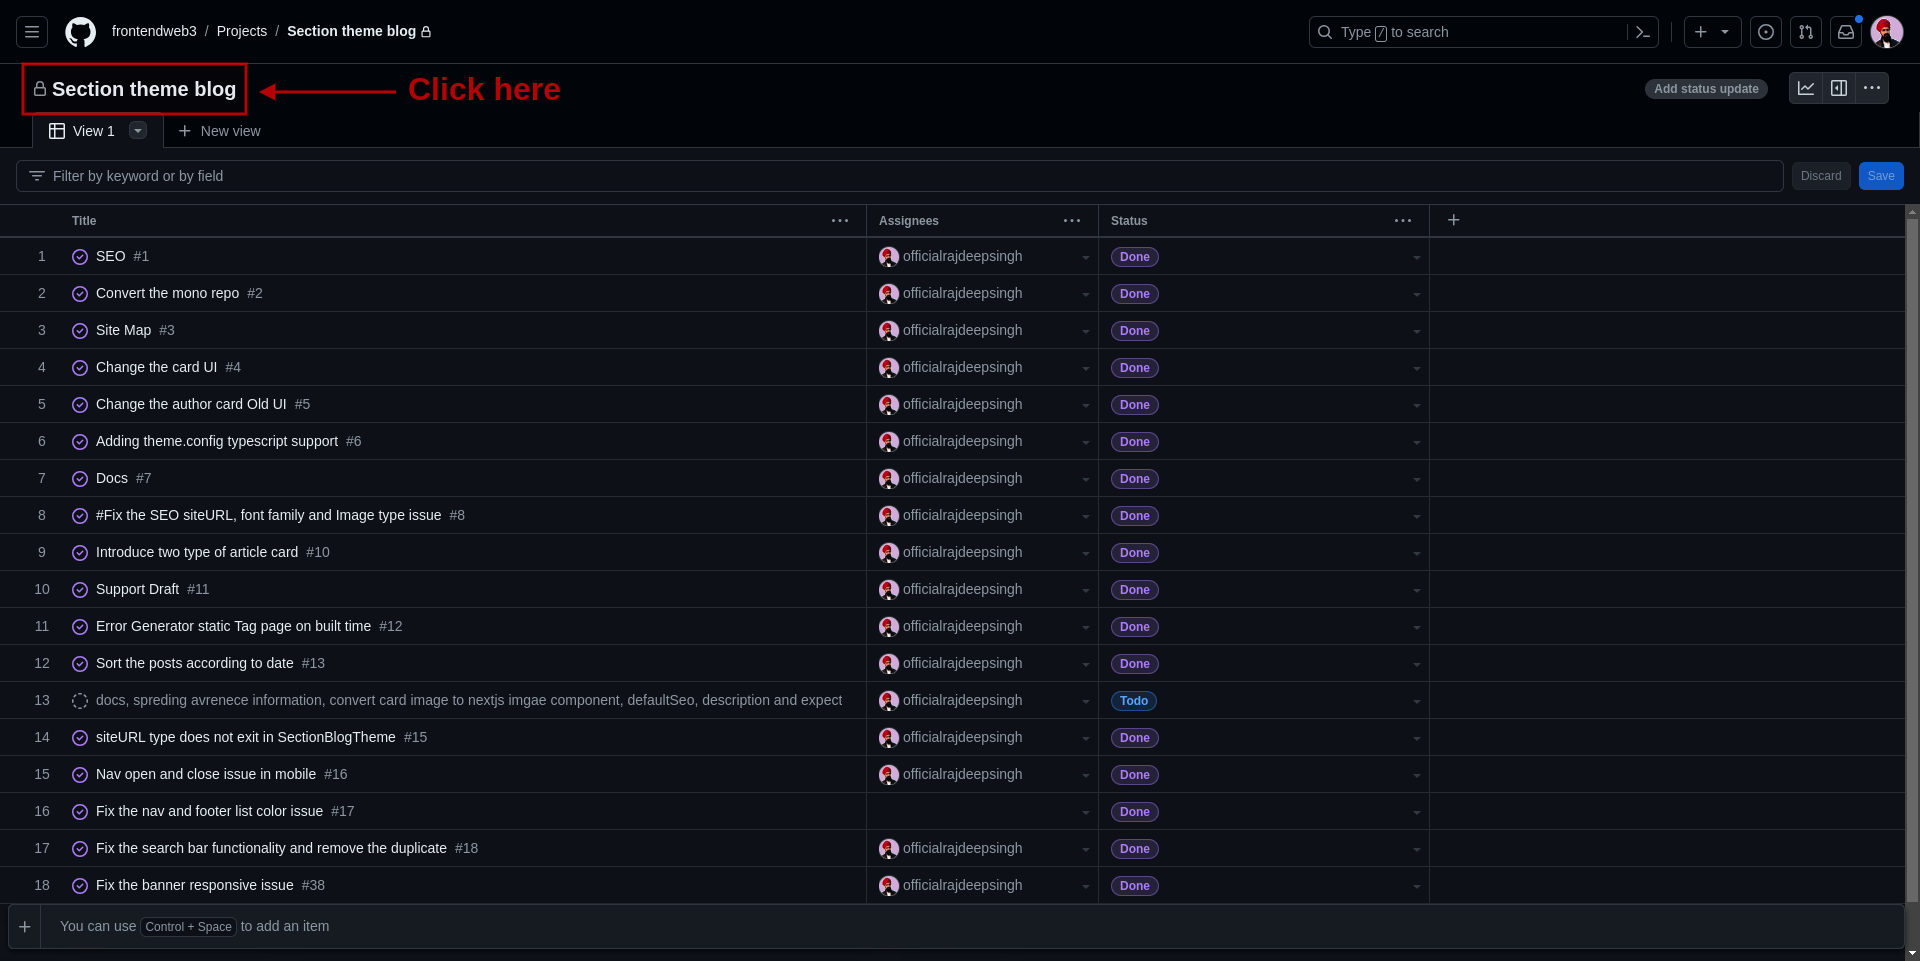
In the project settings page, you can edit the project title and description, delete the project, close the project and also change the visibility of your project from private to public.
How to Use Milestones on GitHub
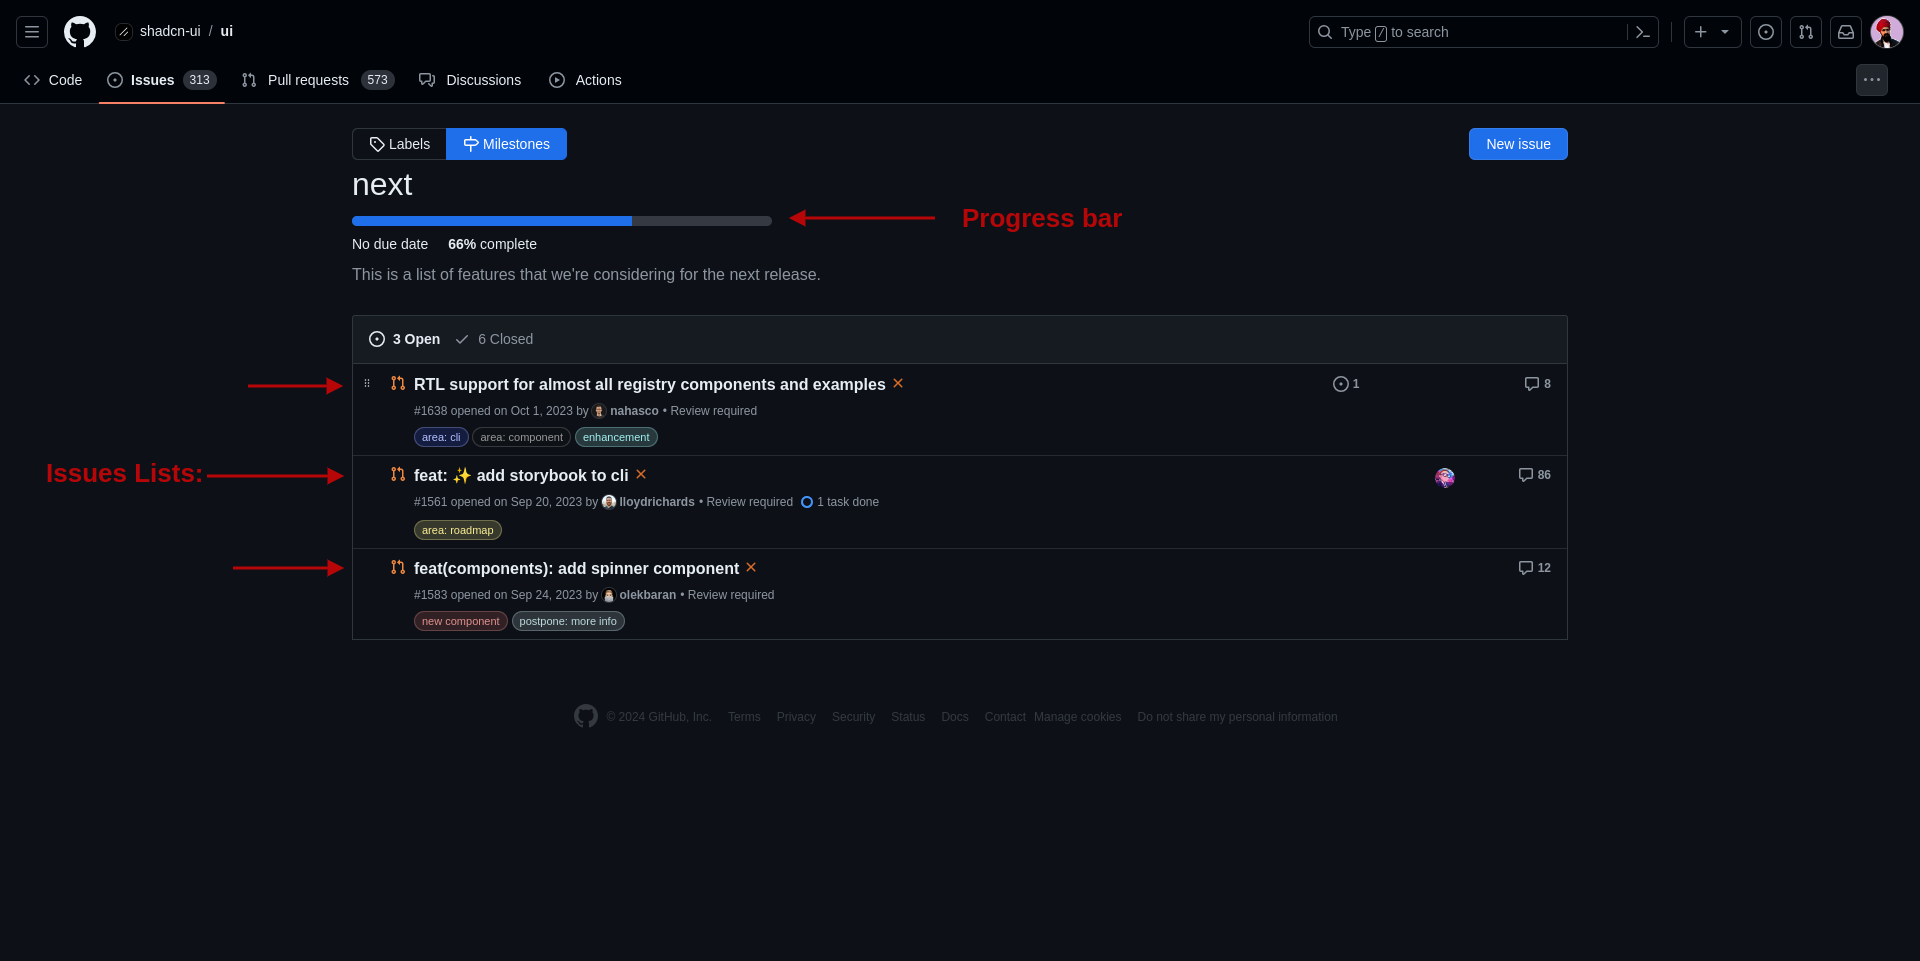
The milestone feature allows you to track the progress of issues or pull requests in a repository. With milestones, you can prioritize open issues and pull requests and set a due date for a group of related items.
In simple terms, milestones operate like a to-do list, where you can detail the amount of completed or pending work. It functions like a progress bar, helping your team manage the project more effectively and communicate the importance of specific issues to both your team and the open-source community.
Milestones allows the open-source community and your team to understand the status of completed or pending work, and the timeline for upcoming versions.
How to Create Milestones on GitHub
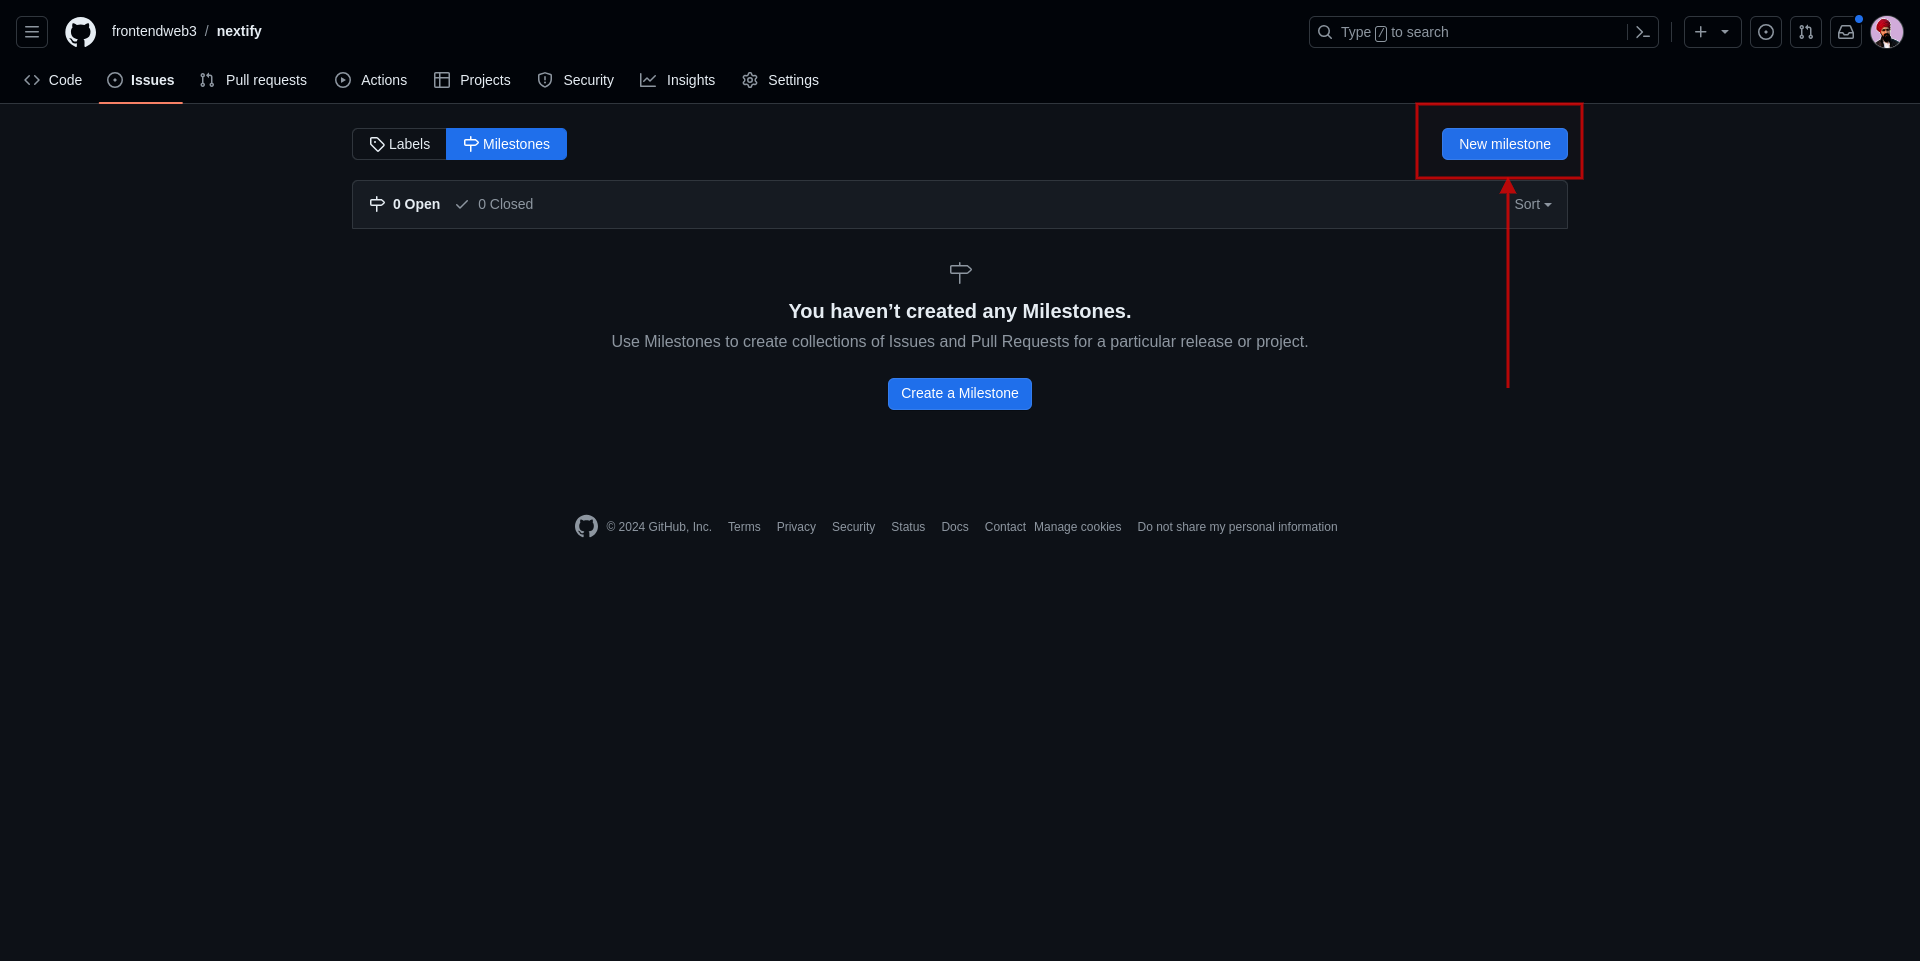
First, go to the repository and then to the issue page. Click on the milestones button.

Now, you should see your exciting milestones list. To create milestones, click on the new milestones button.
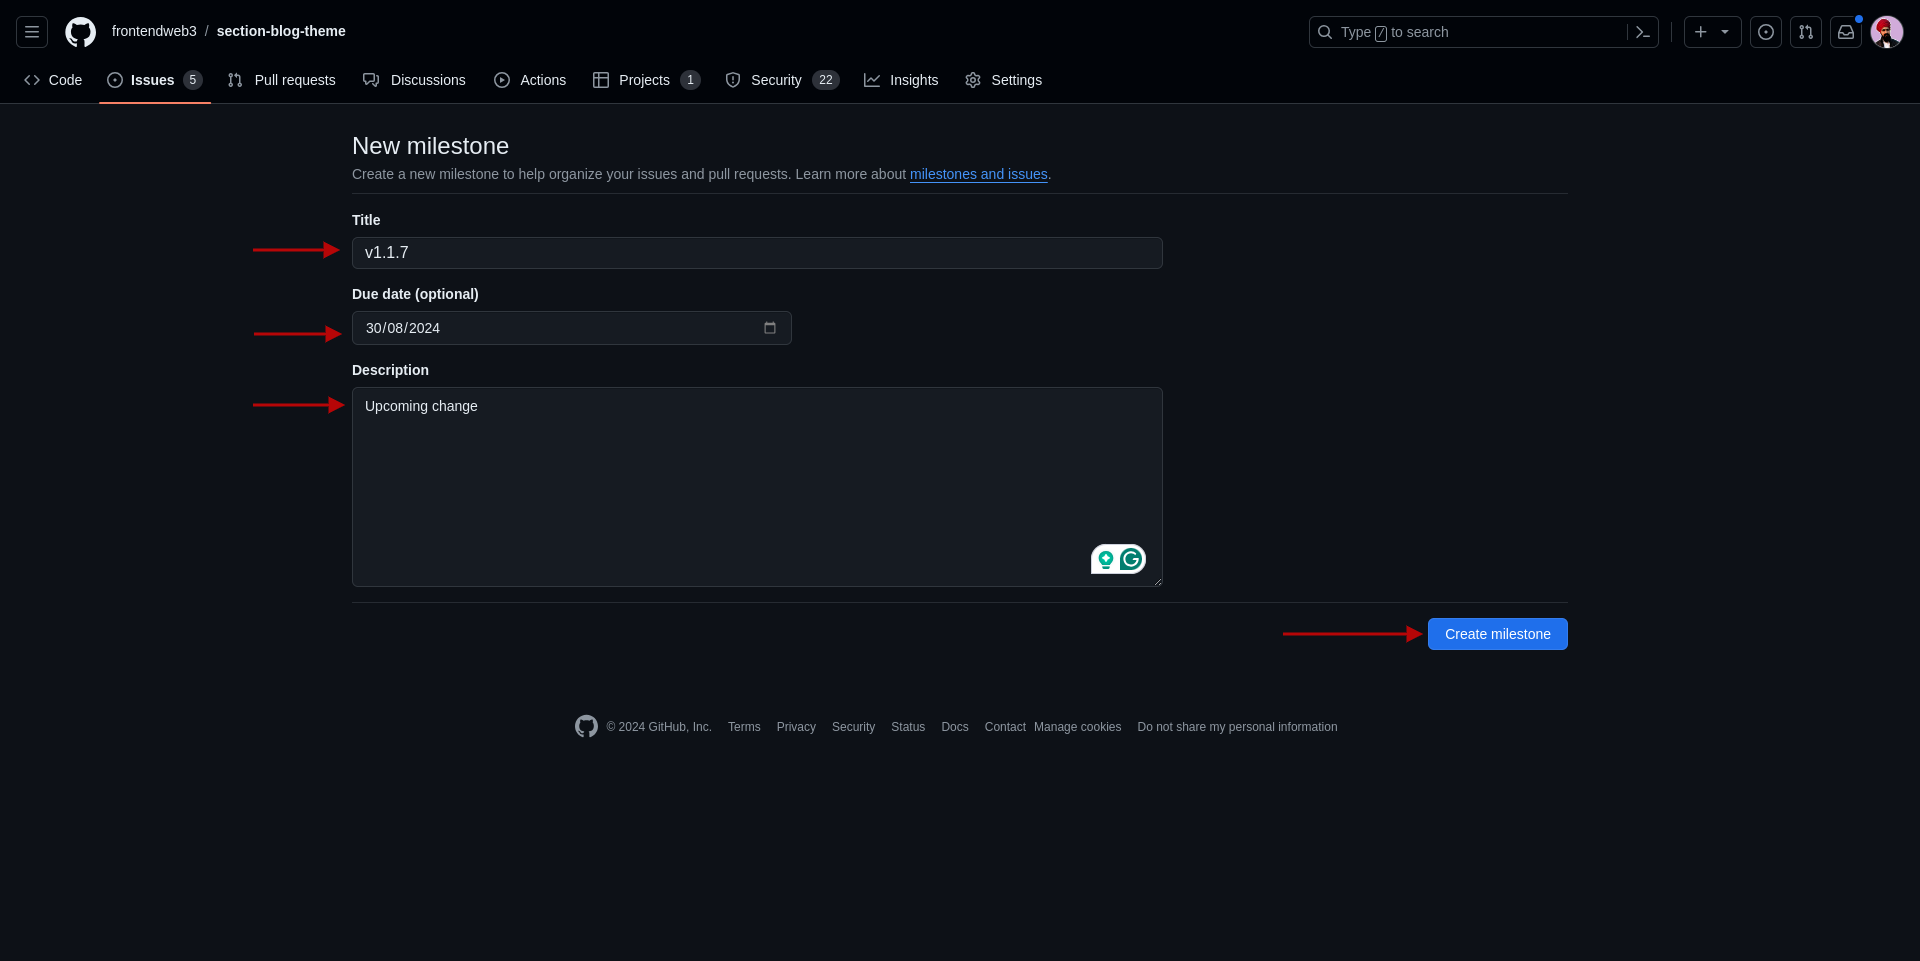
Enter the milestone title, due date and description and last, then click on the Create milestones button to make your milestone.
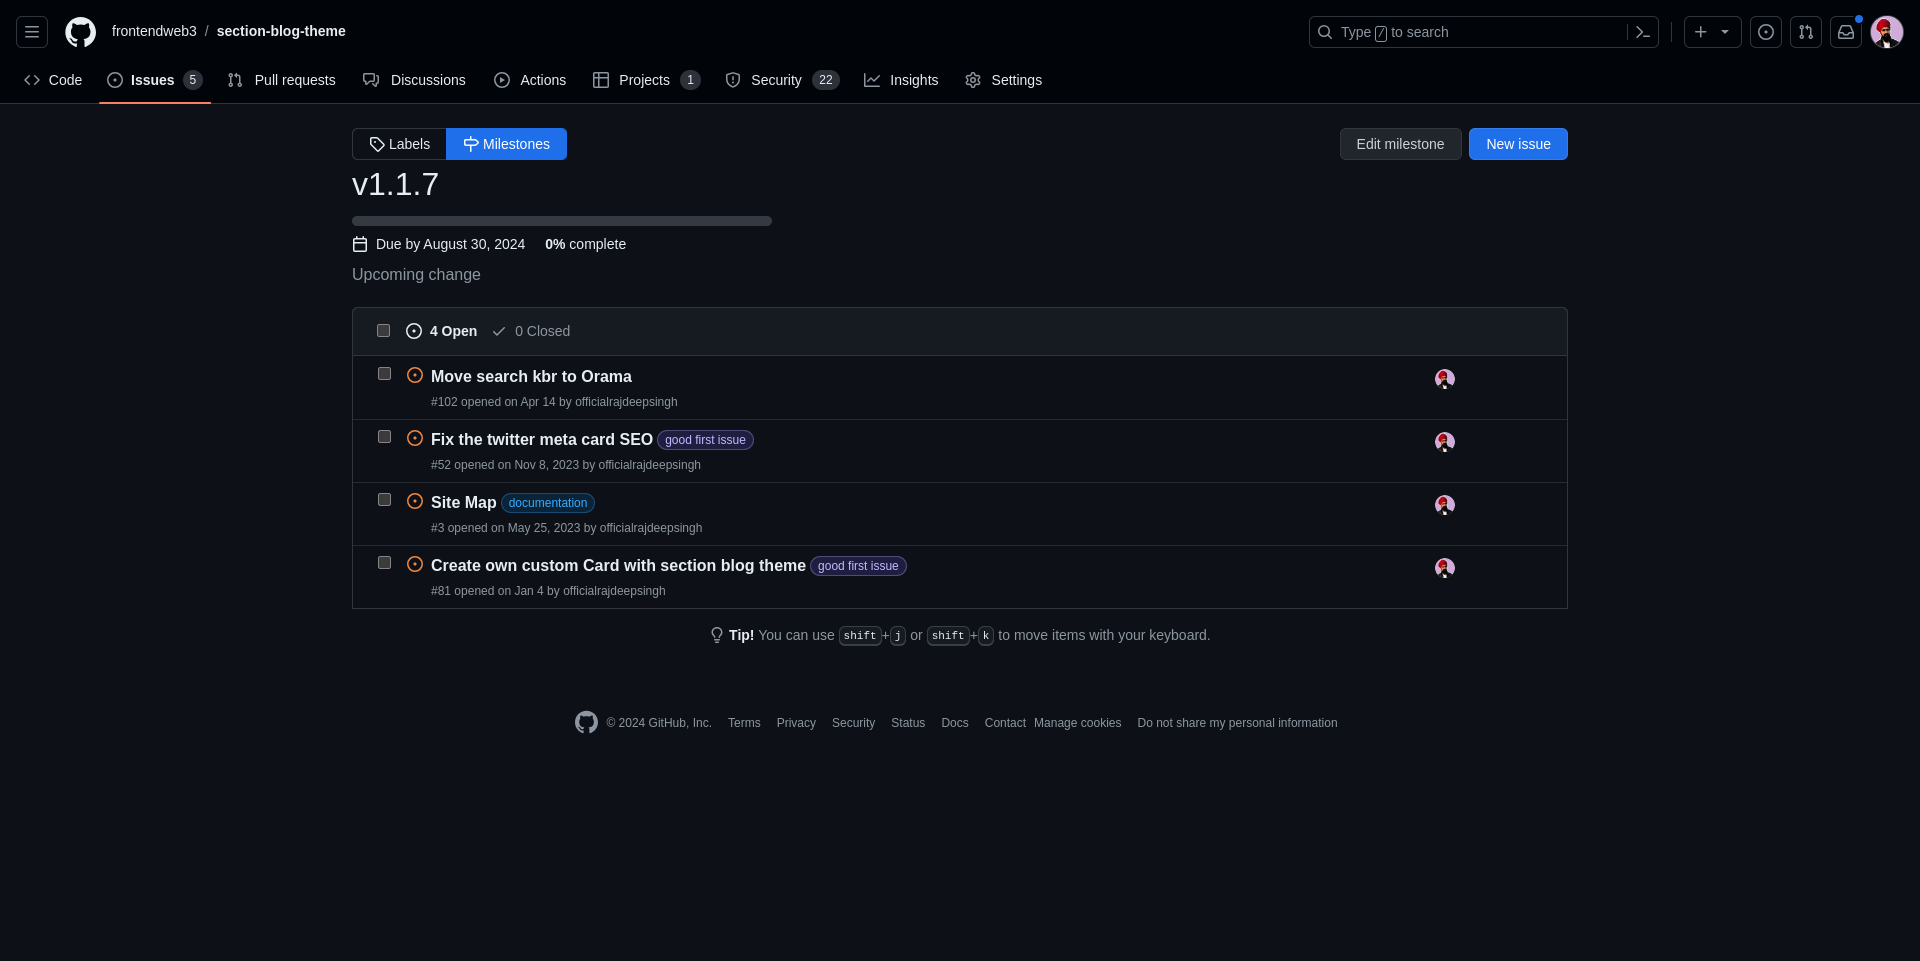
By default, your created milestone should look like this:

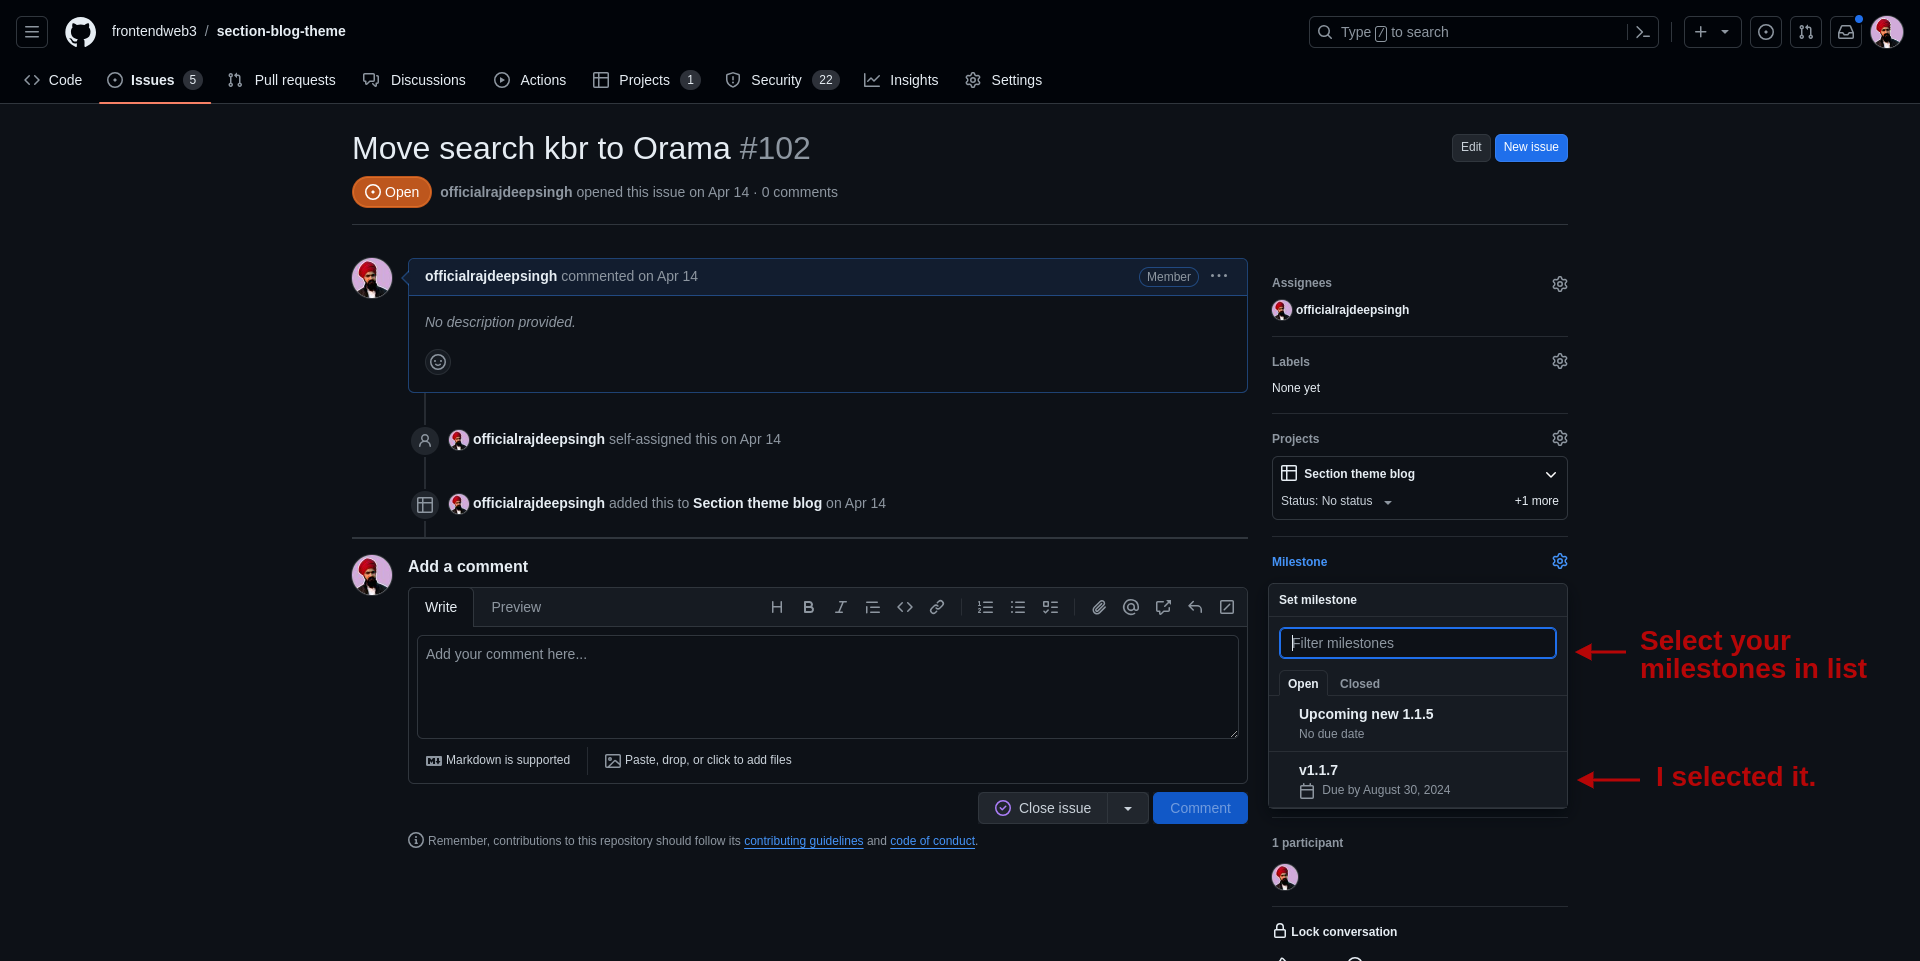
Our next task is to assign an issue to the milestone. Go to the issue and assign a milestone to it.
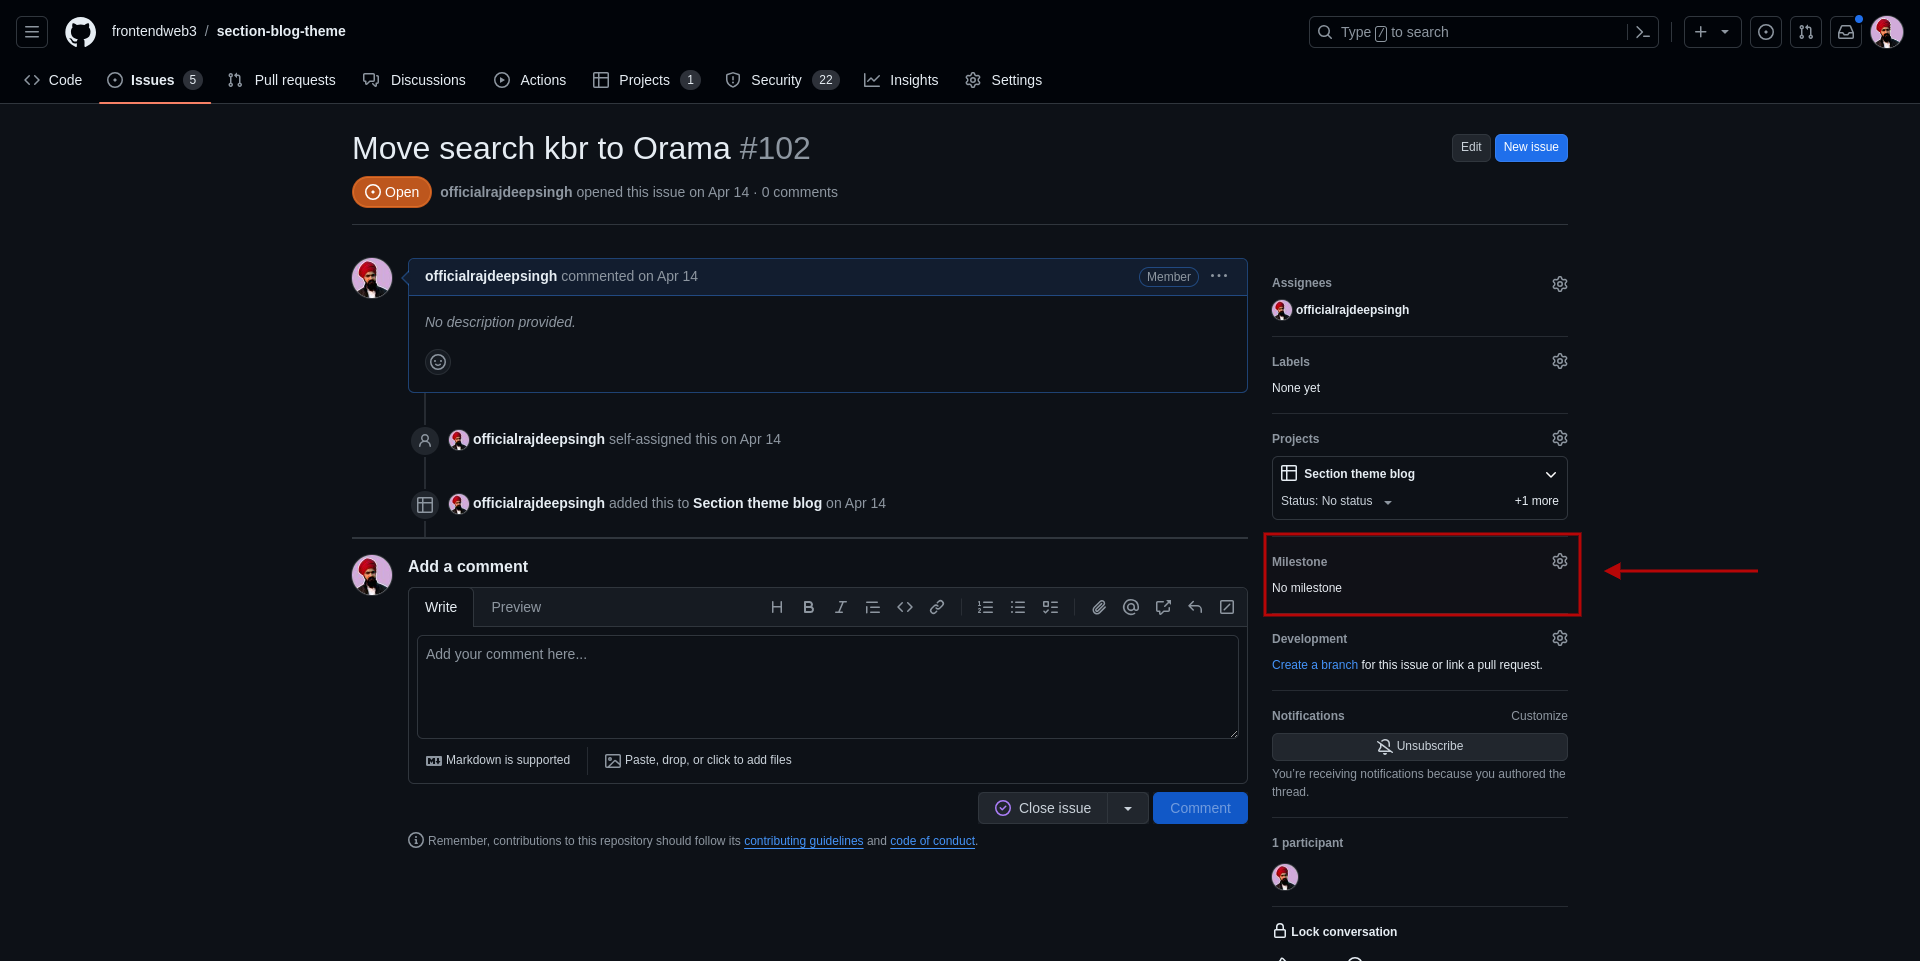
If you have multiple milestones, you can select one of them.
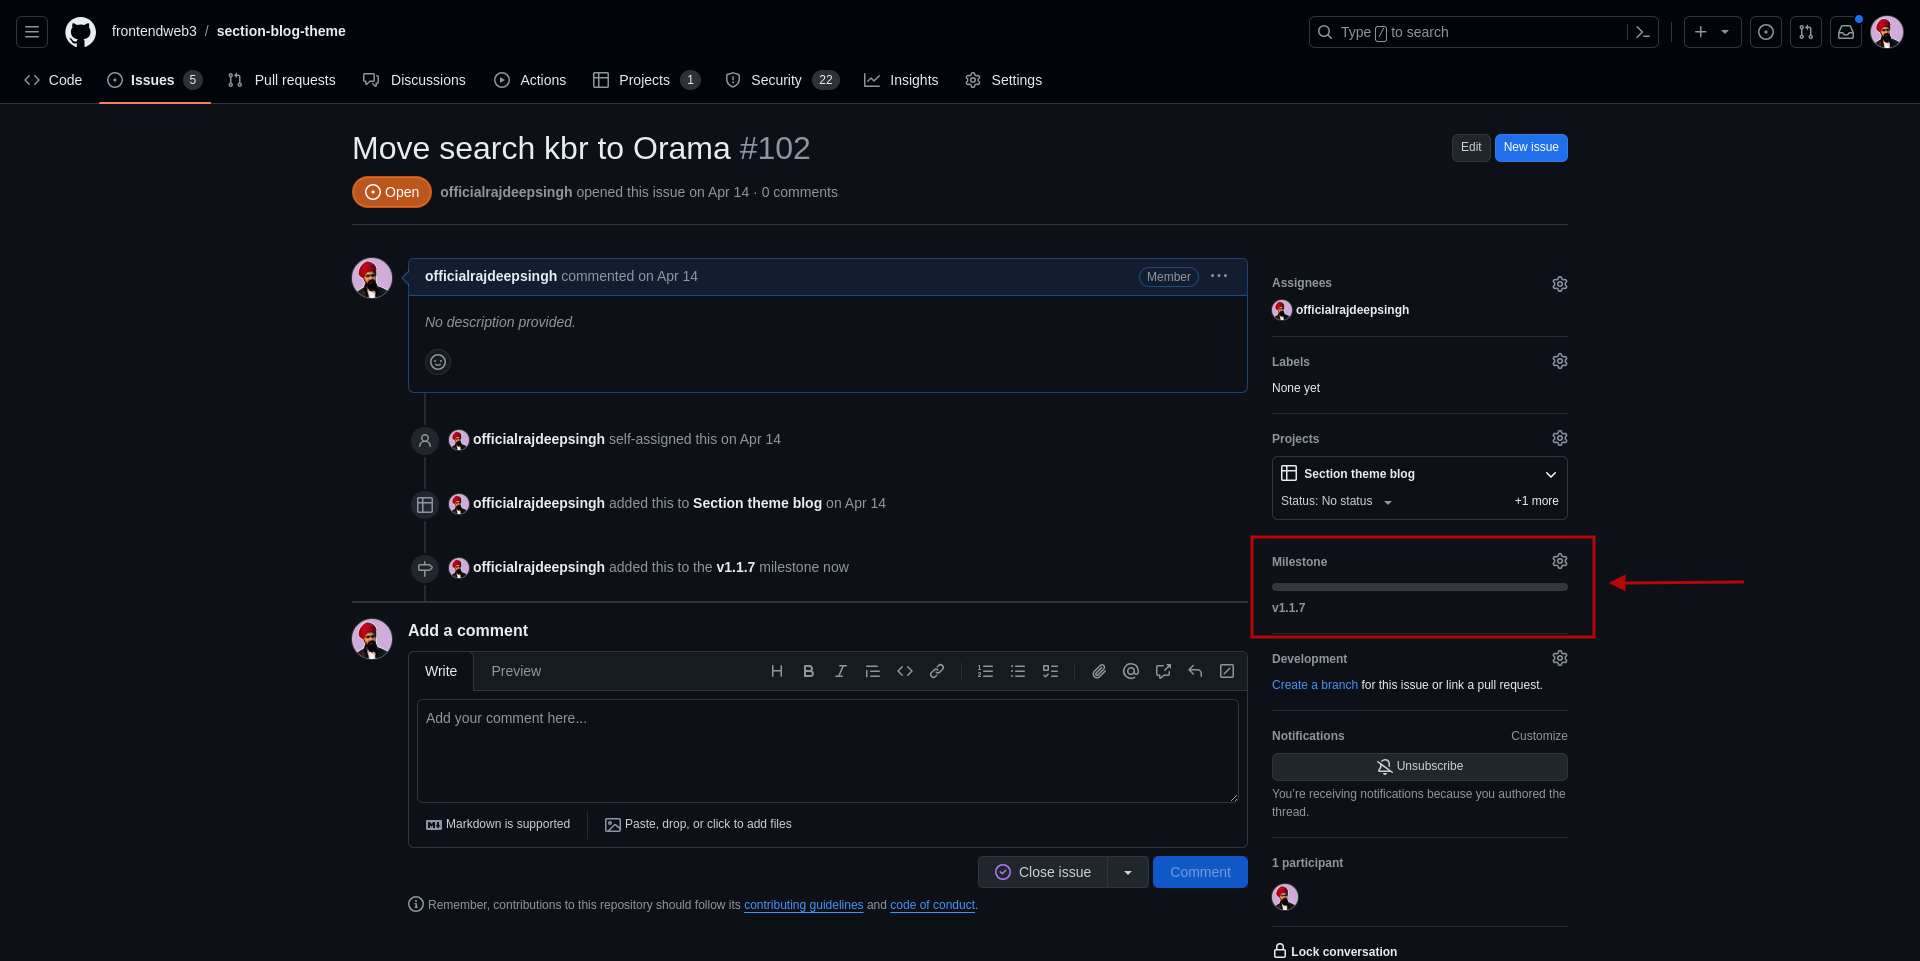
Verify whether the issue is attached or not to the milestone.
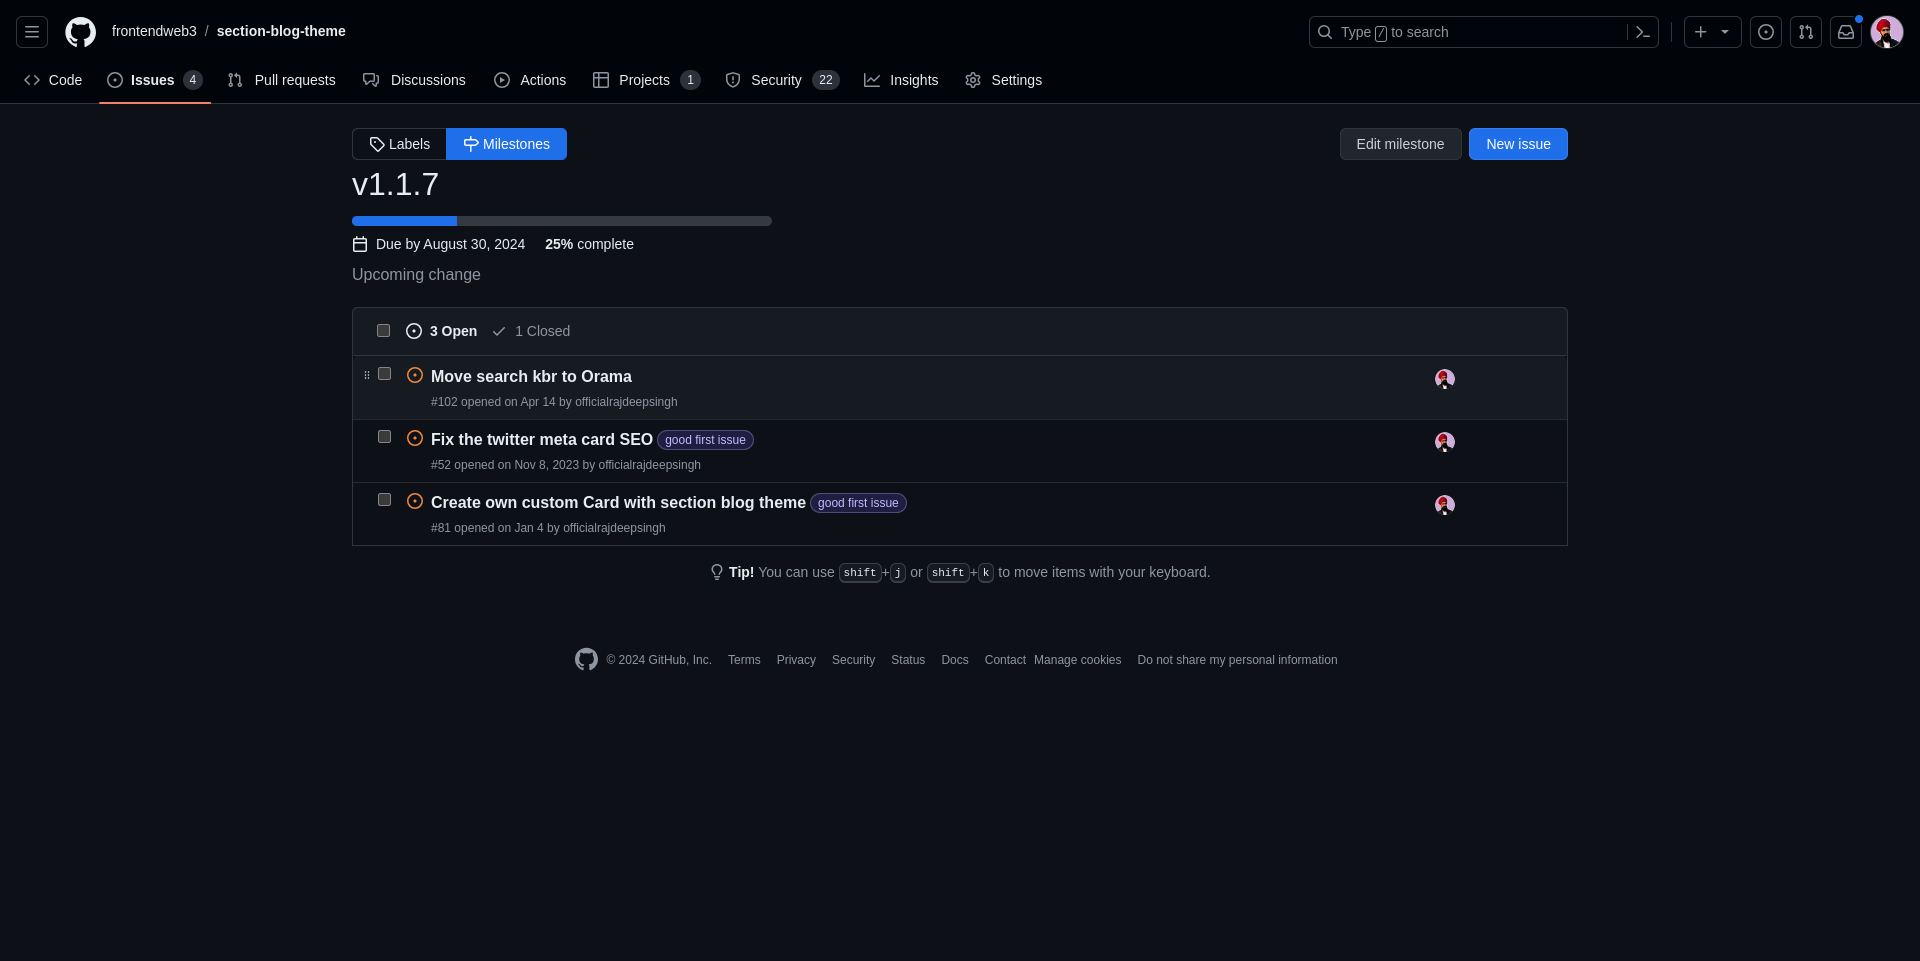
Now, you can attach or assign multiple issues with a single milestone. When you visit the milestone, you can see all the assigned milestone lists.
If you and your teammate close the issue, your progress bar is increased automatically. This can help your team and your community understand how much work has been completed.
How to Delete and Edit Milestones on GitHub
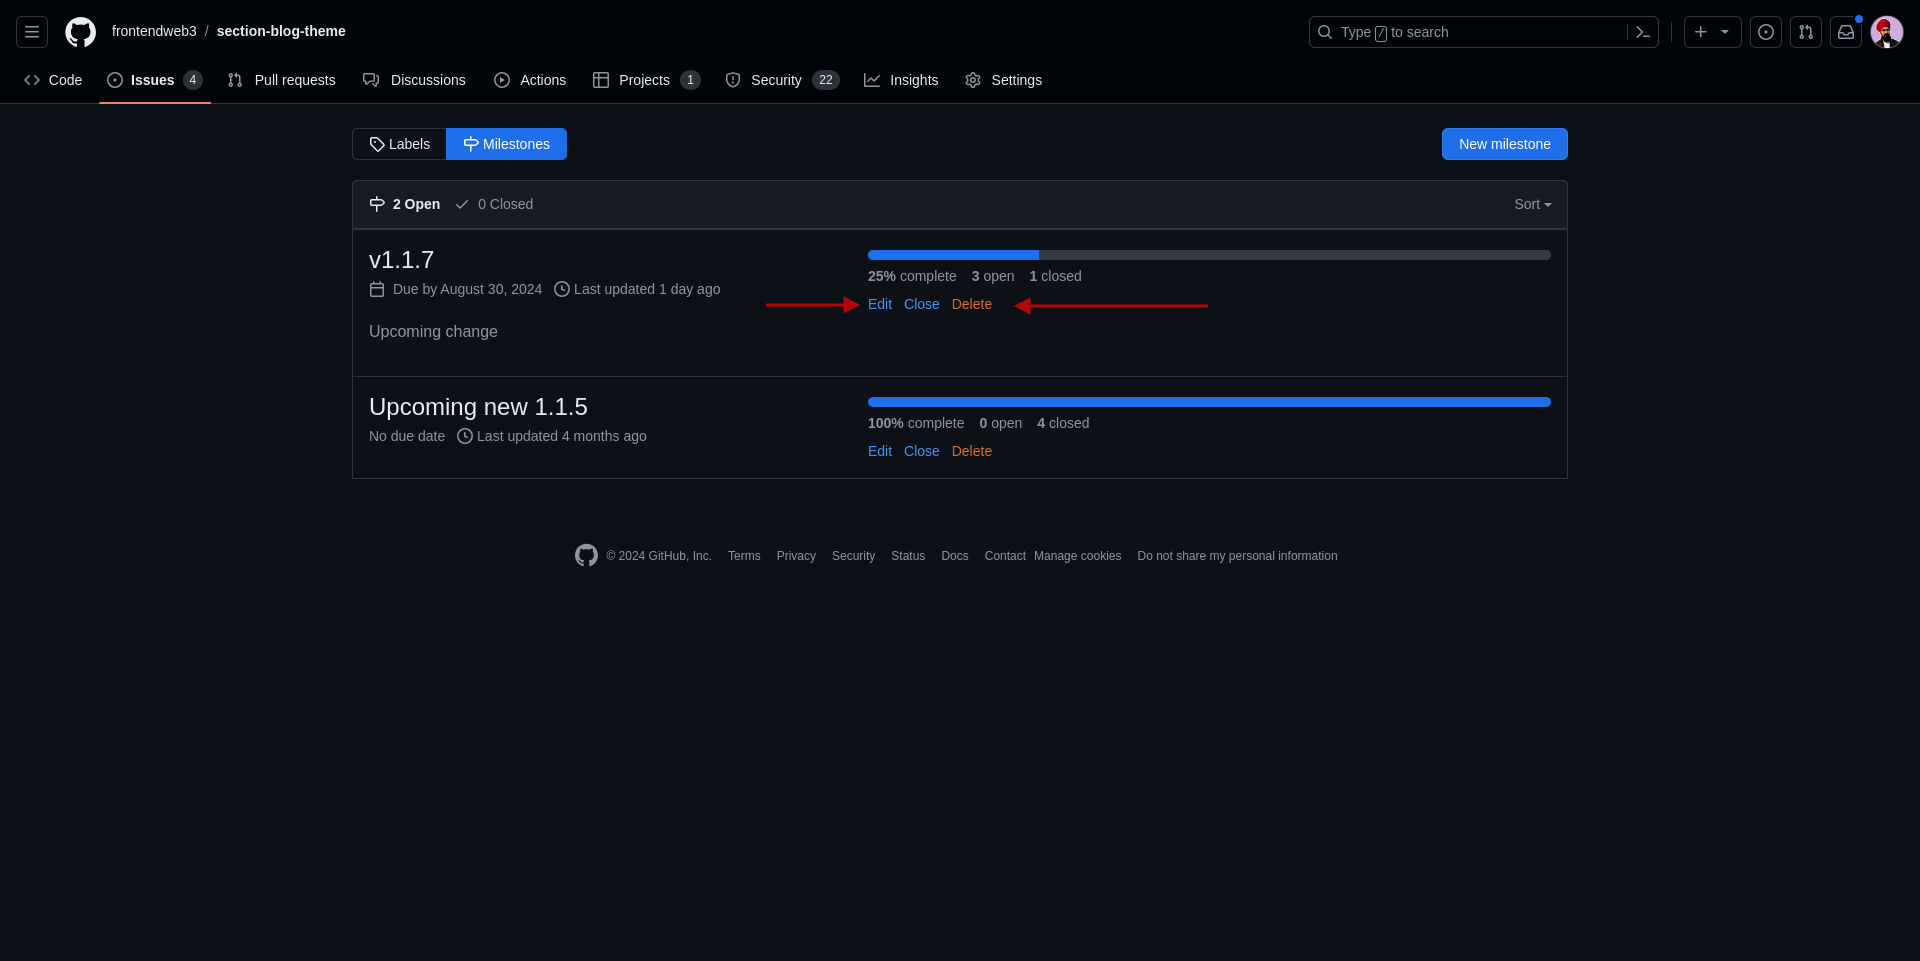
To edit and delete the milestones, you need to go to the issues page and click on the milestones button to see the available milestones.
To edit milestones, click on the edit button, and to delete the milestones, click on the delete button.
Conclusion
Labels, projects, and milestones are basic features useful for managing a project on GitHub. When you use them, you automatically learn about them.
Both milestones and projects are different, and you can not compare both at the same time because both provide different functionalities and working.
As I mentioned, a milestone is used to allow you to track the progress of issues or pull requests in a repository. On the other hand, a project is used to plan and manage your repository from one central location.
For small teams, I recommend milestones, and for the large team, I recommend using projects. You can also use both projects and milestones for better productivity.
I've written other article related to GitHub, and you can check them out here: