

Full stack development is constantly evolving, with new developer tools and products being introduced that allow us to build secure and reliable applications more efficiently.
In this tutorial, I’ll walk you through how to build highly performant web applications with Neon – a serverless PostgreSQL database designed for the cloud. You'll also learn how to perform CRUD (Create, Read, Update, and Delete) operations with Neon.
By the end of this tutorial, you will have the basic knowledge required to start building advanced and scalable web applications with Neon.
Table of Contents:
- What is Neon?
- Why Neon?
- How to add Neon to a Next.js app
- How to set up Neon Serverless Driver with Drizzle ORM in Next.js
- How to Build the Application Interface with Next.js
- How to Authenticate Users with Clerk
- CRUD Operations with the Neon Database
- Conclusion
- Next Steps
What is Neon?
Neon is an open-source, scalable, and efficient Postgres DB that separates compute from storage. This means that database computation processes (queries, transactions, and so on) are handled by one set of resources (compute), while the data itself is stored on a separate set of resources (storage).
This architecture allows for greater scalability and performance, making Neon a solid choice for modern web applications.
3 Things to Remember About Neon:
- 🐘 Postgres: Neon is built on the foundation of Postgres. It supports the same extensions, drivers, and SQL syntax as Postgres, ensuring familiarity and ease of use.
- ☁️ Serverless: Neon operates on a serverless model. Your database is represented as a simple URL, and Neon automatically scales up and down based on workload demands. Say goodbye to over-provisioning.
- 🌱 Branching: Just like version control for code, Neon allows you to create instant, isolated copies of your data. This feature is invaluable for development, testing, and maintaining separate environments.
Why Neon?
Neon brings the serverless experience to Postgres. Developers can build faster and scale their products effortlessly, without the need to dedicate big teams or big budgets to the database.
Neon supports multiple languages and frameworks – but what are the unique features that make Neon stand out?
Instant branching and auto-scaling
Neon allows you to create database branches instantly for testing, development, and staging environments. This lets you experiment without affecting the production database.
It also provides an auto-scaling capability that automatically adjusts resources based on the application's workload, ensuring optimal performance and cost-efficiency.
Support for AI applications
Neon supports AI and machine learning applications by providing a high-performance and scalable infrastructure. It enables you to perform semantic and similarity searches in Postgres and handles complex queries and large datasets efficiently, making it ideal for AI or LLM applications.
Open-source
Neon is backed by a vibrant community of Postgres hackers, systems engineers, and cloud engineers who are all huge fans of Postgres.
As an open-source platform, Neon offers transparency and flexibility. You can also reach out to the team and contributors to ask questions, contribute, and help improve the software.
Serverless Architecture
Neon eliminates the need for manual server management, allowing you to focus on building applications rather than maintaining infrastructure. Its serverless nature provides on-demand scalability, ensuring that your application can handle varying loads without manual intervention.
Built upon Postgres
Postgres is one of the most reliable open-source relational database systems. Neon inherits all the advanced features, stability, and performance optimizations of Postgres, including support for ACID transactions, advanced SQL, and NoSQL/JSON, to create a cheaper and more efficient database for cloud environments.
How to Add Neon to a Next.js App
Neon supports multiple frameworks and libraries and provides clear and detailed documentation on adding Neon to them. The Neon serverless driver enables us to connect and interact with Neon in a Next.js application.
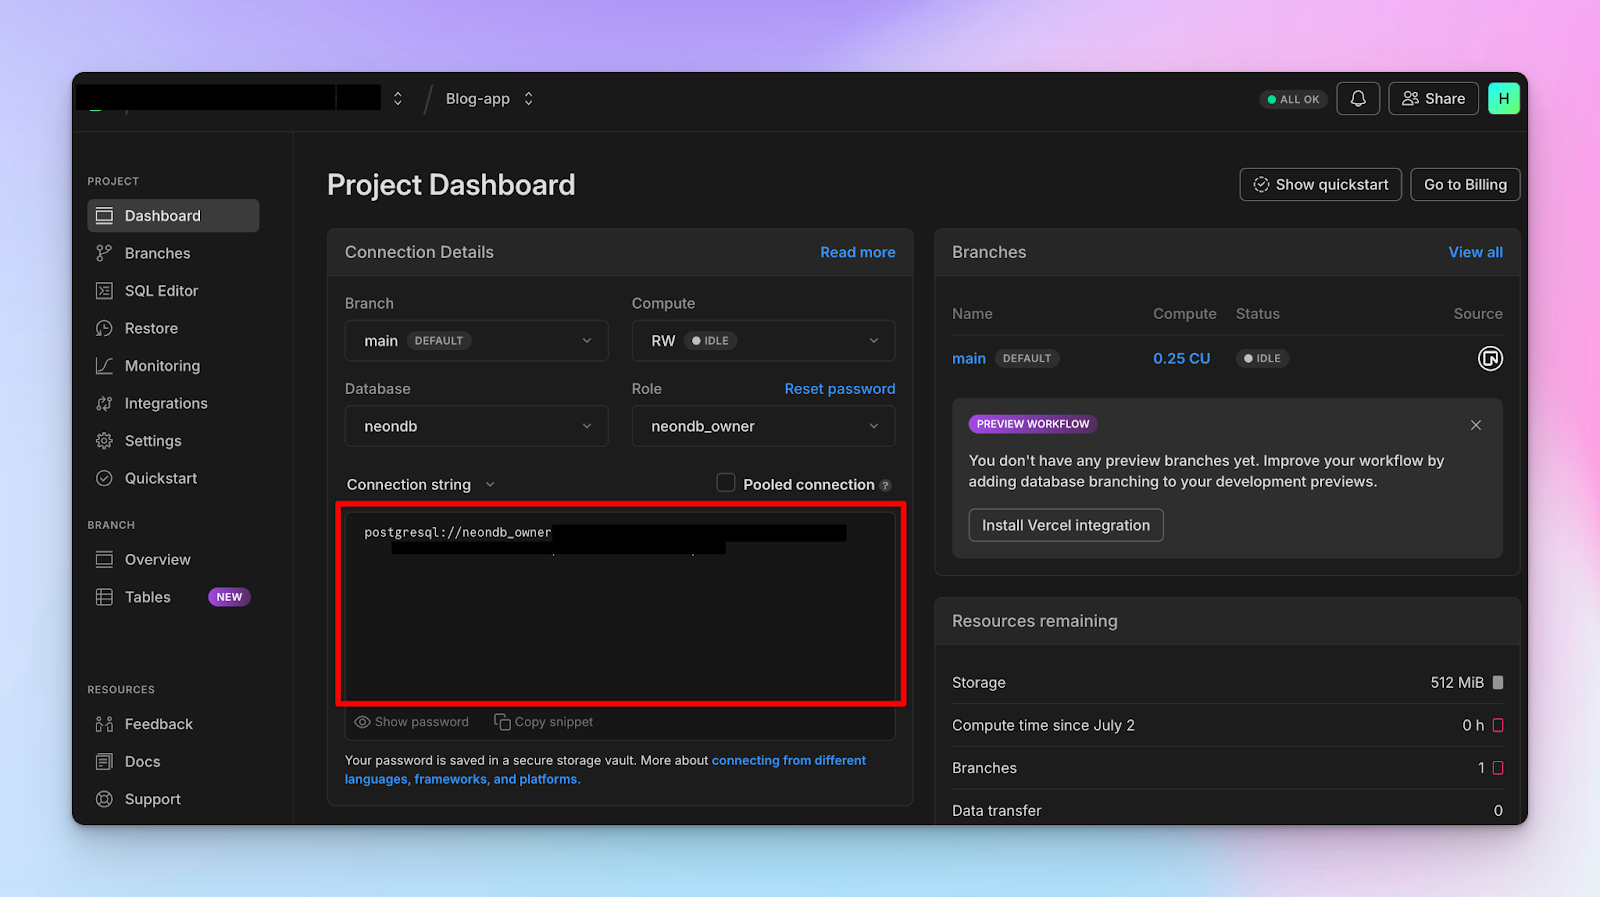
Before we proceed, let’s create a Neon account and project.
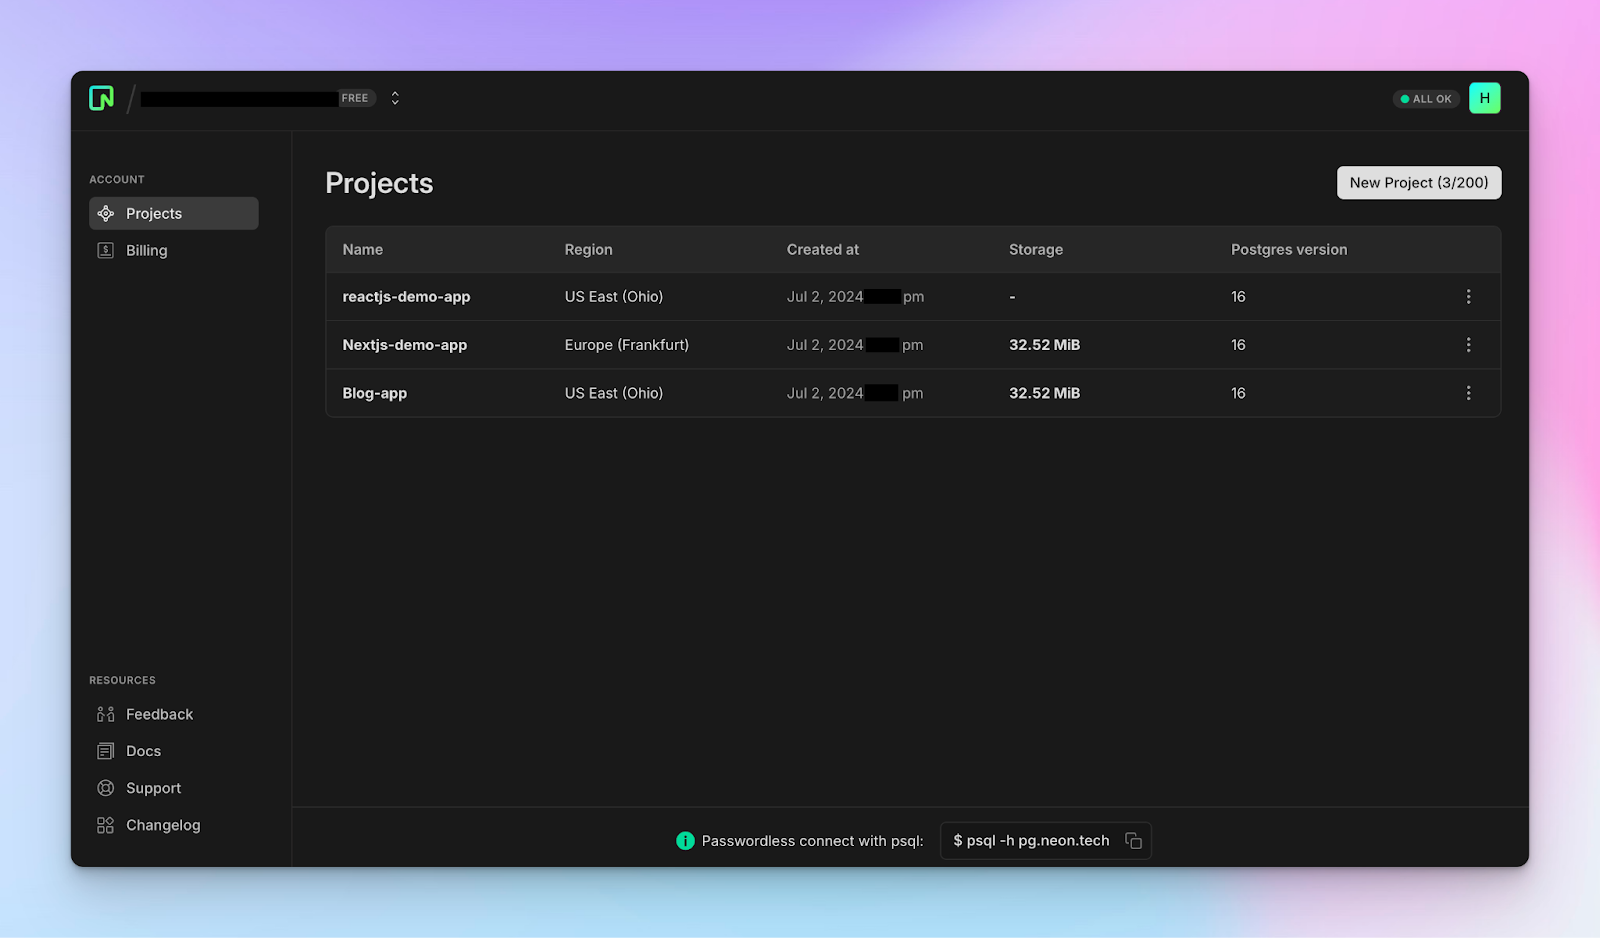
Within your project dashboard, you'll find a database connection string. You'll use this to interact with your Neon database.
Create a TypeScript Next.js project by running the following code snippet in your terminal:
npx create-next-app neon-blog-with-clerk |
Next, install the Neon Serverless package:
npm install @neondatabase/serverless |
Create a .env.local file and copy your database connection string into the file:
NEON_DATABASE_URL="postgres://<user>:<password>@<endpoint_hostname>.neon.tech:<port>/<dbname>?sslmode=require" |
Create a 'db' folder containing an index.ts file within the Next.js app directory and copy the code snippet below into the file:
import { neon } from '@neondatabase/serverless';

if (!process.env.NEON_DATABASE_URL) {
  throw new Error('NEON_DATABASE_URL must be a Neon postgres connection string')
}

export const getDBVersion = async() => {
    const sql = neon(process.env.NEON_DATABASE_URL!);
    const response = await sql`SELECT version()`;
    return { version: response[0].version }
}
Convert the app/page.tsx file to a server component and execute the getDBVersion() function:
import { getDBVersion } from "./db";

export default async function Home() {
    const { version } = await getDBVersion();
    console.log({version})

   return (<div>{/** — UI elements — */}</div>)

}
The getDBVersion() function establishes a connection with the Neon database and allows us to run SQL queries using the Postgres client. This function returns the database version, which is then logged to the console.
{ |
Congratulations – you’ve successfully added Neon to your Next.js application.
But interacting with the Neon database by writing SQL queries directly can require extra learning or introduce complexities for developers who are not familiar with SQL. It can also lead to errors or performance issues when performing complex queries.
This is why Neon supports database ORMs such as Drizzle ORM, which provide a higher-level interface for interacting with the database. Drizzle ORM enables you to write complex query functions and interact with the database easily using TypeScript.
How to Set Up Neon Serverless Driver with Drizzle ORM in Next.js
Drizzle ORM lets you query data and perform various operations on the database using simple TypeScript query commands. It is lightweight, typesafe, and easy to use.
First, you'll need to install the Drizzle Kit and the Drizzle ORM package.
Drizzle Kit lets you manage the database schema and migrations.
npm i drizzle-orm
npm i -D drizzle-kit
Inside the db folder, add an actions.ts, and schema.ts file:
cd db
touch actions.ts schema.ts
Add the code snippet below into the db/schema.ts file. It contains the database schema.
import {  text, serial, pgTable, timestamp } from "drizzle-orm/pg-core";

export const postsTable = pgTable("posts", {
    id: serial("id").primaryKey().notNull(),
    content: text("content").notNull(),
    author: text("author").notNull(),
    author_id: text("author_id").notNull(),
    title: text("title").notNull(),
    created_at: timestamp("created_at").defaultNow(),
    slug: text("slug").notNull(),
});
Update the db/index.ts file to connect to the Neon database and export the Drizzle instance (db). This will be used to execute typesafe SQL queries against your Postgres database hosted by Neon.
import { neon } from '@neondatabase/serverless';
import { drizzle } from 'drizzle-orm/neon-http';
import { postsTable } from './schema';


if (!process.env.NEON_DATABASE_URL) {
  throw new Error('DATABASE_URL must be a Neon postgres connection string')
}
const sql = neon(process.env.NEON_DATABASE_URL!);

export const db = drizzle(sql, {
  schema: { postsTable }
});
Next, create a drizzle.config.ts file at the root of the Next.js folder and add the following configuration:
import type { Config } from 'drizzle-kit';
import * as dotenv from "dotenv";

dotenv.config();

if (!process.env.NEON_DATABASE_URL) throw new Error('NEON DATABASE_URL not found in environment');

export default {
  schema: './src/app/db/schema.ts',
  out: './src/app/db/migrations',
 dialect: "postgresql",
  dbCredentials: {
    url: process.env.NEON_DATABASE_URL,
 },
  strict: true,
} satisfies Config;
The drizzle.config.ts file contains all the information about your database connection, migration folder, and schema files.
Finally, update the package.json file to include the Drizzle Kit commands for generating database migrations and updating the tables.
{ |
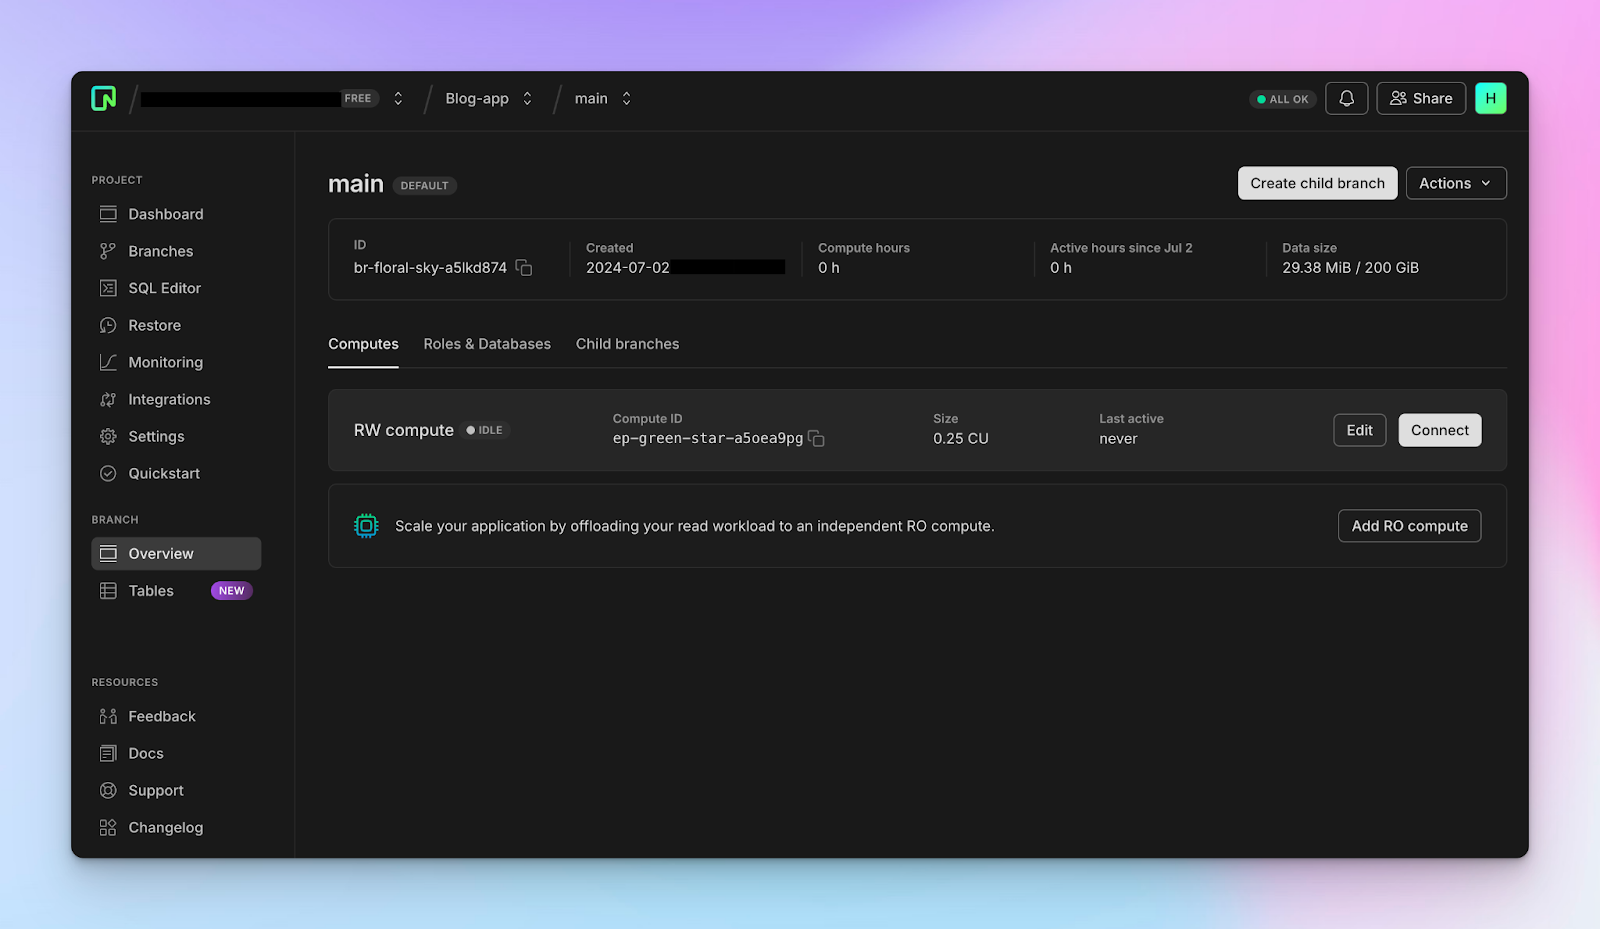
 Neon DB Tables Dashboard: Effortlessly manage your database tables and view all data.
How to Build the Application Interface with Next.js
In this section, you’ll learn how to build a blog application that allows users to read posts and authenticate authors, enabling them to create and delete posts from the Neon database.
The application is divided into 3 pages:
- Home Page: displays all the available blog posts.
- Post Details Page (/posts/[slug]): displays the content of a particular blog post.
- Create Post Page (/posts/create): allows authors to create new blog posts.
Install the following packages:
npm install date-fns react-simplemde-editor easymde react-markdown remark-gfm dotenv
The Date Fns package allows us to convert the posts' timestamps to human-readable forms for display within the application. The React SimpleMDE Editor provides a WYSIWYG editor for creating content in markdown formats using an interactive editor, and the React Markdown package converts the markdown texts to their corresponding plain formats.
Next, create a utils.ts file within the Next.js app folder and copy the code snippet below into the file:
import { format } from "date-fns";

export const formatDateString = (dateString: Date | null): string => {
    if (!dateString) return "";
    const date = new Date(dateString);
    const formattedDate = format(date, "MMMM do yyyy, h:mma");
    return formattedDate;
};

export const slugifySentences = (sentence: string): string => {
    const slug = sentence
 .toLowerCase()
 .replace(/[^a-z0-9\s-]/g, "")
 .replace(/\s+/g, "-");

    // Generate 5 random letters
    const randomLetters = Array.from({ length: 5 }, () =>
        String.fromCharCode(97 + Math.floor(Math.random() * 26))
 ).join("");

    return `${slug}-${randomLetters}`;
};
The formatDateString function accepts a Date object and returns the date and time in a human-readable format using the date-fns package. The slugifySentences function creates a slug for each post using the post's title, which is useful for implementing the routes for each post.
Copy the code snippet below into the app/page.tsx file:
import Link from "next/link";
import { formatDateString, slugifySentences } from "./utils";

interface Post {
    author_id: string;
    title: string;
    content: string;
    author: string;
    slug: string;
    id: number | null;
    created_at: Date | null;
}

export default async function Home() {
    // dummy posts
    const posts: Post[] = [
        {
            author_id: "1",
            title: "Welcome to Neon Tutorial",
            content: "This is a test post",
            author: "John Doe",
            slug: slugifySentences("Welcome to Neon Tutorial"),
            id: 1,
            created_at: new Date(),
        },
        {
            author_id: "1",
            title: "Hello World",
            content: "This is a test post",
            author: "Jane Doe",
            slug: slugifySentences("Hello World"),
            id: 2,
            created_at: new Date(),
        },
    ];

    // shorten posts with longer title
    const shortenText = (text: string): string => {
        return text.length <= 55 ? text : text.slice(0, 55) + "...";
    };

    return (
        <div>
            <main className='md:px-8 py-8 px-4 w-full bg-white'>
                {posts?.map((post) => (
                    <Link
                        href={`/posts/${post.slug}`}
                        className='rounded w-full border-[1px] p-4 text-blue-500 hover:bg-blue-50 hover:drop-shadow-md transition-all duration-200 ease-in-out flex items-center justify-between gap-4 mb-4'
                        key={post.id}
                    >
                        <h3 className='text-lg font-semibold'>{shortenText(post.title)}</h3>
                        <div className='flex items-center justify-between'>
                            <p className='text-xs text-gray-500'>
                                {formatDateString(post?.created_at)}
                            </p>
                        </div>
                    </Link>
                ))}
            </main>
        </div>
    );
}
The app/page.tsx file represents the home page of the application and displays all the available posts.
 It's live - see the power of serverless PostgreSQL and Next.js
Next, add the routes for creating posts and reading the contents of each post. Within the Next.js app folder, create a posts directory containing /posts/create and /posts/[slug] subdirectories.
Create a page.tsx file within the /posts/create folder and copy the code snippet below into the file:
use client";
import { useState, useCallback } from "react";
import { useRouter } from "next/navigation";
import SimpleMDE from "react-simplemde-editor";
import "easymde/dist/easymde.min.css";
import { slugifySentences } from "@/app/utils";

export default function PostCreate() {
    const [publishing, setPublishing] = useState<boolean>(false);
    const [content, setContent] = useState<string>("");
    const [title, setTitle] = useState<string>("");
    const router = useRouter();

    const onChangeContent = useCallback((value: string) => {
        setContent(value);
    }, []);

    const handleCreatePost = async (e: React.FormEvent<HTMLFormElement>) => {
        e.preventDefault();
        console.log({ title, content });
        router.push("/");
    };

    return (
        <div className='min-h-[100vh]'>
            <main className='md:px-8 py-8 px-4 w-full'>
                <form className='flex flex-col w-full' onSubmit={handleCreatePost}>
                    <label htmlFor='title' className='text-sm text-blue-600'>
                        Title
                    </label>
                    <input
                        type='text'
                        name='title'
                        id='title'
                        value={title}
                        required
                        onChange={(e) => setTitle(e.target.value)}
                        className='px-4 py-3 border-2 rounded-md text-lg mb-4'
                    />

                    <label htmlFor='content' className='text-sm text-blue-600'>
                        Content
                    </label>
                    <SimpleMDE value={content} onChange={onChangeContent} id='content' />

                    <button
                        type='submit'
                        disabled={publishing}
                        className='bg-blue-600 mt-2 text-white py-3 rounded-md'
                    >
                        {publishing ? "Publishing....please wait" : "Publish Post"}
                    </button>
                </form>
            </main>
        </div>
    );
}
The /posts/create page renders a form that accepts the title and content of the post, allowing authors to create new blog posts.

Finally, update the /posts/[slug] page to display each post's content and include a button that allows only the posts' authors to delete posts. (You'll learn how to implement this later in the tutorial.)
use client";
import { useRouter, useParams } from "next/navigation";
import ReactMarkdown from "react-markdown";
import { useEffect, useState, useCallback } from "react";
import remarkGfm from "remark-gfm";
import { formatDateString } from "@/app/utils";

export default function Post() {
    const router = useRouter();
    const [loading, setLoading] = useState<boolean>(true);
    const [post, setPost] = useState<Post | null>(null);
    const params = useParams<{ slug: string }>();

    const deletePost = async () => {
        if (confirm("Are you sure you want to delete this post?")) {
            alert(`Delete ${params.slug}`);
            router.push("/");
        }
    };

    return (
        <div>
            <main className='w-full md:px-8 px-4'>
                <header className='mb-6 py-4'>
                    <div className='flex items-center justify-between mb-2'>
                        <h2 className='text-3xl text-blue-700 font-bold'>{post?.title}</h2>

                        <div className='flex items-center'>
                            <button
                                className='px-4 py-2 rounded text-xs bg-red-200 hover:bg-red-40 mr-3'
                                onClick={() => deletePost()}
                            >
                                Delete
                            </button>
                        </div>
                    </div>

                    <div className='flex'>
                        <p className='text-red-500 mr-8 text-sm'>
                            Author: <span className='text-gray-700'>{post?.author}</span>
                        </p>
                        <p className='text-red-500 mr-6 text-sm'>
                            Posted on:{" "}
                            <span className='text-gray-700'>
                                {formatDateString(post?.created_at!)}
                            </span>
                        </p>
                    </div>
                </header>

                <div className='text-sm text-justify'>
                    <ReactMarkdown remarkPlugins={[remarkGfm]}>
                        {post?.content!}
                    </ReactMarkdown>
                </div>
            </main>
        </div>
    );
}
The /posts/[slug] page accepts the unique slug for each blog post, fetches the post's content, and allows post authors to delete their own posts.
 Blog Post
Congratulations! You've completed the user interface for the application.
How to Authenticate Users with Clerk
Clerk is a complete user management platform that enables you to add various forms of authentication to your software applications. It provides easy-to-use, flexible UI components and APIs that can be integrated seamlessly into your application.
Install the Clerk Next.js SDK by running the following code snippet in your terminal.
npm install @clerk/nextjs |
Create a middleware.ts file within the Next.js src folder and copy the code snippet below into the file:
import { clerkMiddleware, createRouteMatcher } from "@clerk/nextjs/server";


// the createRouteMatcher function accepts an array of routes to be protected
const protectedRoutes = createRouteMatcher(["/posts/create"]);

// protects the route
export default clerkMiddleware((auth, req) => {
    if (protectedRoutes(req)) {
        auth().protect();
 }
});

export const config = {
    matcher: ["/((?!.*\\..*|_next).*)", "/", "/(api|trpc)(.*)"],
};
The createRouteMatcher function accepts an array containing routes to be protected from unauthenticated users and the clerkMiddleware() function ensures the routes are protected.
Next, import the following Clerk components into the app/layout.tsx file and update the RootLayout function as shown below:
import {
    ClerkProvider,
    SignInButton,
    SignedIn,
    SignedOut,
    UserButton,
} from "@clerk/nextjs";
import Link from "next/link";

export default function RootLayout({
    children,
}: {
    children: React.ReactNode;
}) {
    return (
        <ClerkProvider>
            <html lang='en'>
                <body className={inter.className}>
                    <nav className='w-full py-4 border-b-[1px] md:px-8 px-4 text-center flex items-center justify-between sticky top-0 bg-white z-10 '>
                        <Link href='/' className='text-xl font-extrabold text-blue-700'>
                            Neon Blog
                        </Link>

                        <div className='flex items-center gap-5'>
                            {/*-- if user is signed out --*/}
                            <SignedOut>
                                <SignInButton mode='modal' />
                            </SignedOut>
                            {/*-- if user is signed in --*/}
                            <SignedIn>
                                <Link href='/posts/create' className=''>
                                    Create Post
                                </Link>
                                <UserButton showName />
                            </SignedIn>
                        </div>
                    </nav>

                    {children}
                </body>
            </html>
        </ClerkProvider>
    );
}
When a user is not signed in, the Sign in button component is rendered.
 Seamless sign-ups redefined with Clerk UI
Then, after signing into the application, the Clerk User Button component and a link to create a new post are displayed.
 After sign-in: Use Clerk's User Button to create a new post
Next, create a Clerk account and add a new application project.
 Clerk's sleek UI dashboard
Select username as the authentication method and create the Clerk project.
 Clerk's sleek UI dashboard
Finally, add your Clerk publishable and secret keys into the .env.local file.
NEXT_PUBLIC_CLERK_PUBLISHABLE_KEY=<your_publishable_key> |
Clerk provides various ways to read user's data on the client and the server, which is essential for identifying users within the application.
CRUD Operations with the Neon Database
In this section, you’ll learn how to perform CRUD (Create, Read, Update, Delete) operations with the Neon database. These fundamental operations are essential for interacting with and managing data within any application.
The db/actions.ts file will contain the CRUD operations. Add the following code snippet to the file:
import { db } from ".";
import { postsTable } from './schema';
import { desc, eq } from "drizzle-orm";

// add a new row to the posts table
export const createPost = async (post: Post) => {
    await db.insert(postsTable).values({
        content: post.content,
        author: post.author,
        author_id: post.author_id,
        title: post.title,
        slug: post.slug,
    });
};

// get all the posts
export const getAllPosts = async () => {
    return await db.select().from(postsTable).orderBy(desc(postsTable.created_at));
};

// get a post using its slug
export const getSinglePost = async (slug: string) => {
    return await db.query.postsTable.findFirst({
        where: (post, { eq }) => eq(post.slug, slug)
    });
};

// delete a post
export const deletePost = async (id: number) => {
    await db.delete(postsTable).where(eq(postsTable.id, id));
};

// update a post's content
export const updatePost = async (content: string, id: number) => {
    await db.update(postsTable)
        .set({ content: content })
        .where(eq(postsTable.id, id));
};
From the code snippet above:
- This
createPostfunction takes a post object as an argument and inserts a new row into thepostsTablewith the specified post content, author, author ID, title, and slug. - The
getAllPostsfunction retrieves all the posts from thepostsTableand sorts them in descending order by their creation date (created_at). - This
getSinglePostfunction takes a slug as an argument and retrieves the first post that matches the given slug from thepostsTable. The slug is unique, so it will return a single object. - This
deletePostfunction takes an id as an argument and deletes the post with the matching ID from thepostsTable. - This
updatePostfunction acceptscontentand a post'sidas arguments and updates the post's content with the matching ID in thepostsTable.
Finally, you can execute the CRUD functions on the server via API endpoints or Next.js server fetch requests.
For instance, you can fetch all the existing blog posts within the Neon database and display them within the application using the Next.js server data fetching method:
import { getAllPosts } from "./db/actions";

const getPosts = async () => await getAllPosts()

export default async function Home() {
    const posts = await getPosts()

    return (<div>{/** -- UI elements --*/}</div>)
}
You can also create a Next.js API endpoint that returns all the available blog posts. Create a /api/posts/all endpoint that returns the posts:
import { getPosts } from "@/app/db/actions";
import { NextRequest, NextResponse } from "next/server";

export async function POST() {


    try {
        const data = await getPosts()
        return NextResponse.json({ message: "Post fetched", data }, { status: 200 });
 } catch (err) {
        return NextResponse.json(
 { message: "Post not available", err },
 { status: 400 }
 );
 }
}
Congratulations! You’ve completed the project for this tutorial.
You can find the code for the app we built here.
Conclusion
In this tutorial, you’ve learned what a Neon database is, how to create one, and how to perform CRUD operations with Neon and Drizzle ORM in a Next.js application.
Neon's serverless architecture, combined with its scalability and performance optimizations, makes it an excellent choice for modern web applications. Neon also provides a smooth developer experience and a community of passionate individuals ready to help you achieve your application goals. Thank you for reading.
Next Steps
By now, you should have a good understanding of how to build full-stack applications with Neon and Next.js.
If you'd like to learn more about how you can leverage Neon to build advanced and scalable applications, you can check out the following resources:
- Neon documentation
- Neon example projects
- How to integrate Neon with Vercel
- How to import your data from a Postgres database to Neon
Thanks for Reading!
That's it for this tutorial. I hope you learned something new today.
If you did, please share so that it reaches others as well.
You can connect with me on Twitter or subscribe to my newsletter.
Want to read more interesting blog posts?
You can read more tutorials like this one on my blog.